
Introduction to Google Workspace

Overview
Google Workspace is a set of tools to help you with your school work.
Google Workspace makes schoolwork easier and more fun. You can work with friends, save your work online, and stay organized!
When you save your work in Google Workspace, it won't disappear.
All information can be found in https://support.google.com/a/users?sjid=4083024187979495220-AP#topic=11499463
You can find all the Google Workspace apps when you sign in with your Google account.
❤️ Benefits of Google Workspace
Work Together: You can work on the same document with your teachers and classmates at the same time.
Save Your Work: Your work is saved online so that you can access it from any computer.
Easy to Use: The tools are simple and help you write, create presentations, and organize your files.
Stay Organized: Keep all your schoolwork in one place with Google Drive.
1️⃣ Let’s get started with Google Chrome
Launch Google Chrome.
.svg.webp?inst-v=a8cb1303-bd20-488e-8823-a7751fbb53b4)
If you have not installed Google Chrome on your MacBook, click here.
Sign in with your Google email address (make sure you know your password).
Sync your Google email address to the Google Chrome Browser.
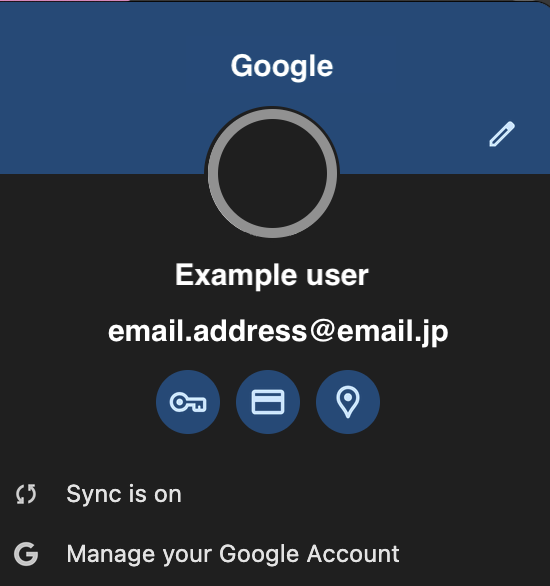
Example of a signed-in user
Customizing your Google Chrome
Time to have fun with personalize your Chrome!
Click on the button "Customize Chrome” at the bottom right.
Select the color theme you like, and it will change the look immediately.
You can also choose to change the theme of your Chrome with some cool background pictures.

Navigating the Web
Using the Address Bar:
The address bar is at the top of the Chrome window. It’s where you type in website addresses (like www.google.com).
You can also use it to search the web. Just type what you’re looking for and hit Enter.
Creating Bookmarks:
Bookmarks are like shortcuts to your favorite websites.
To bookmark a page, click the star icon on the right side of the address bar.
Access your bookmarks by clicking the three dots in the top right corner and selecting “Bookmarks”.
Opening New Tabs:
You can have multiple websites open at the same time in different tabs.
Click the “New Tab” button (a small square next to the last tab) to open a new tab.
You can switch between tabs by clicking on them.
Pinning Tabs:
Keep important tabs always available by pinning them.
Right-click on a tab and select Pin. The tab will shrink and stay to the left.
Incognito Mode:
Use Incognito mode to browse privately. Chrome won’t save your browsing history or cookies.
Click the three dots in the top right corner and select New Incognito Window.
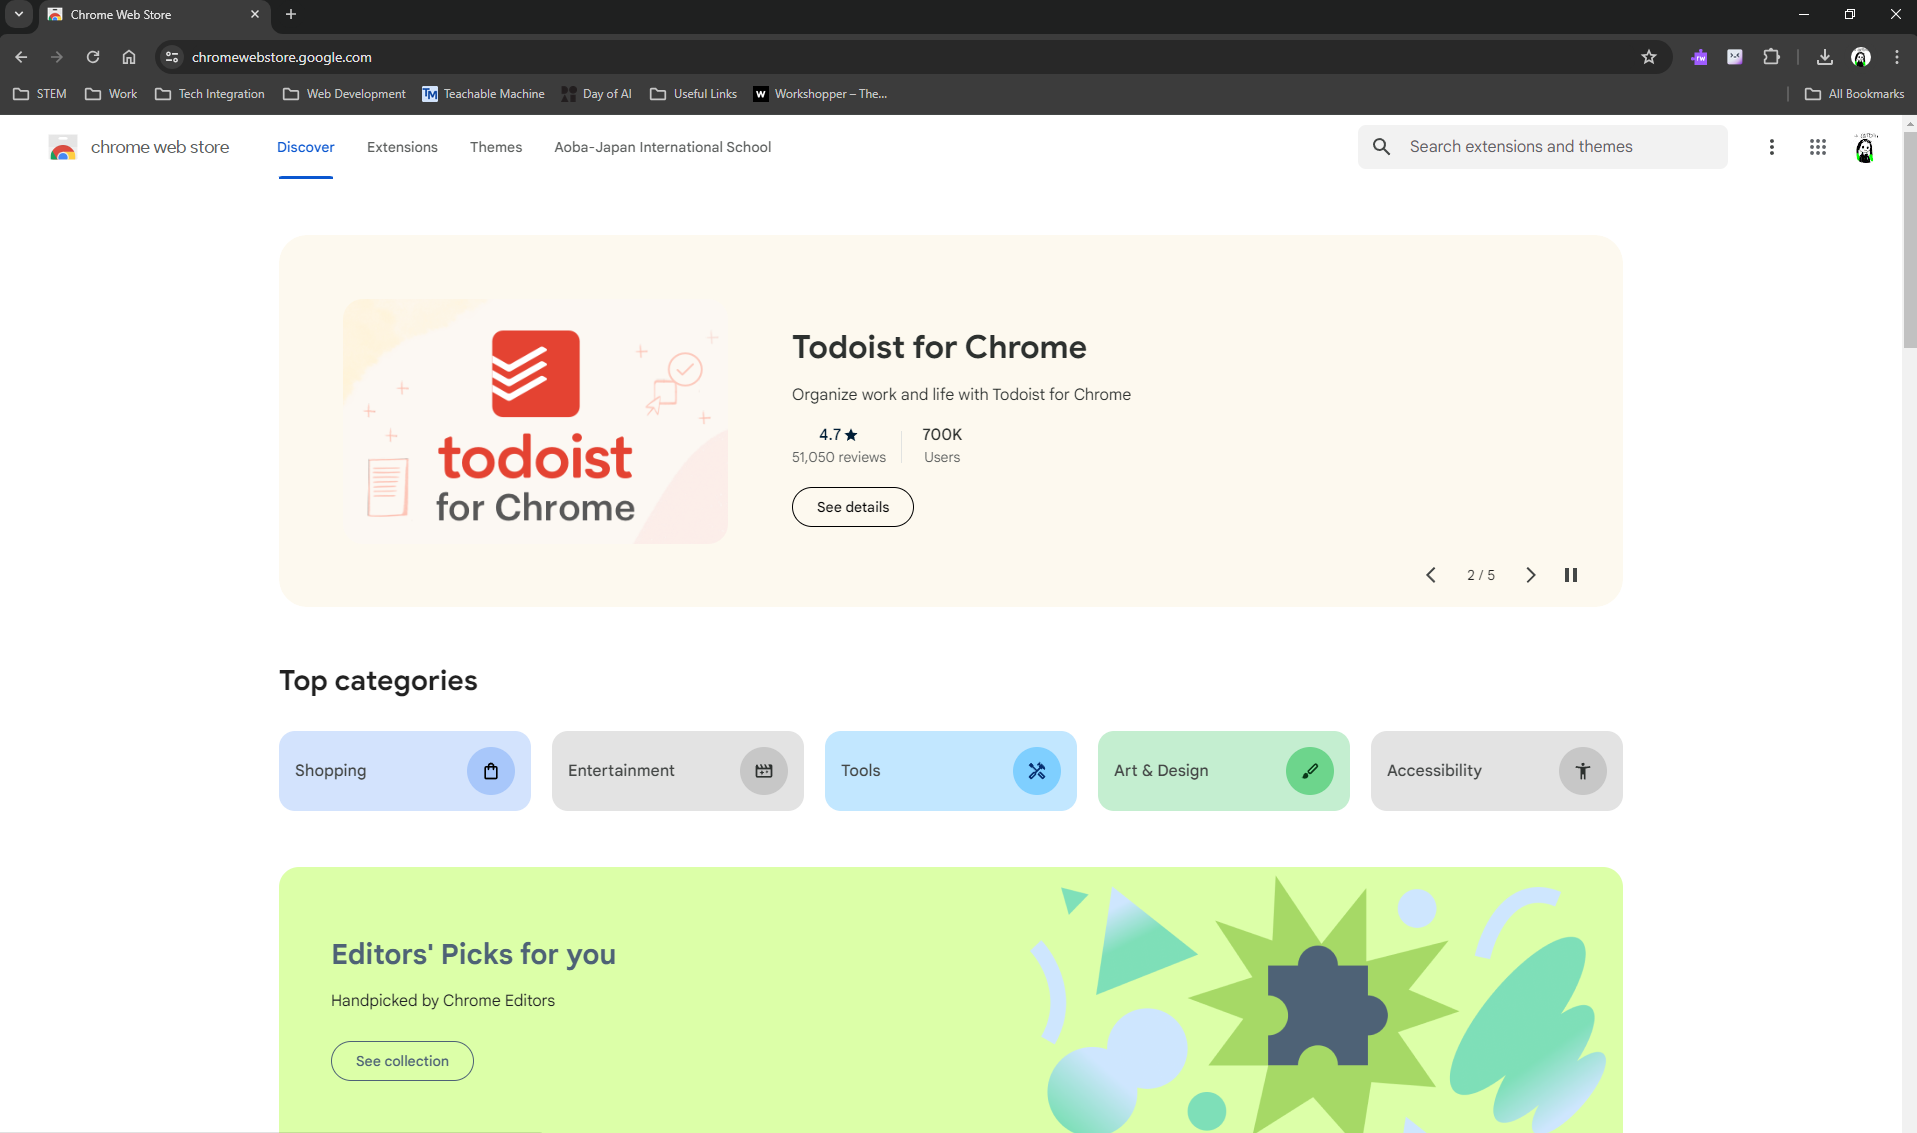
Using Extensions:
Extensions are small programs that add extra features to Chrome.
Visit the Chrome Web Store to find fun and useful extensions, like games or tools to help with work.
Google Chrome tips & tricks
You can add multiple Google accounts in Chrome.
Different Google accounts can be customized differently.
Make sure to sync all bookmarks to your accounts making it easier for you to access on another device.
Be careful when adding Chrome extensions and always ask an adult first, because some extensions might have bugs or cause problems with your browser.
2️⃣ Google Mail
Gmail is like your very own online mailbox where you can send and receive messages. It’s a place where you can write letters, share pictures, ask questions, and even get help with your homework. And the best part? You can do all of this from any device, whether it’s a computer, tablet, or smartphone!
Stay connected with your teachers and classmates through email.
Send messages, share assignments, and ask questions whenever you need help.
How to Use Gmail:
Sending an email:
Click the Compose button (it looks like a little pencil).
Type in the email address of the person you want to send your message in the “To” field.
Add a subject in the Subject field (this is like the title of your email).
Write your message in the big box below the subject.
Click “Send” and off it goes!

Checking your inbox:
Click on the Inbox on the left side of the screen to see all the emails you’ve received.
New emails will be at the top. Click on any email to read it.

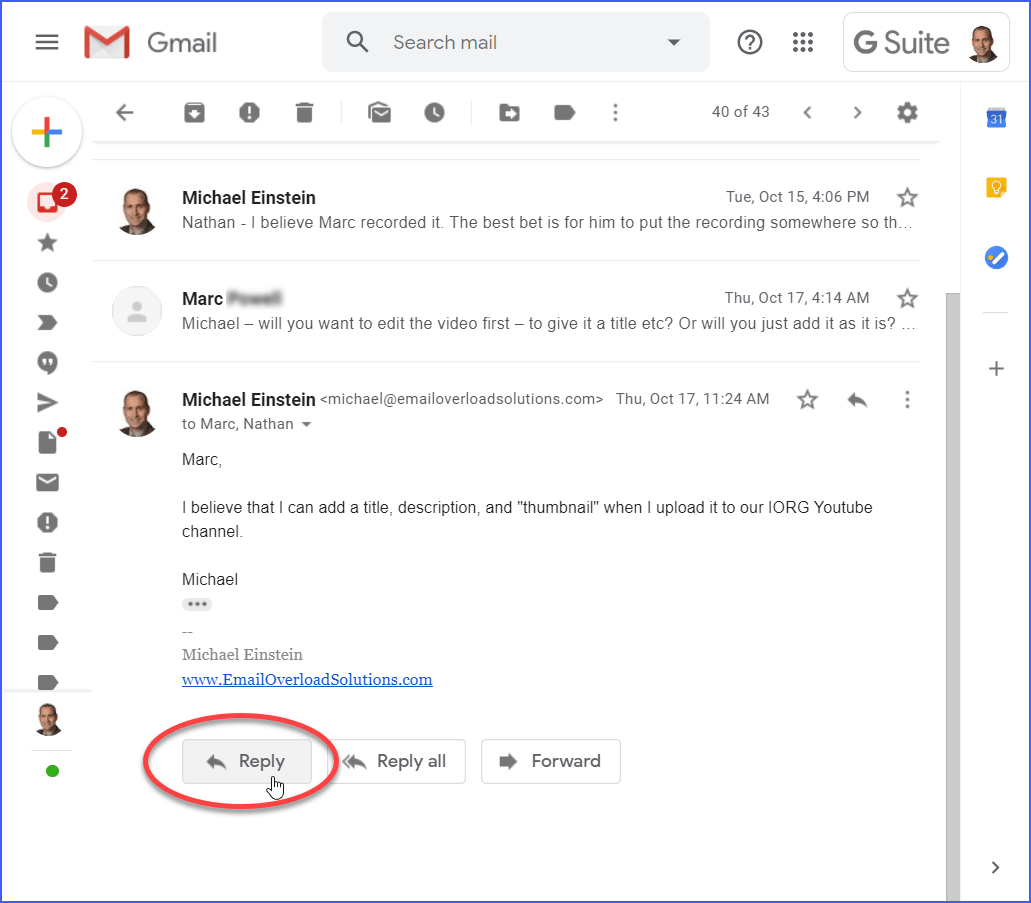
Replying to an email:
Open the email you want to reply to.
Click the “Reply” button (it looks like a little arrow).
Write your response in the box that appears.
Click “Send” when you’re ready to reply.
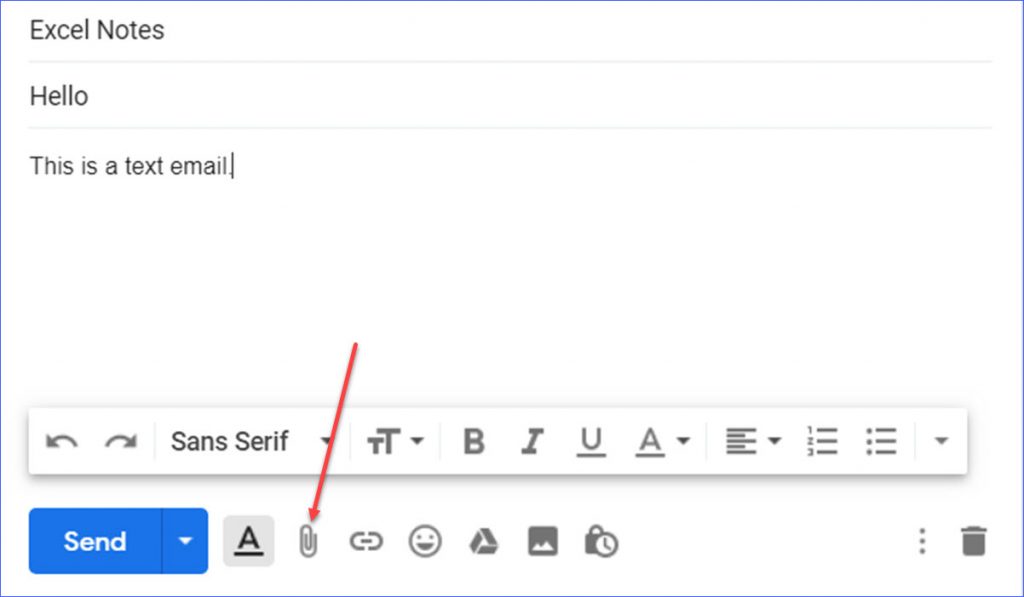
Adding attachments:
When you’re composing an email, you can attach files like pictures or documents.
Click on the paperclip icon at the bottom of the compose window.
Choose the file you want to attach and click “Open”.
Gmail Tips & Tricks:
Organize with Labels: Use labels to sort your emails into categories like “School”, “Friends”, or “Family”. This makes it easy to find your messages later.
Use Emojis: Add emojis to your emails to express your feelings. Just click the smiley face icon while composing your message.
Set Up a Signature: Create a cool signature that appears at the bottom of every email you send. Go to “Settings” and look for the Signature section to set it up.
Stay Safe: Remember, never share your password with anyone. Always be cautious about emails from people you don’t know.
3️⃣ Google Drive
What is Google Drive?
Google Drive is like a big digital backpack where you can keep all your files safe and organized. Whether it’s a document, a picture, or a video, Google Drive lets you store, share, and access your files from any device with an internet connection.
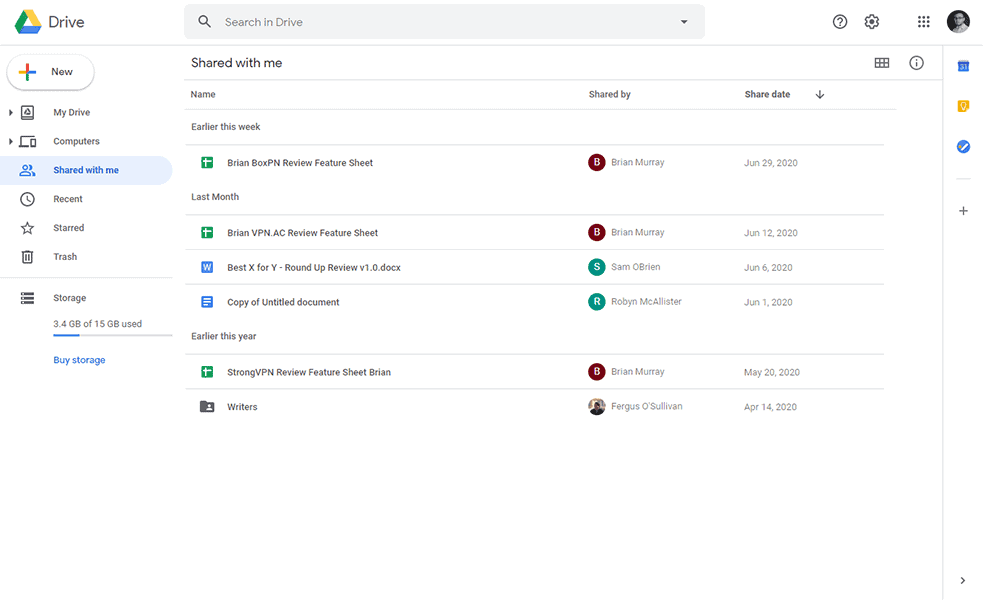
Example of a Google Drive
Getting Started with Google Drive:
Accessing Google Drive:
Go to drive.google.com or open the Google Drive app on your device.
Sign in with your school email account to get started.
Uploading Files:
Click the “New” button on the left side of the screen.
Select “File upload” to add a single file or “Folder upload” to add a whole folder.
Choose the file or folder you want to upload from your computer.
Creating New Files:
Click the “New” button and choose the type of file you want to create (Docs, Sheets, Slides, etc).
Start creating your document, spreadsheet, or presentation right in Google Drive.
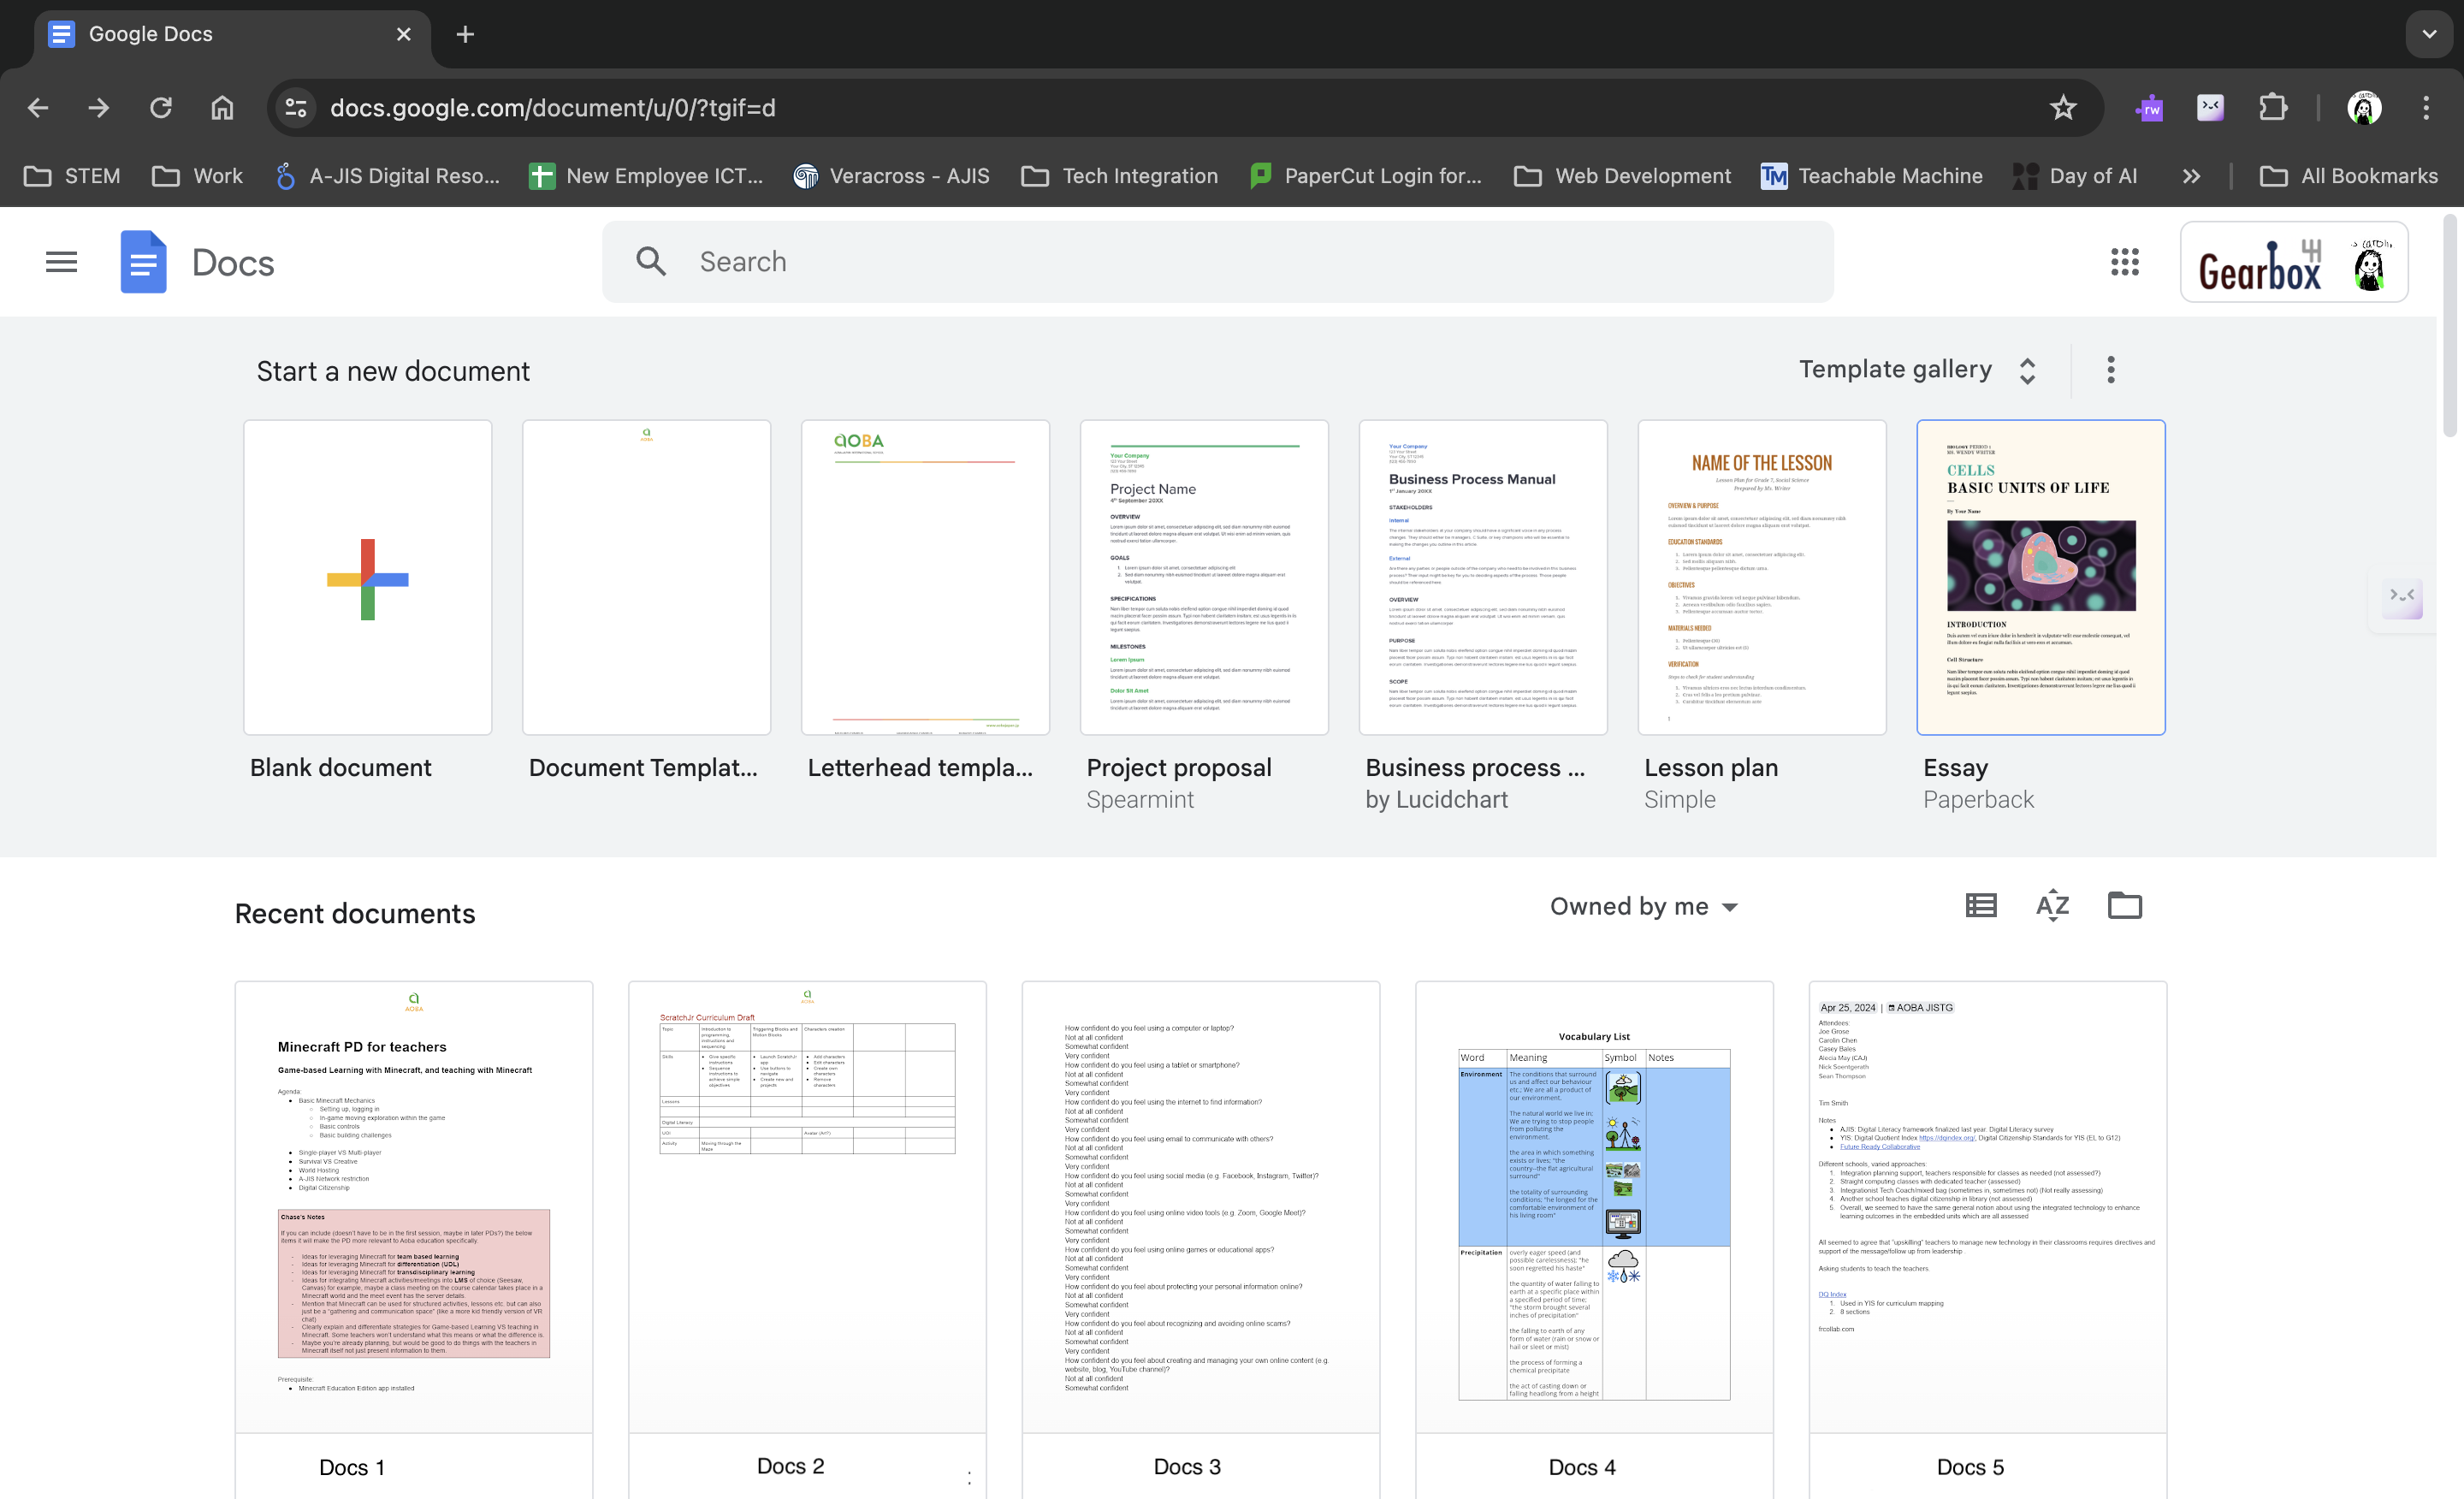
4️⃣ Google Docs
Google Docs is like our very own online notebook where we can write, edit, and share our work with others. Imagine having a magical notebook that you can access from anywhere, anytime. Whether you’re at school, at home, or on the go, you can always open up Google Docs and get to work.
How to Use Google Docs:
1. Starting a New Document:
Go to docs.google.com or open Google Docs from your Google Workspace.
Click the "Blank document +” option to start a new document.
Give your document a cool title by clicking on Untitled Document at the top.
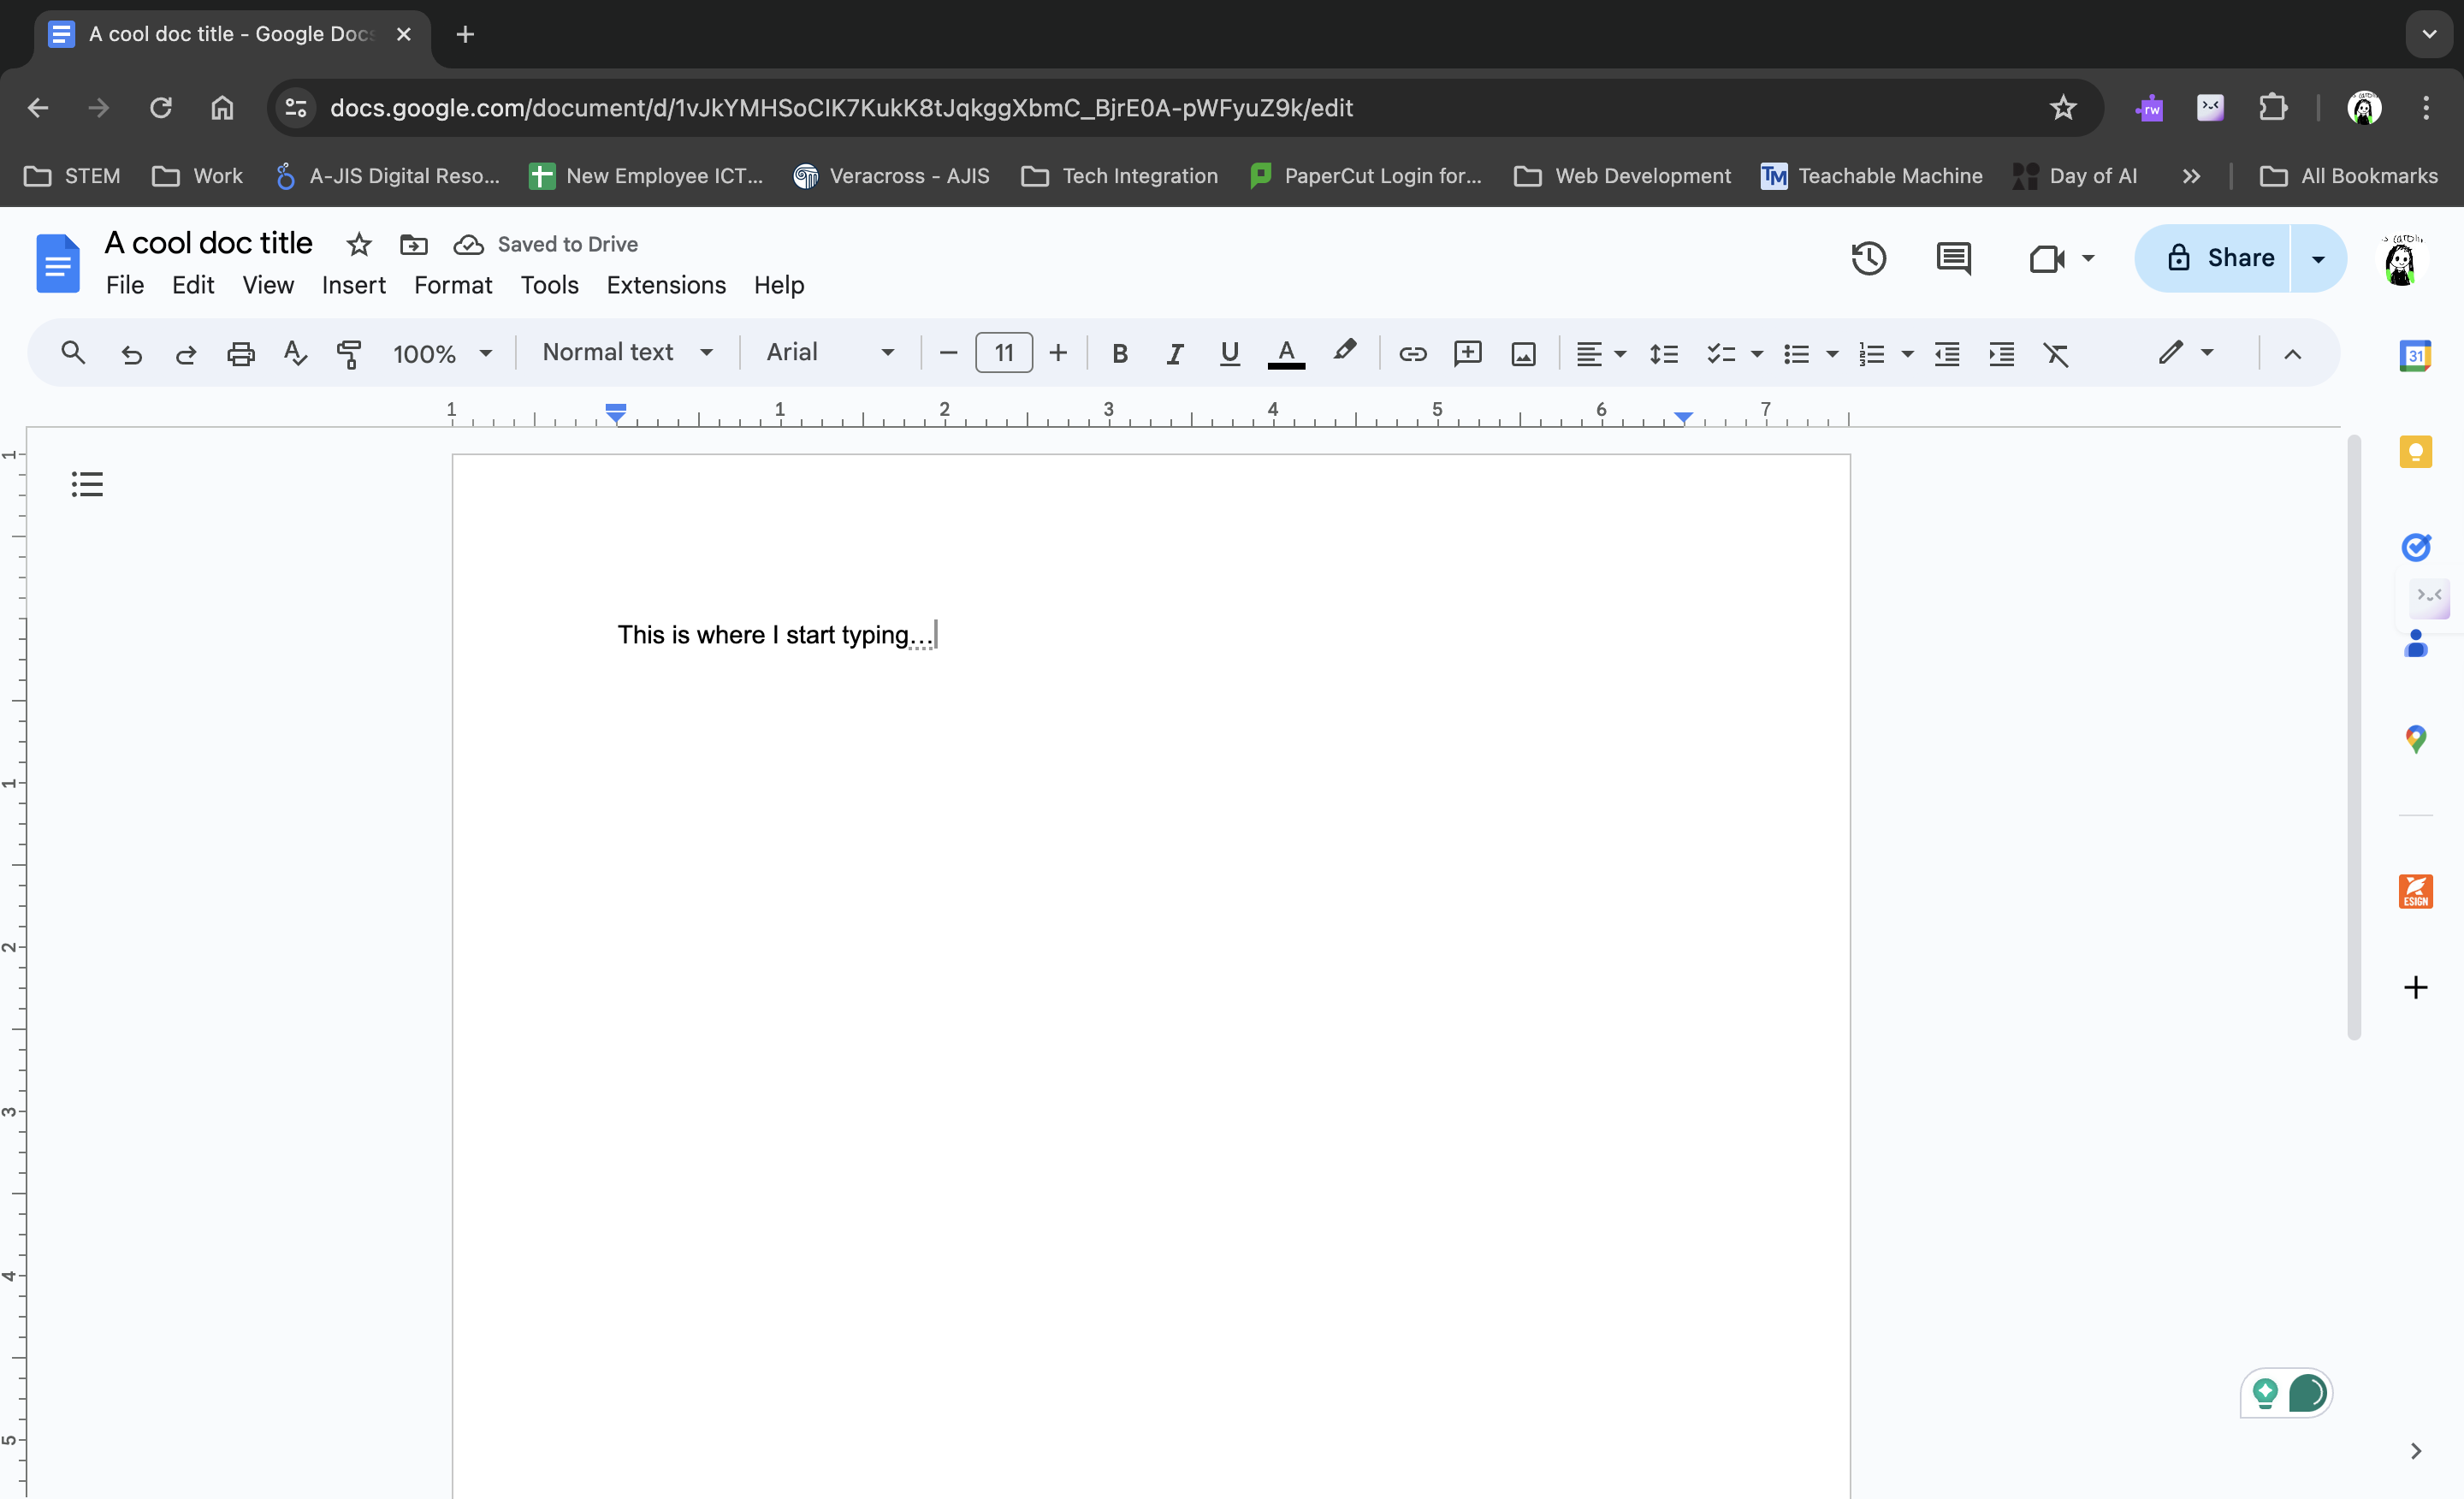
2. Writing and Editing:
Start typing your text in the big white space. It’s that easy!
Use the toolbar at the top to make your text bold, italic, or underlined. You can also change the font and color to make your document look awesome.
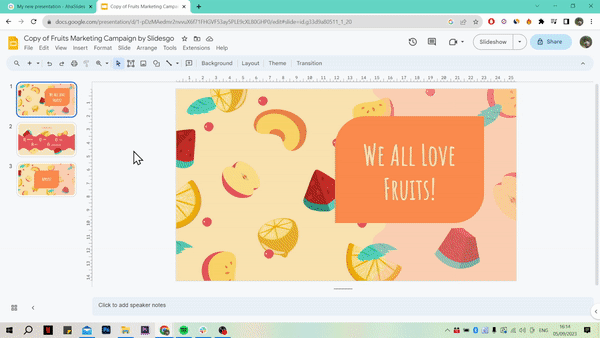
5️⃣ Google Slides
What is Google Slides?
Google Slides is like your very own digital stage where you can create, design, and share presentations. Whether you’re working on a school project, telling a story, or sharing your latest adventure, Google Slides helps you put your ideas together in a beautiful and organized way.
Why We Love Google Slides:
Create awesome presentations: Design slideshows with text, images, videos, and animations to make your ideas come to life.
Work together: Collaborate with your teachers, friends, and classmates on the same presentation, even if you’re miles apart.
Access Anywhere: Open your presentations from any device with an internet connection, so you can work on them at school, at home, or on the go.
Getting Started from Google Slides:
Accessing Google Slides:
Go to slides.google.com or open Google Slides from your Google Workspace.
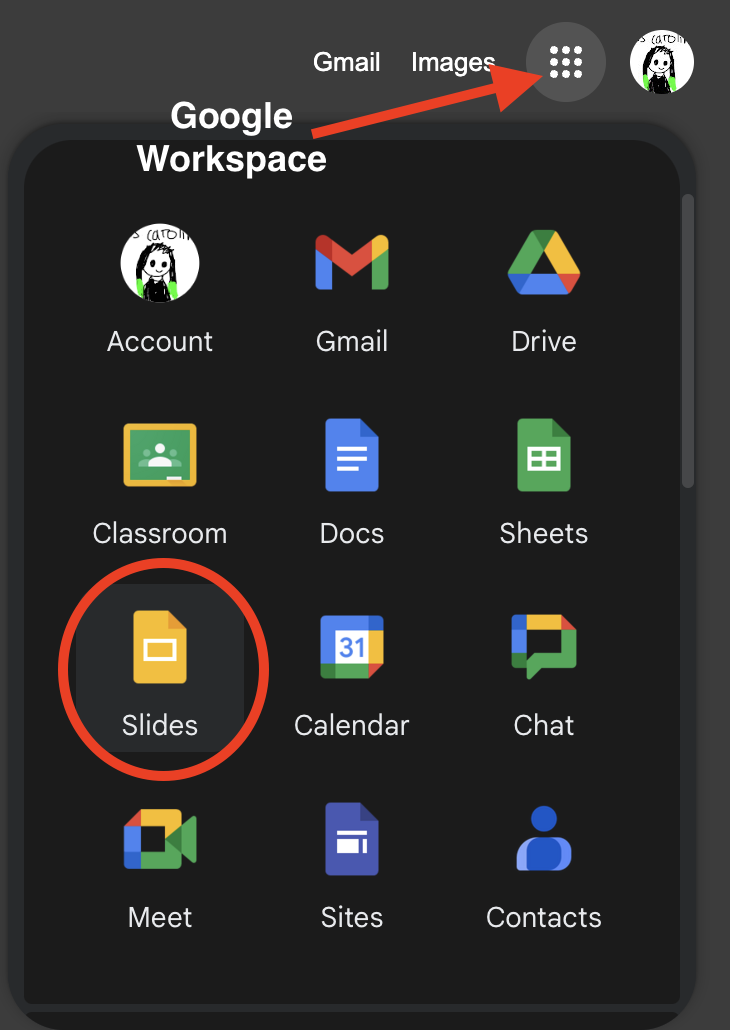
Sign in with your school email account to get started.
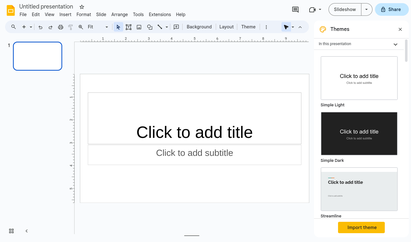
Creating a New Presentation:
Click the Blank button to start a new presentation from scratch.
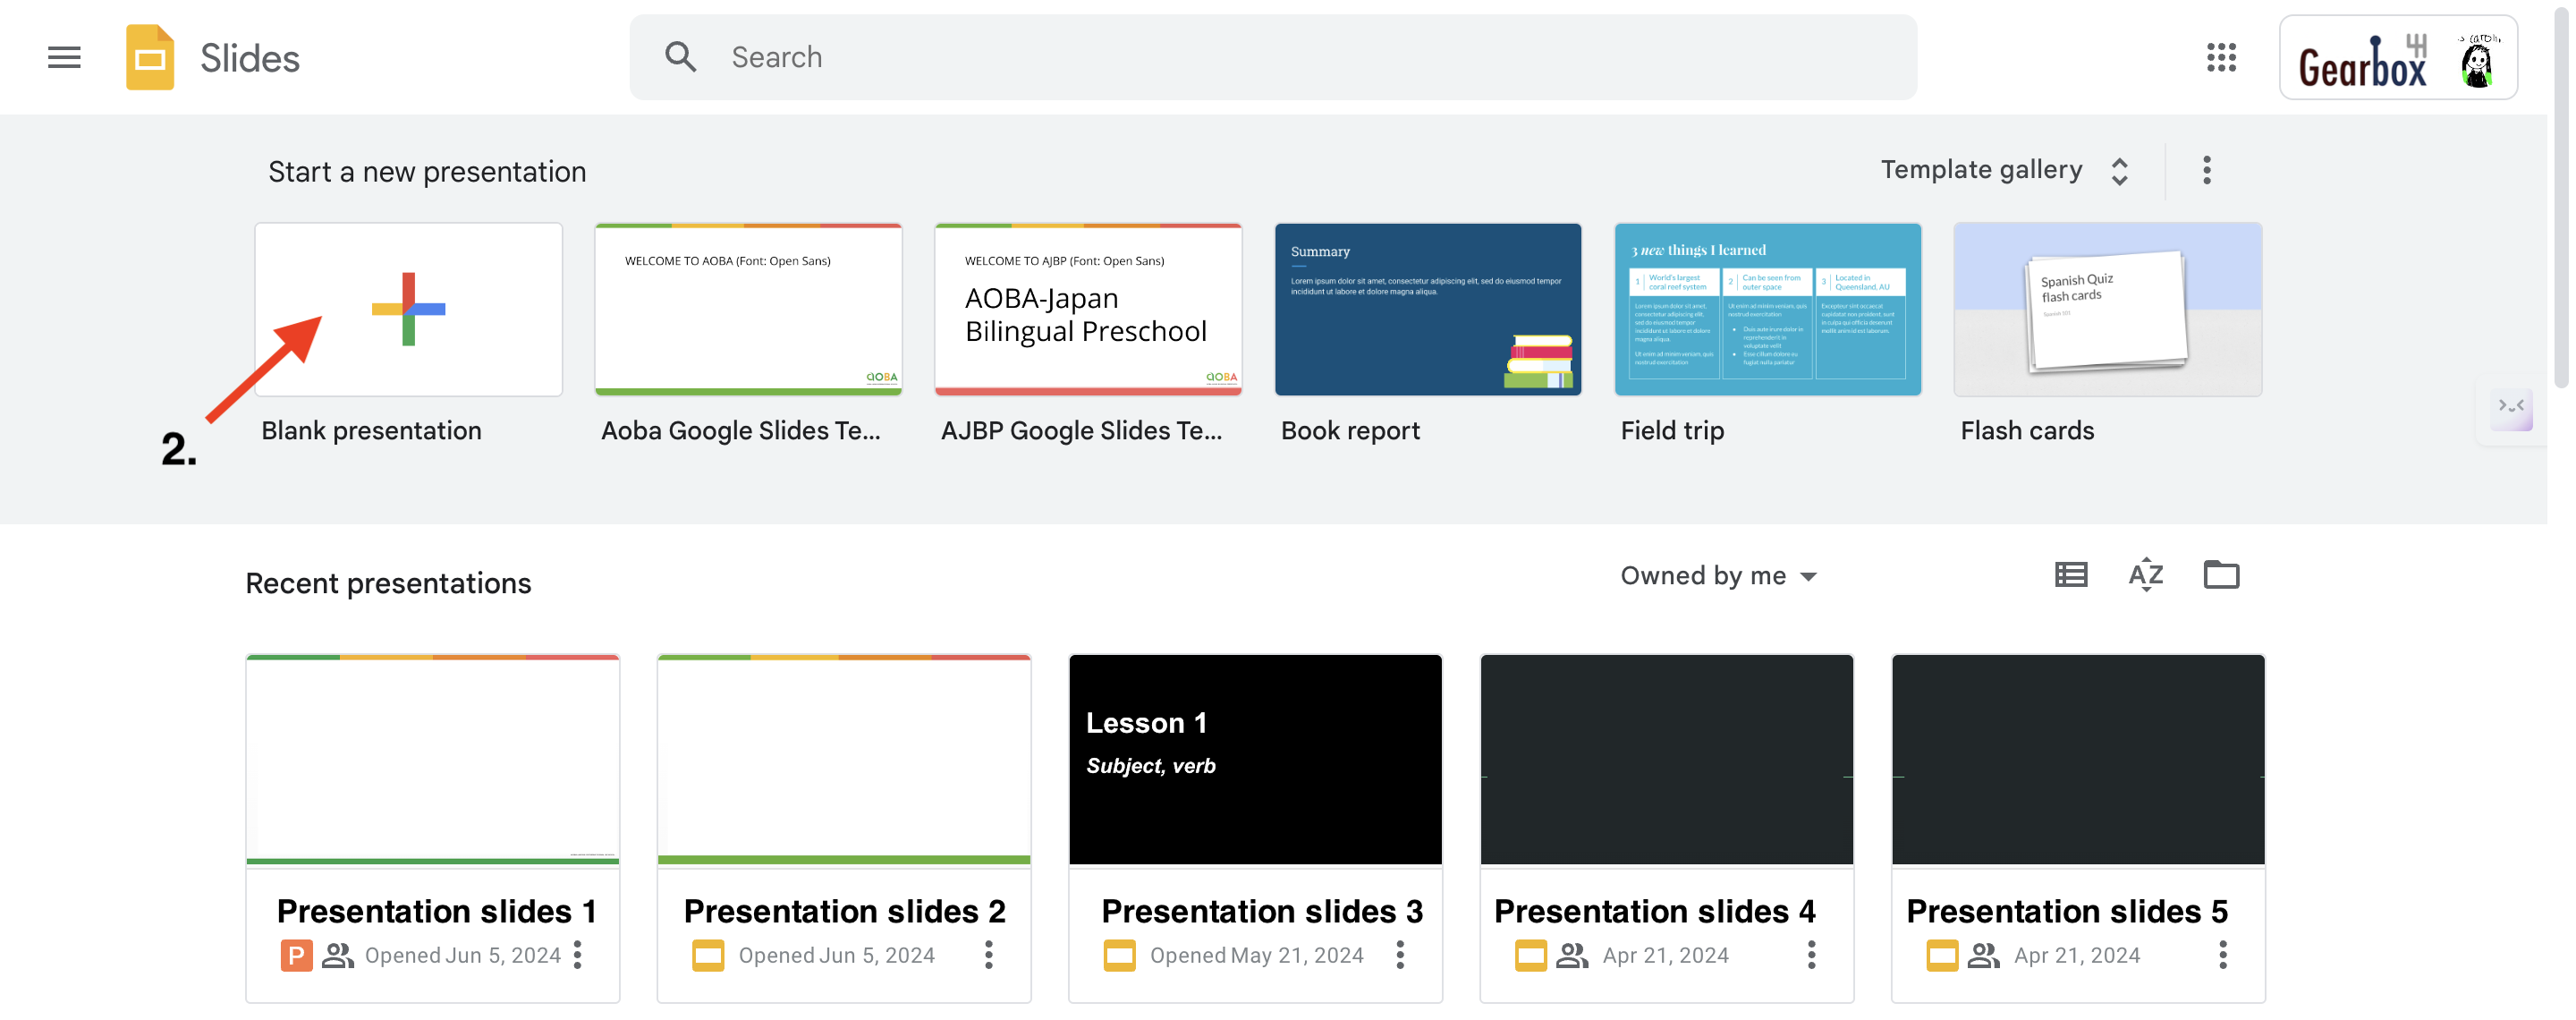
Choose a template to give your presentation a colorful and stylish look right from the start.
Adding Slides:
Click the + button (New Slide) to add a new slide to your presentation.
Choose different slide layouts by clicking the small arrow next to the New Slide button.
Fun Things You Can Do with Google Slides:
Design Your Slides:
Use the Toolbar to add text boxes, images, shapes, and lines to your slides.
Change the background color by right-clicking on a slide and selecting Change background.

Google Slide’s Toolbar
Adding Images and Videos:
Click the Insert menu to add images from your computer or the web.
Insert > Image > Choose how you want to add your pictures.
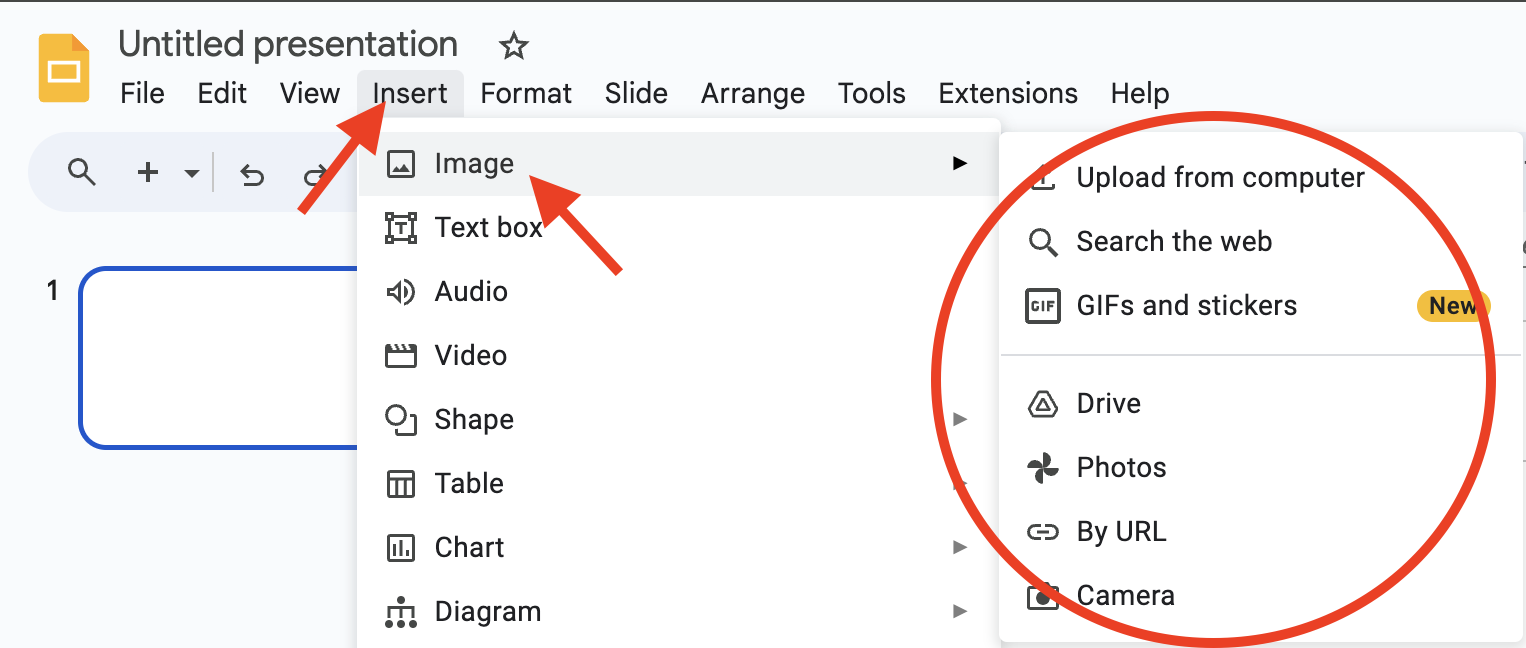
Add videos from YouTube to make your presentation more dynamic and fun.
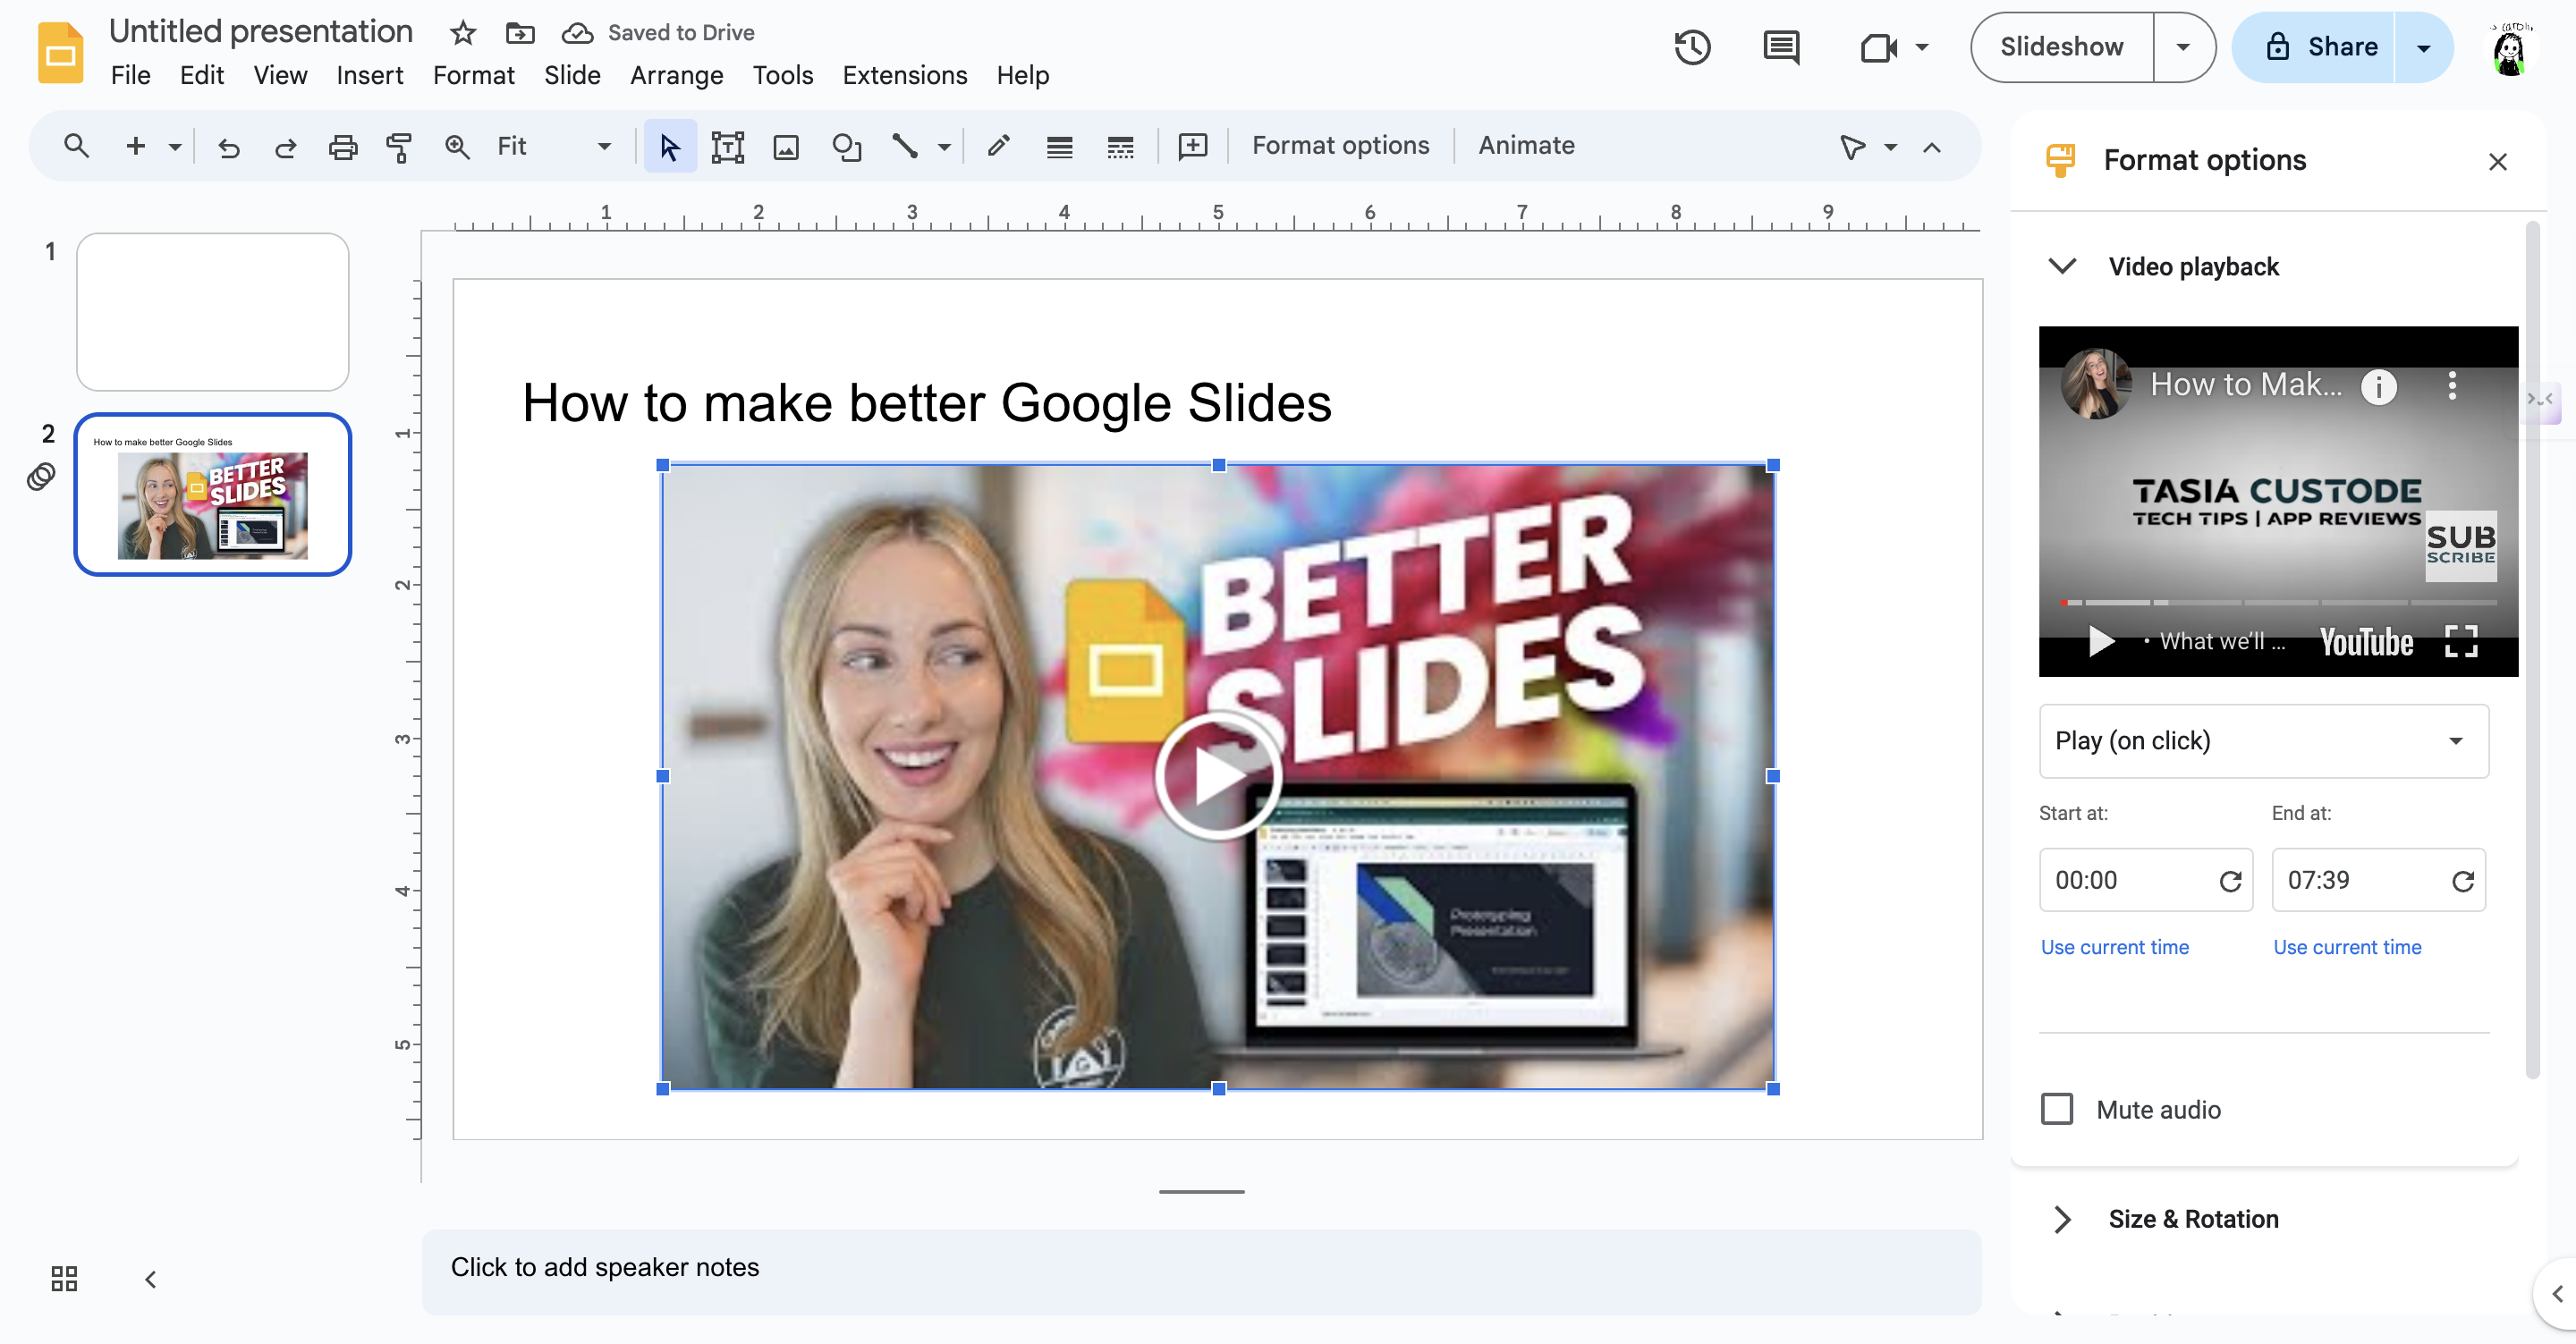
An example of adding a YouTube video to your slide.
Using Animations and Transitions:
Click the Transition button to add transitions and animations.
Choose from cool effects like Fade, Slide, or Zoom to make your presentation more exciting.
https://www.youtube.com/watch?v=o_JqqhzwDfI
Collaboration with Friends:
Click the Share button in the top right corner to invite friends to work on your presentation.
They can add their slides, make edits, and leave comments.
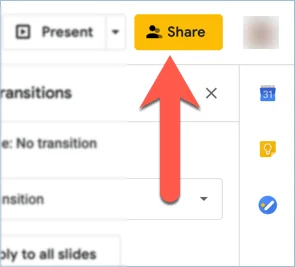
Share button
Tips and Tricks:
Speaker Notes: Use the Speaker Notes section at the bottom of each slide to add notes and reminders for yourself while presenting.
Explore Tool: Click the Explore button (it looks like a star) to get design suggestions, search for images, and find information for your slides.
Presenting: Click the Present button to show your slides full screen. Use the arrow keys to move between slides.
Keyboard Shortcuts: Save time with handy shortcuts
Cmd + M: Add a new slide.
Cmd + D: Duplicate the selected slide.
Cmd + Shift + C: Copy the selected slide.
Stay Safe and Have Fun:
Keep Your Work Private: Only share your presentation with people you trust. Use the sharing settings to control who can view or edit your slides.

Respect Others' Work: When collaborating, always be kind and respectful to your friends' contributions.
6️⃣ Google Sheets
What is Google Sheets?
Google Sheets is like a giant interactive notebook where you can organize data, calculate numbers, and create colorful charts. Whether you’re tracking your homework, planning a project, or just having fun with numbers, Google Sheets has got you covered.
 Example of a weekly planner | 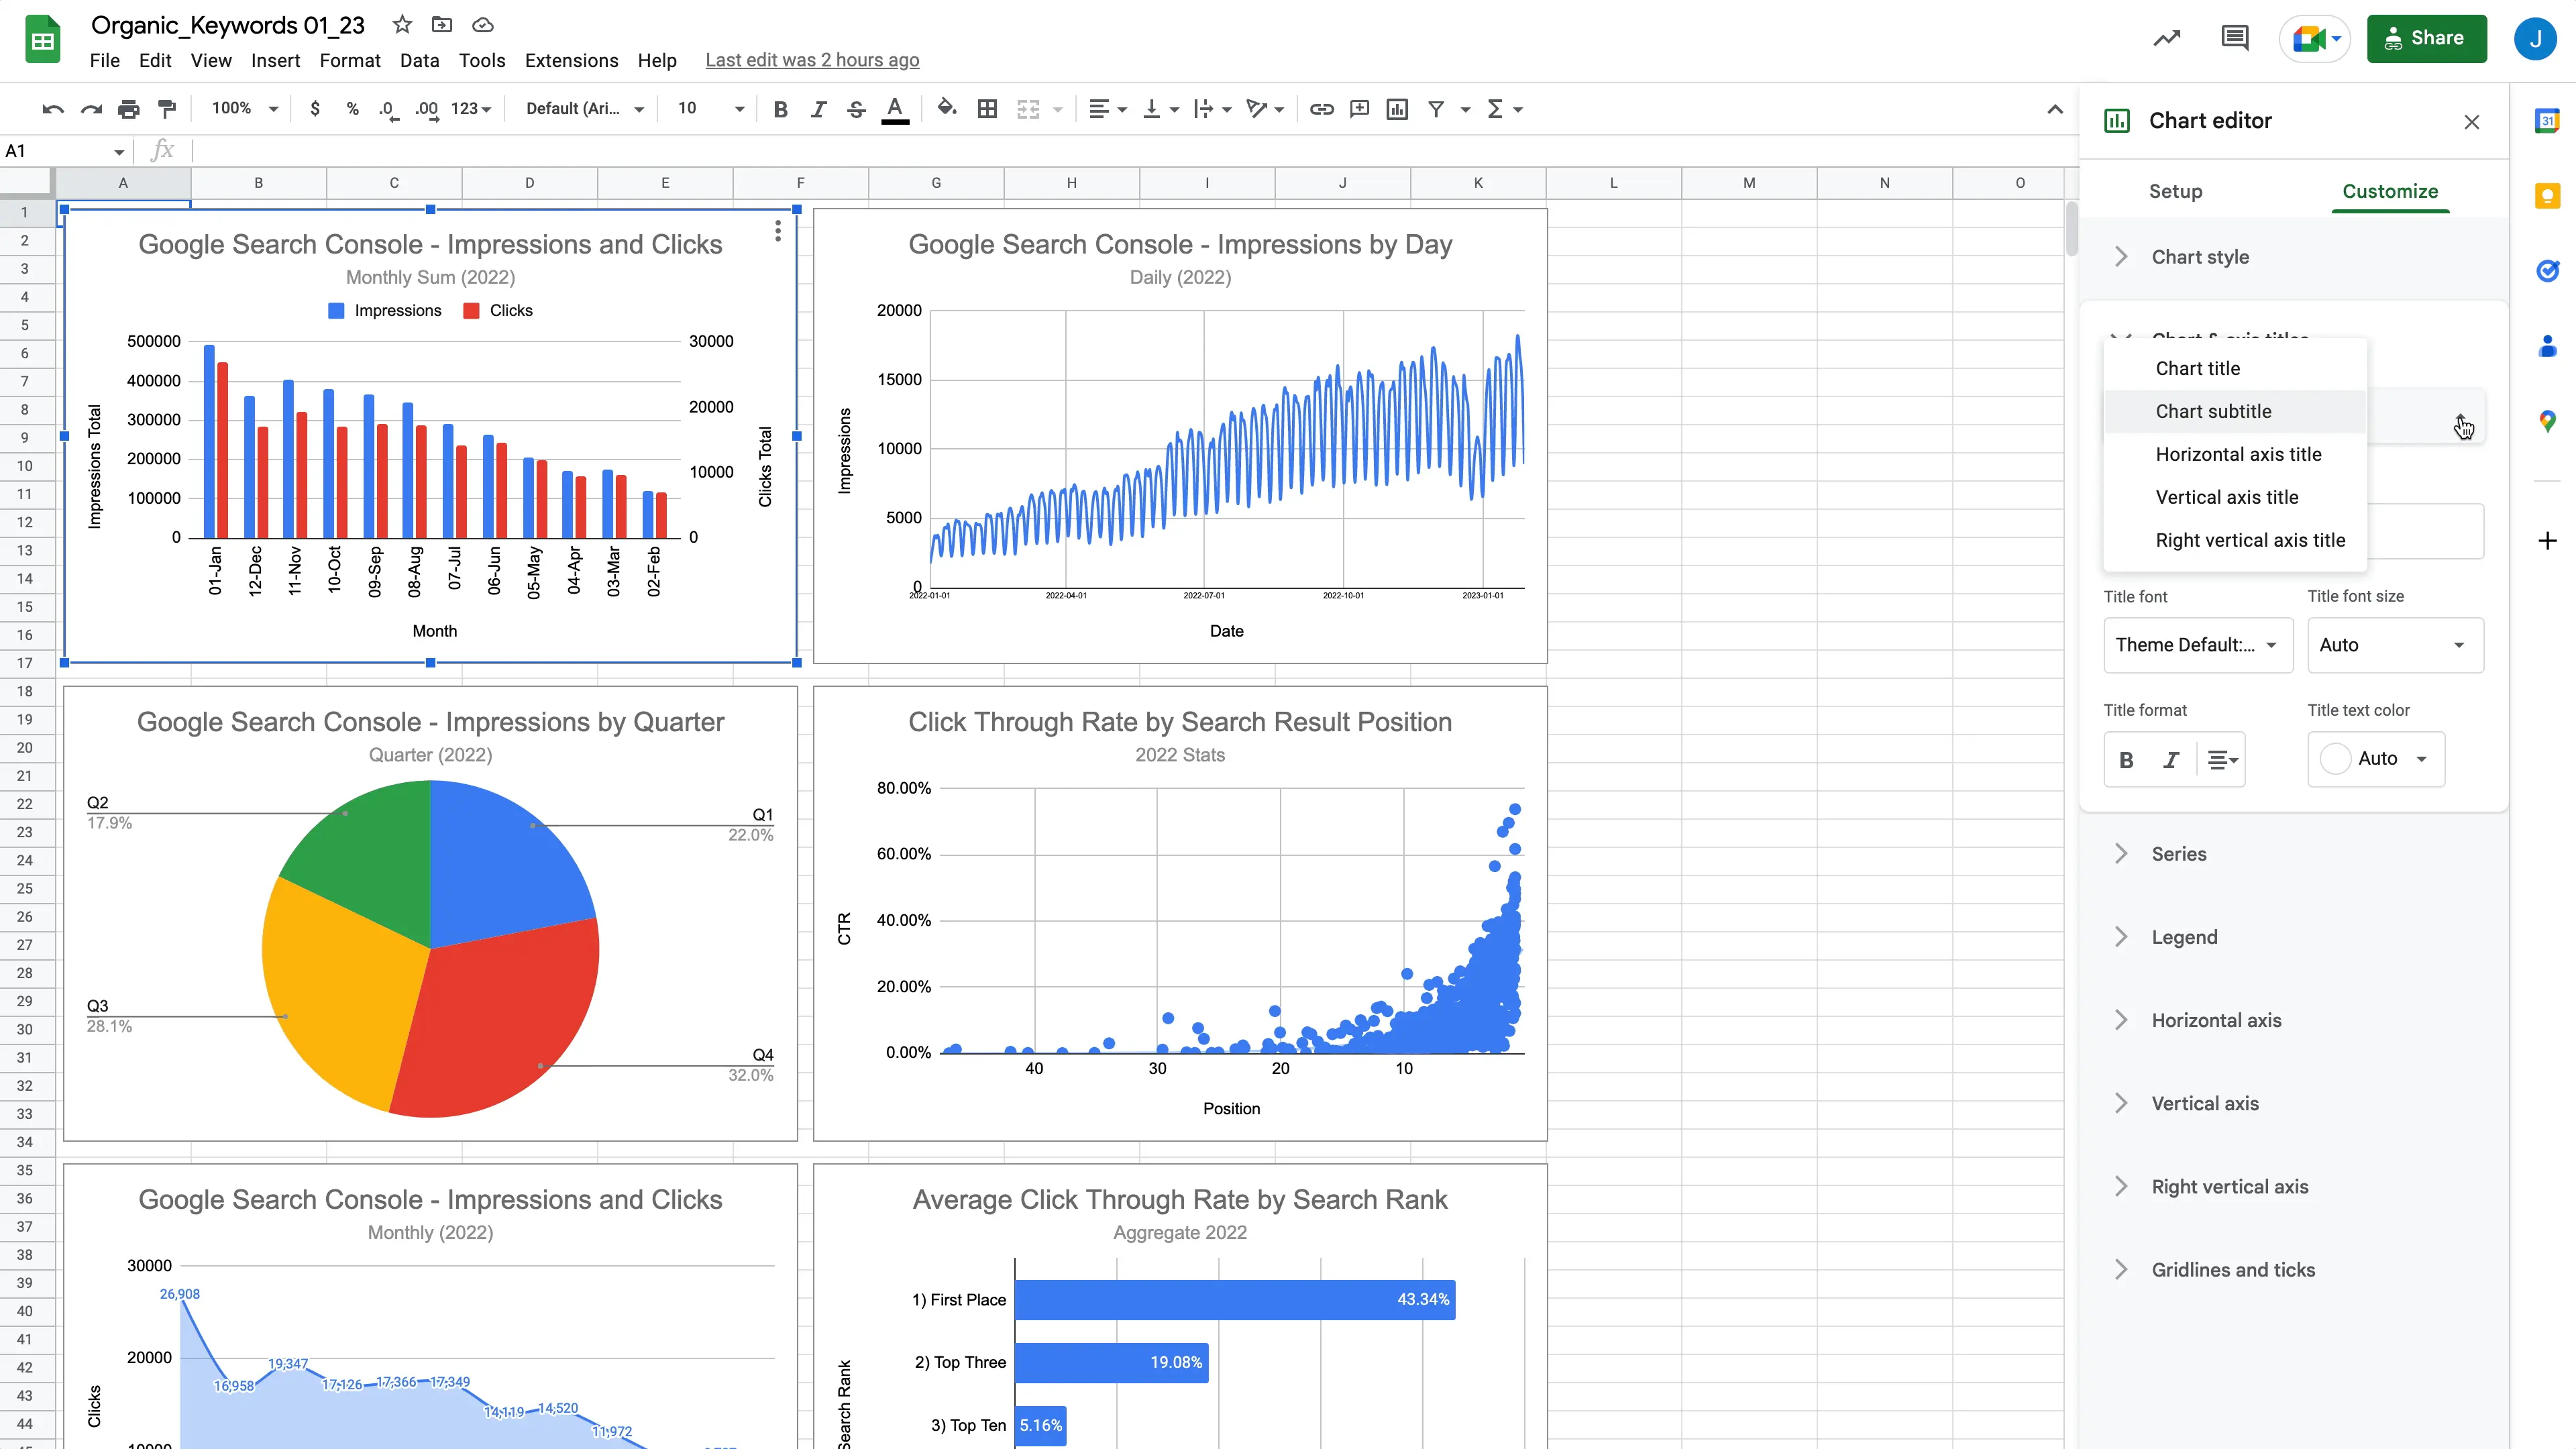 Example of a graph/chart |
Example of a tracker | 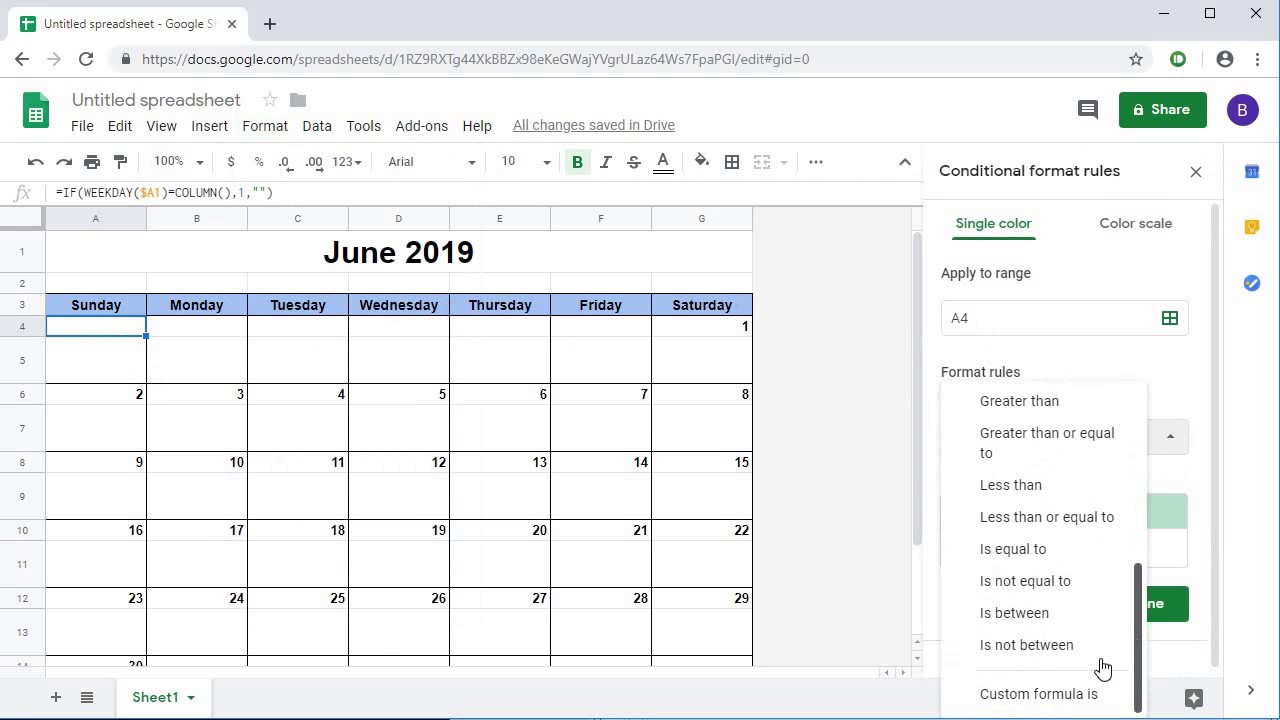 Example of a calendar |
Why We Love Google Sheets
Organize Information: Keep track of data and information in an organized way using rows and columns.
Do Cool Math: Use formulas to add, subtract, multiply, and more. Google Sheets does the math for you!
Create Awesome Charts: Turn your data into colorful charts and graphs to make your information easy to understand.
Getting Started with Google Sheets
Accessing Google Sheets:
Go to sheets.google.com or open Google Sheets from your Google Workspace
Sign in with your school email account to get started
Creating a New Spreadsheet:
Click the Blank button to start a new spreadsheet.
You can also choose a template to help you get started quickly.
Understanding the Basics:
Cells: The small boxes where you enter data are called cells. Each cell has a name based on its column and row (like A1, B2, etc).
Rows and Columns: Rows go across the spreadsheet, and columns go up and down.
Entering Data:
Click on a cell and start typing to enter data. Press Enter to move to the next cell down or Tab to move to the next cell to the right.
Using Formulas:
Google Sheets can do math for you using formulas. Start a formula with an equal sign (=).
Example: Type ‘=A1+B1’ to add numbers in cells A1 and B1.
Creating Charts:
Highlight the data you want to turn into a chart
Formatting Cells:
Sorting and Filtering Data:
Tips and Tricks:
7️⃣ Google Sites
What is Google Sites?
Google Sites is a super easy-to-use tool that lets you create and design your own websites. Whether you want to make a site for your school project, a club, or just for fun, Google Sites helps you build it with no coding needed. You can add text, images, videos, and more to make your website shine!
Why We Love Google Sites:
Easy to Use: Create beautiful websites with simple drag-and-drop tools. No coding required!
Share Your Ideas: Showcase your projects, ideas, and stories in an engaging way.
Collaborate: Work with friends and classmates on the same site to make it even better.
Getting Started with Google Slides:
Accessing Google Sites:
Go to sites.google.com or open Google Sites from your Google Workspace.
Sign in with your school email account to get started.
Creating a New Site:
Click the + (Create) button to start a new site.
Choose a template to get started quickly or start from a blank page.
Adding Pages:
Click the Pages tab on the right to add new pages to your site.
Click the + button at the bottom to create a new page and give it a name.
Fun Things We Can Do with Google Sites:
Designing Your Site:
Use the Insert tab to add text boxes, images, buttons, and more.
Drag and drop elements to arrange them on your page.
Adding Images and Videos:
Click Images to upload pictures from your computer or search the web for images.
Click Embed to add videos from YouTube or other websites.
Customizing Your Site:
Change the theme and style of your site by clicking the Themes tab.
Choose colors and fonts that match your style.
Creating Links:
Highlight text or an image, then click the Link button to create a link to another page on your site or an external website.
Adding Google Drive Files:
Click the Google Drive option to insert documents, slides, sheets, and more directly from your Google Drive.
Tips and Tricks:
Use Sections: Organize your content by adding different sections to your pages. Click Section Layouts in the Insert tab to choose different layouts.
Preview Your Site: Click the Preview button (it looks like an eye) to see how your site will look on different devices like computers, tablets, and phones.
Share and Collaborate: Click the Share with others button to invite friends to edit your site. Enter their email addresses and choose their permissions (edit or view).
Publish Your Site: When you’re ready to share your site with the world, click the Publish button. Choose a web address for your site and click Publish again.
Stay Safe and Have Fun:
Keep Your Information Private: Be mindful of what personal information you share on your site. Always ask an adult if you’re unsure.
Respect Others' Work: When collaborating, always be kind and respectful to your friends' contributions.
Review Sharing Settings: Before publishing, review who can see your site by clicking Share with others. Make sure you’re comfortable with the audience.
Get Started with Google Sites Today!
Are you excited to start creating your very own website? Ask your teacher or parent to help you set up your account if you don’t have one yet. Once you’re all set, open up Google Sites and start building your amazing website.