How to navigate the library and channels?
Prefer to watch a video? Check out the full tutorial with chapter mark here:
Once you record or upload a video, it will live in your LIBRARY
The Library
Your Library is your main workspace.
From here you can:
Rename or delete recordings
Edit video details (title, thumbnail, privacy, and the video itself!)
Add captions, chapters, or annotations
Add interactivity like call outs and quizzes
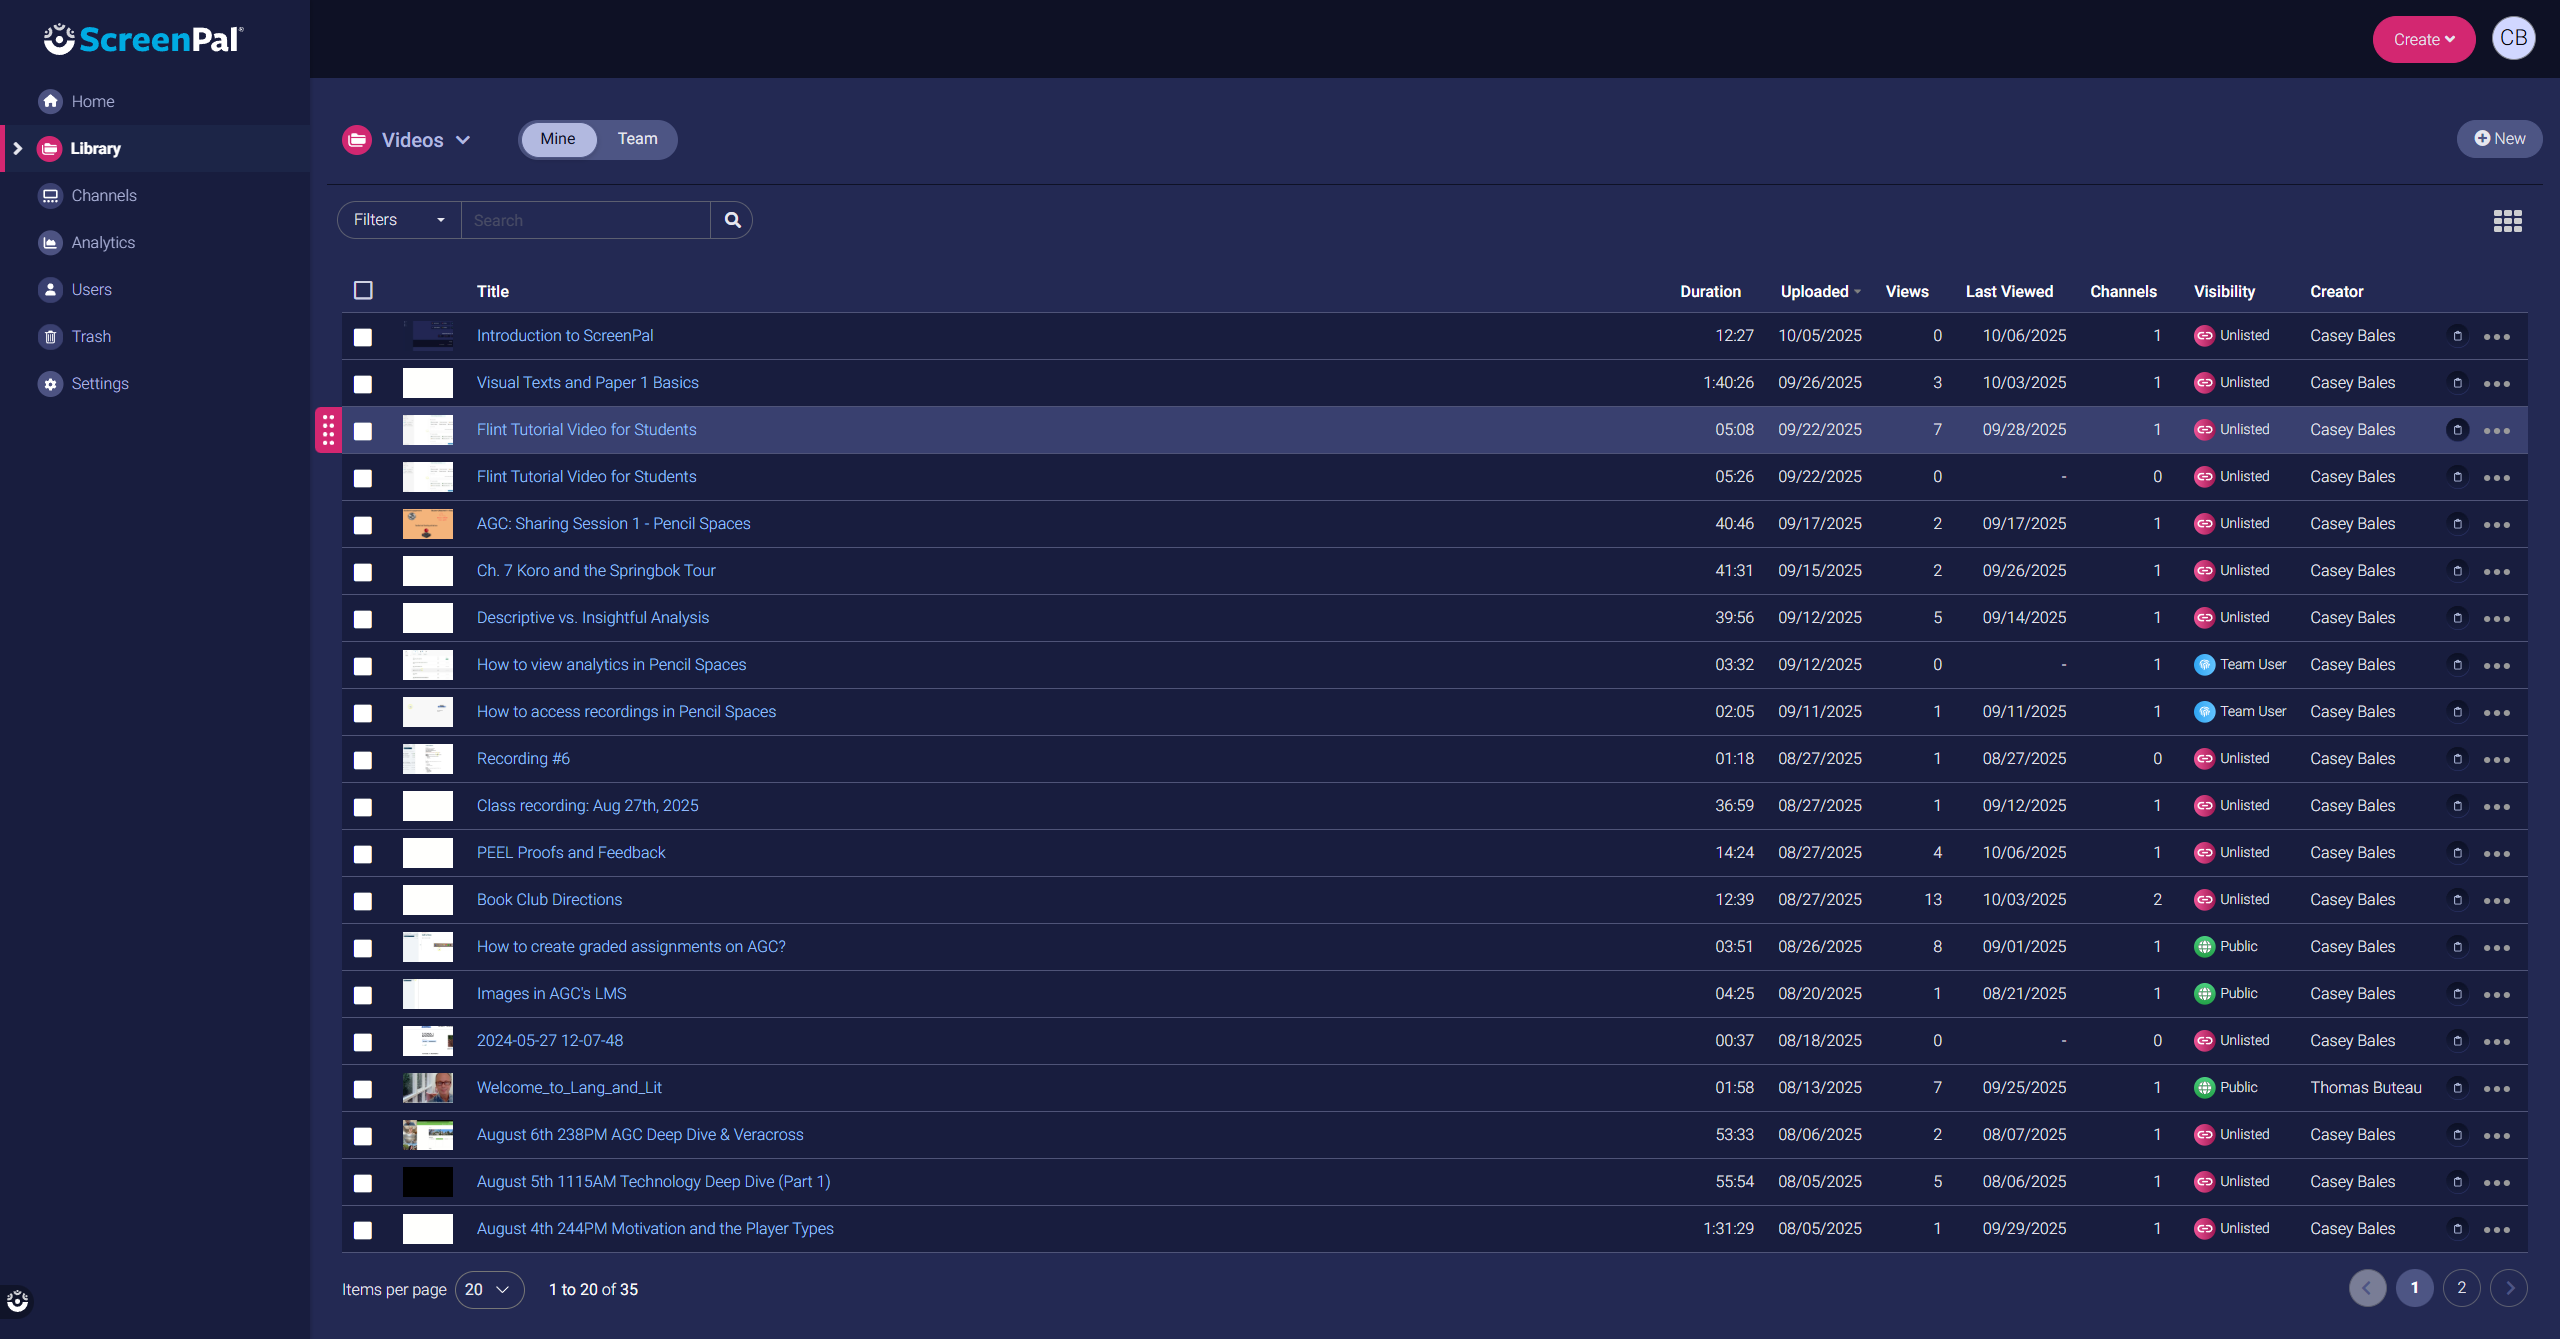
To managed a video, you can click on it, or the three dots on the right, or hover over it if you are in thumbnail view.

Once you are in the management screen as below, you will be able to rename the title, add a summary (description), review, edit the video, add captions, chapter marks, and much more!

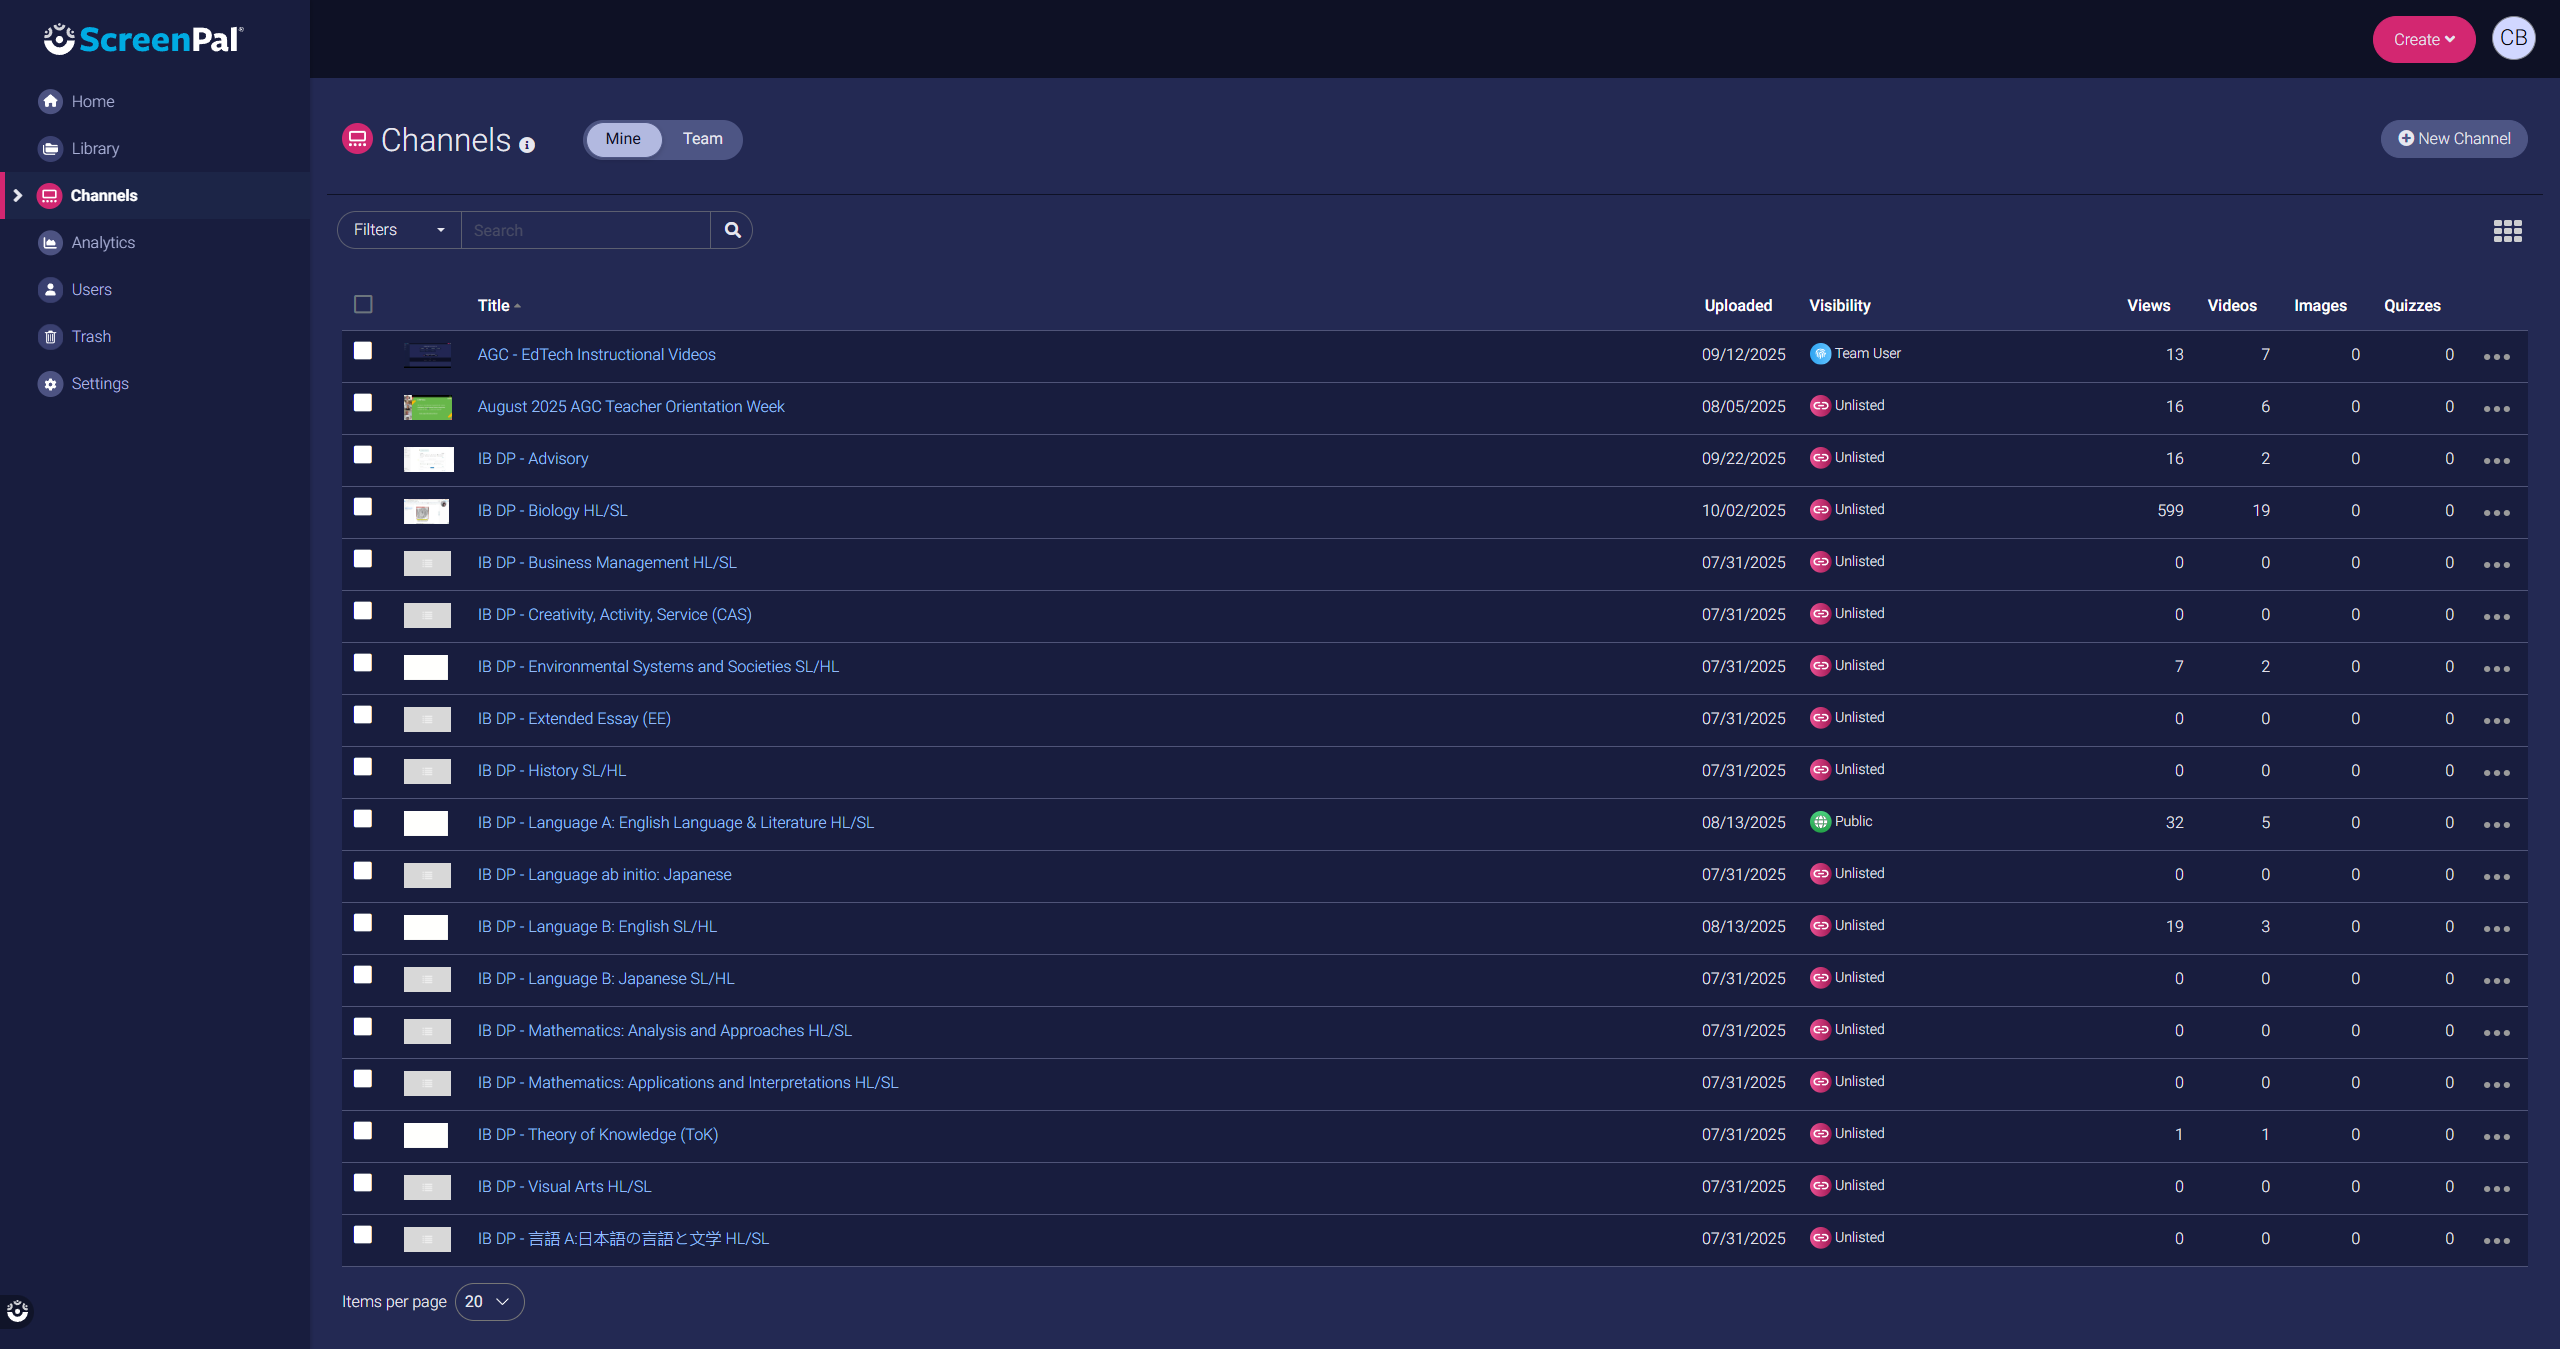
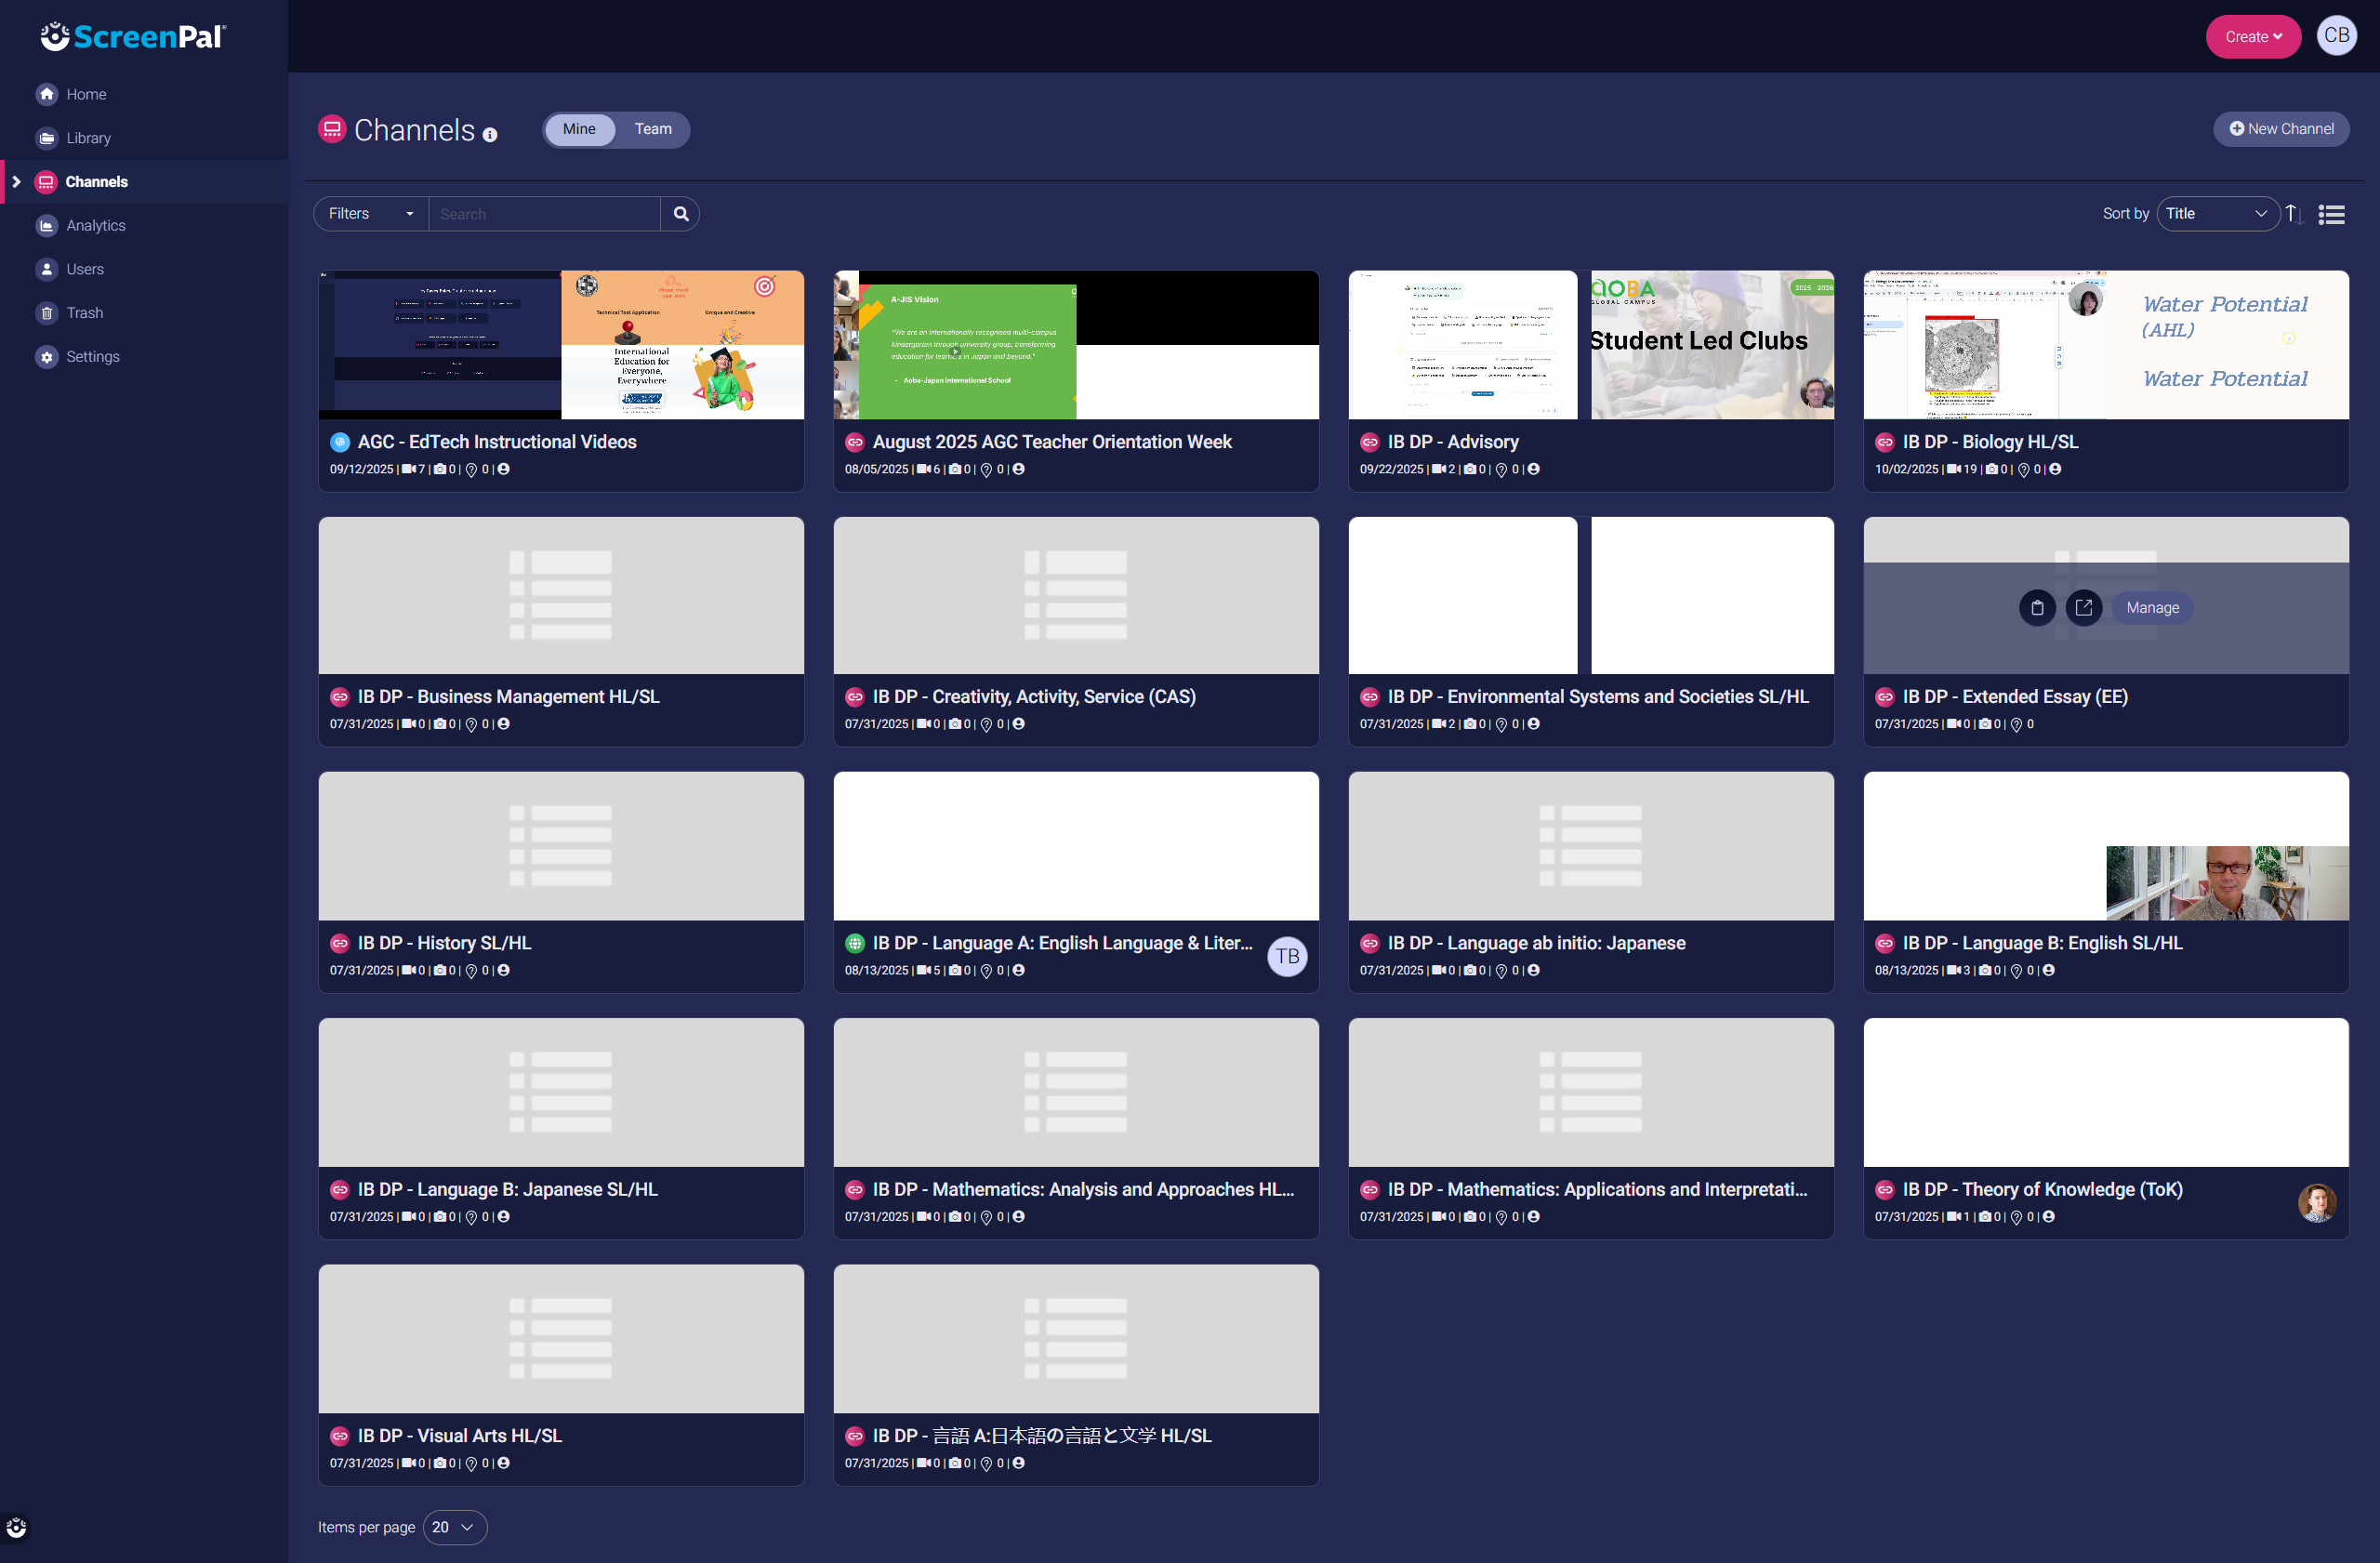
Channels
Channels are like video playlists you can share with students or other teachers.
Click Channels in the left menu.
Choose visibility: private, unlisted, or public.
Assign videos from your Library to appear in channel(s)
Share the channel link or embed code in your LMS.
At Aoba, we mainly utilize channels as playlists for classes and other topics.
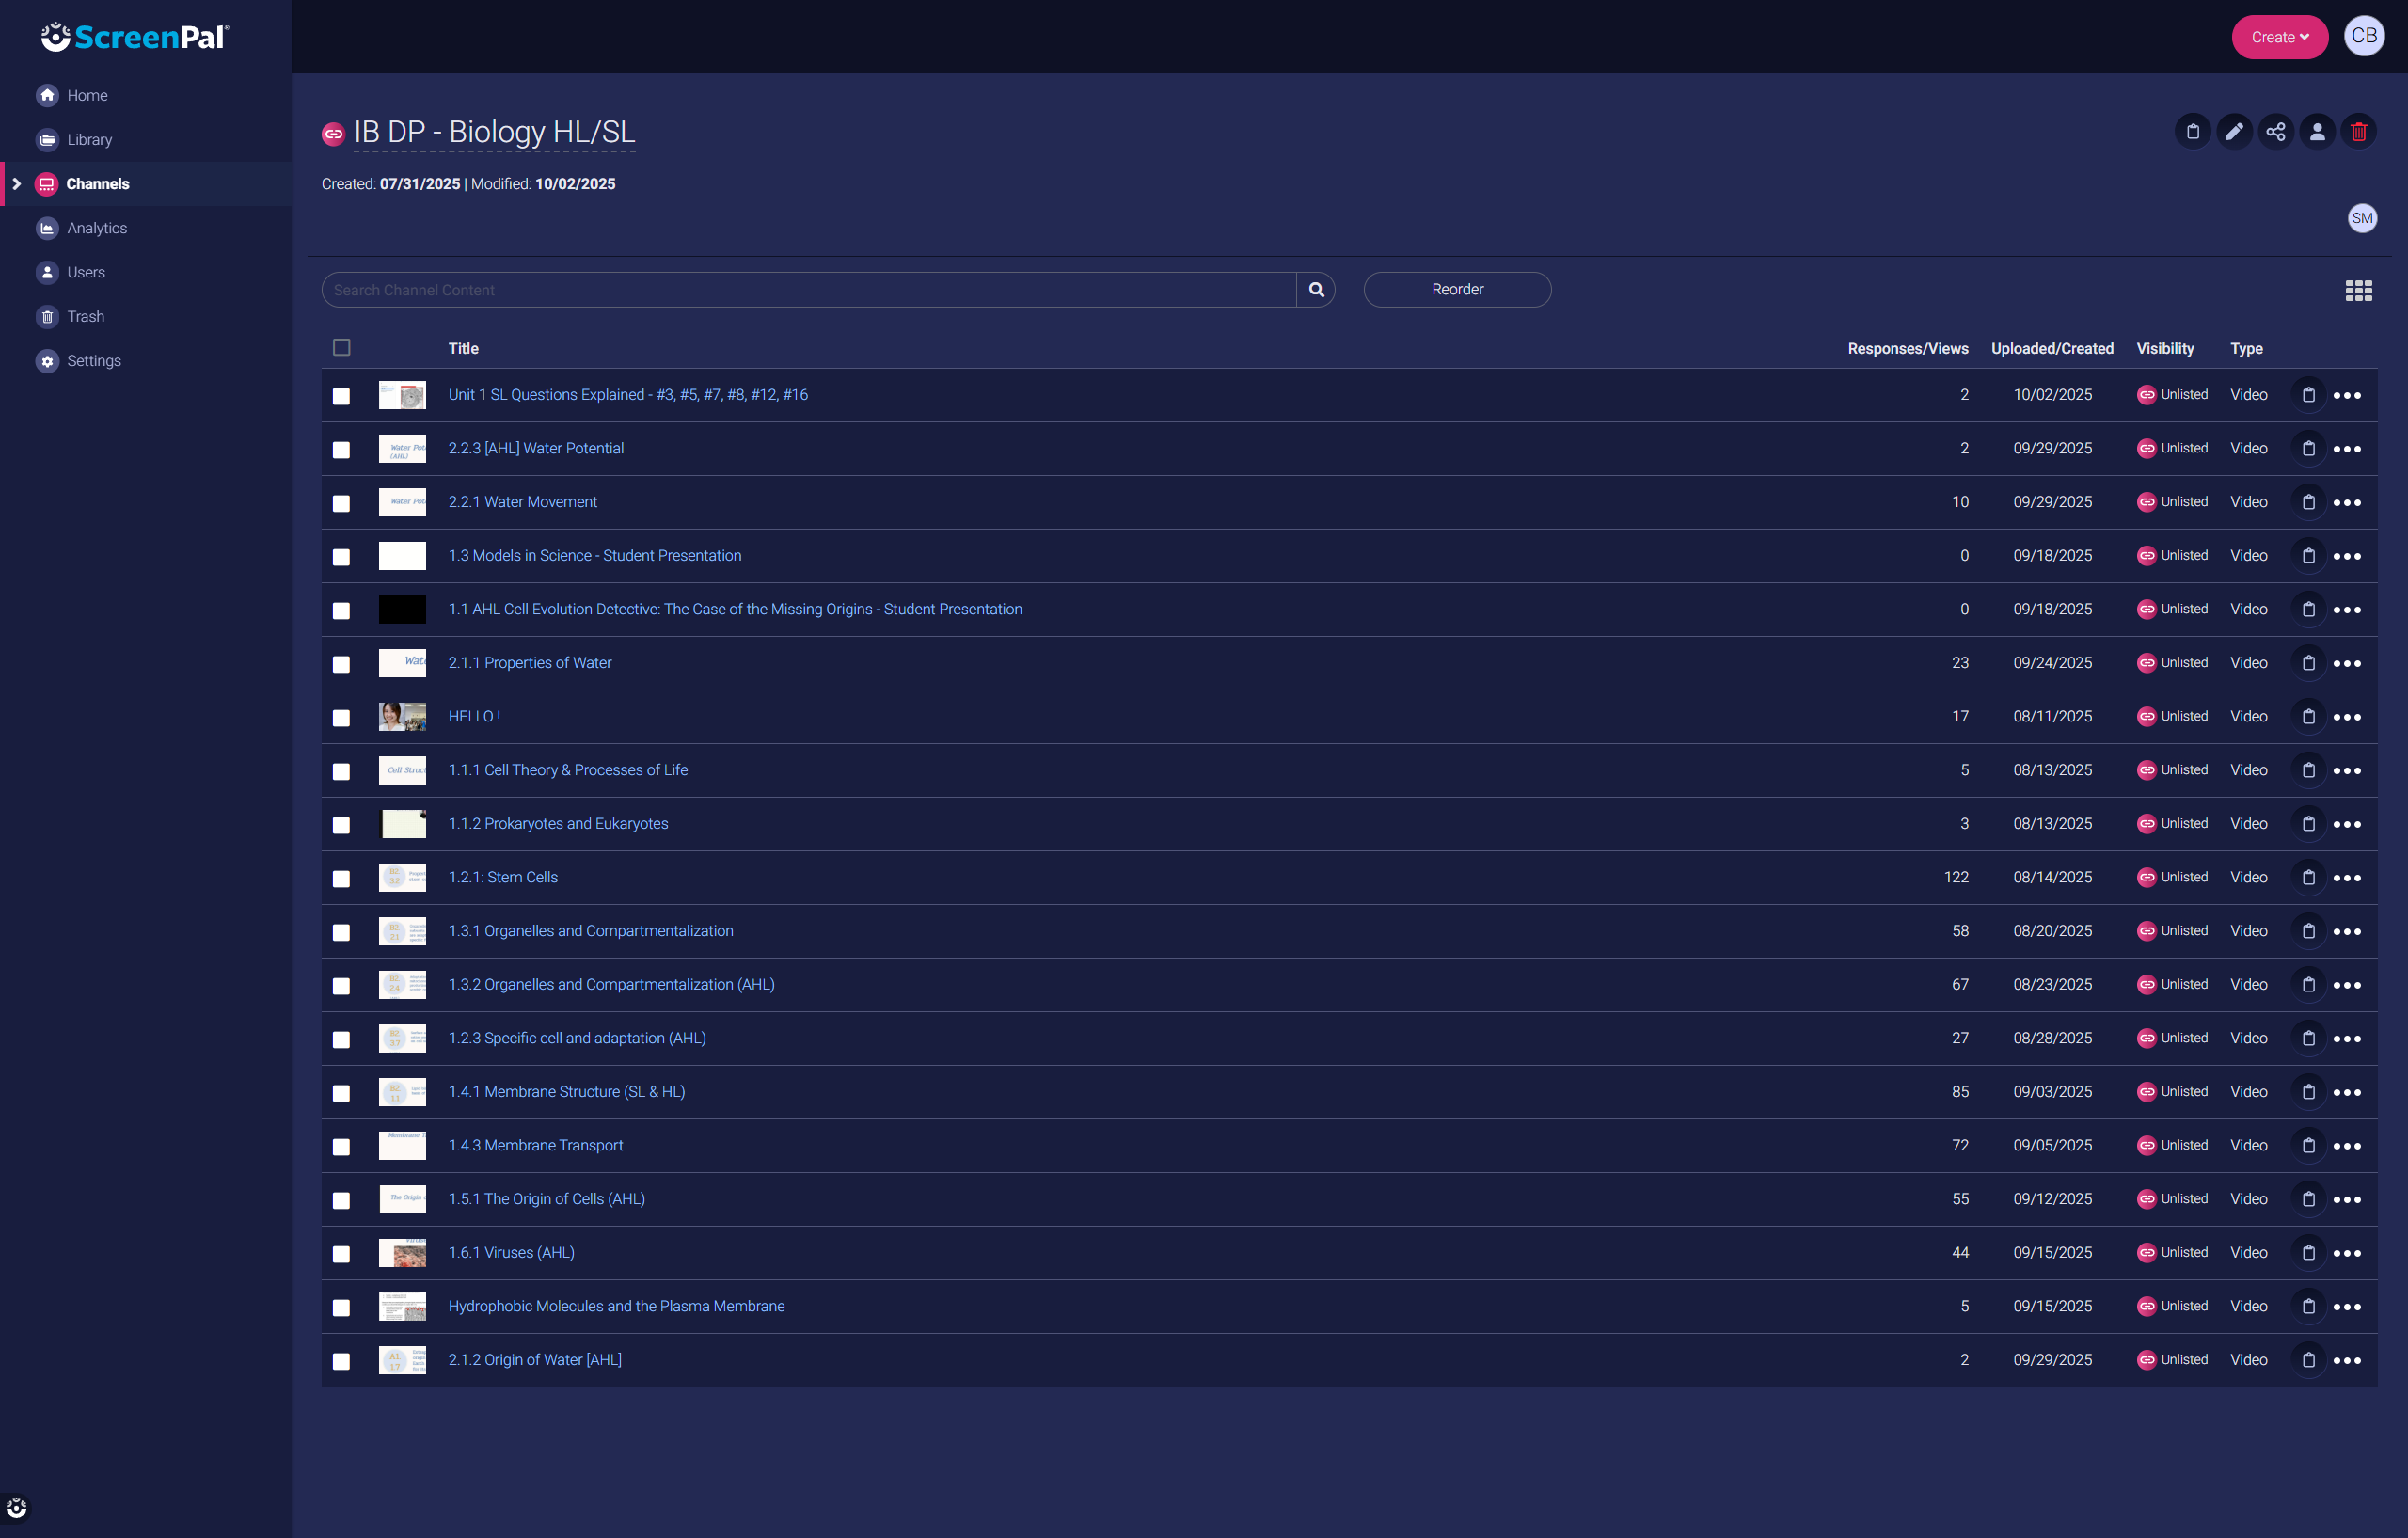
LIST VIEW
THUMBNAIL VIEW
Once you click a channel, you can see all the videos that have been added to it. *Remember, adding videos doesn’t mean ‘moving’ them from the library. It just means they will be visible in the channel. The videos still reside in the library.
Student View: Students can stream videos directly from a shared channel link. Interactive features (captions, chapters, quizzes) remain active.
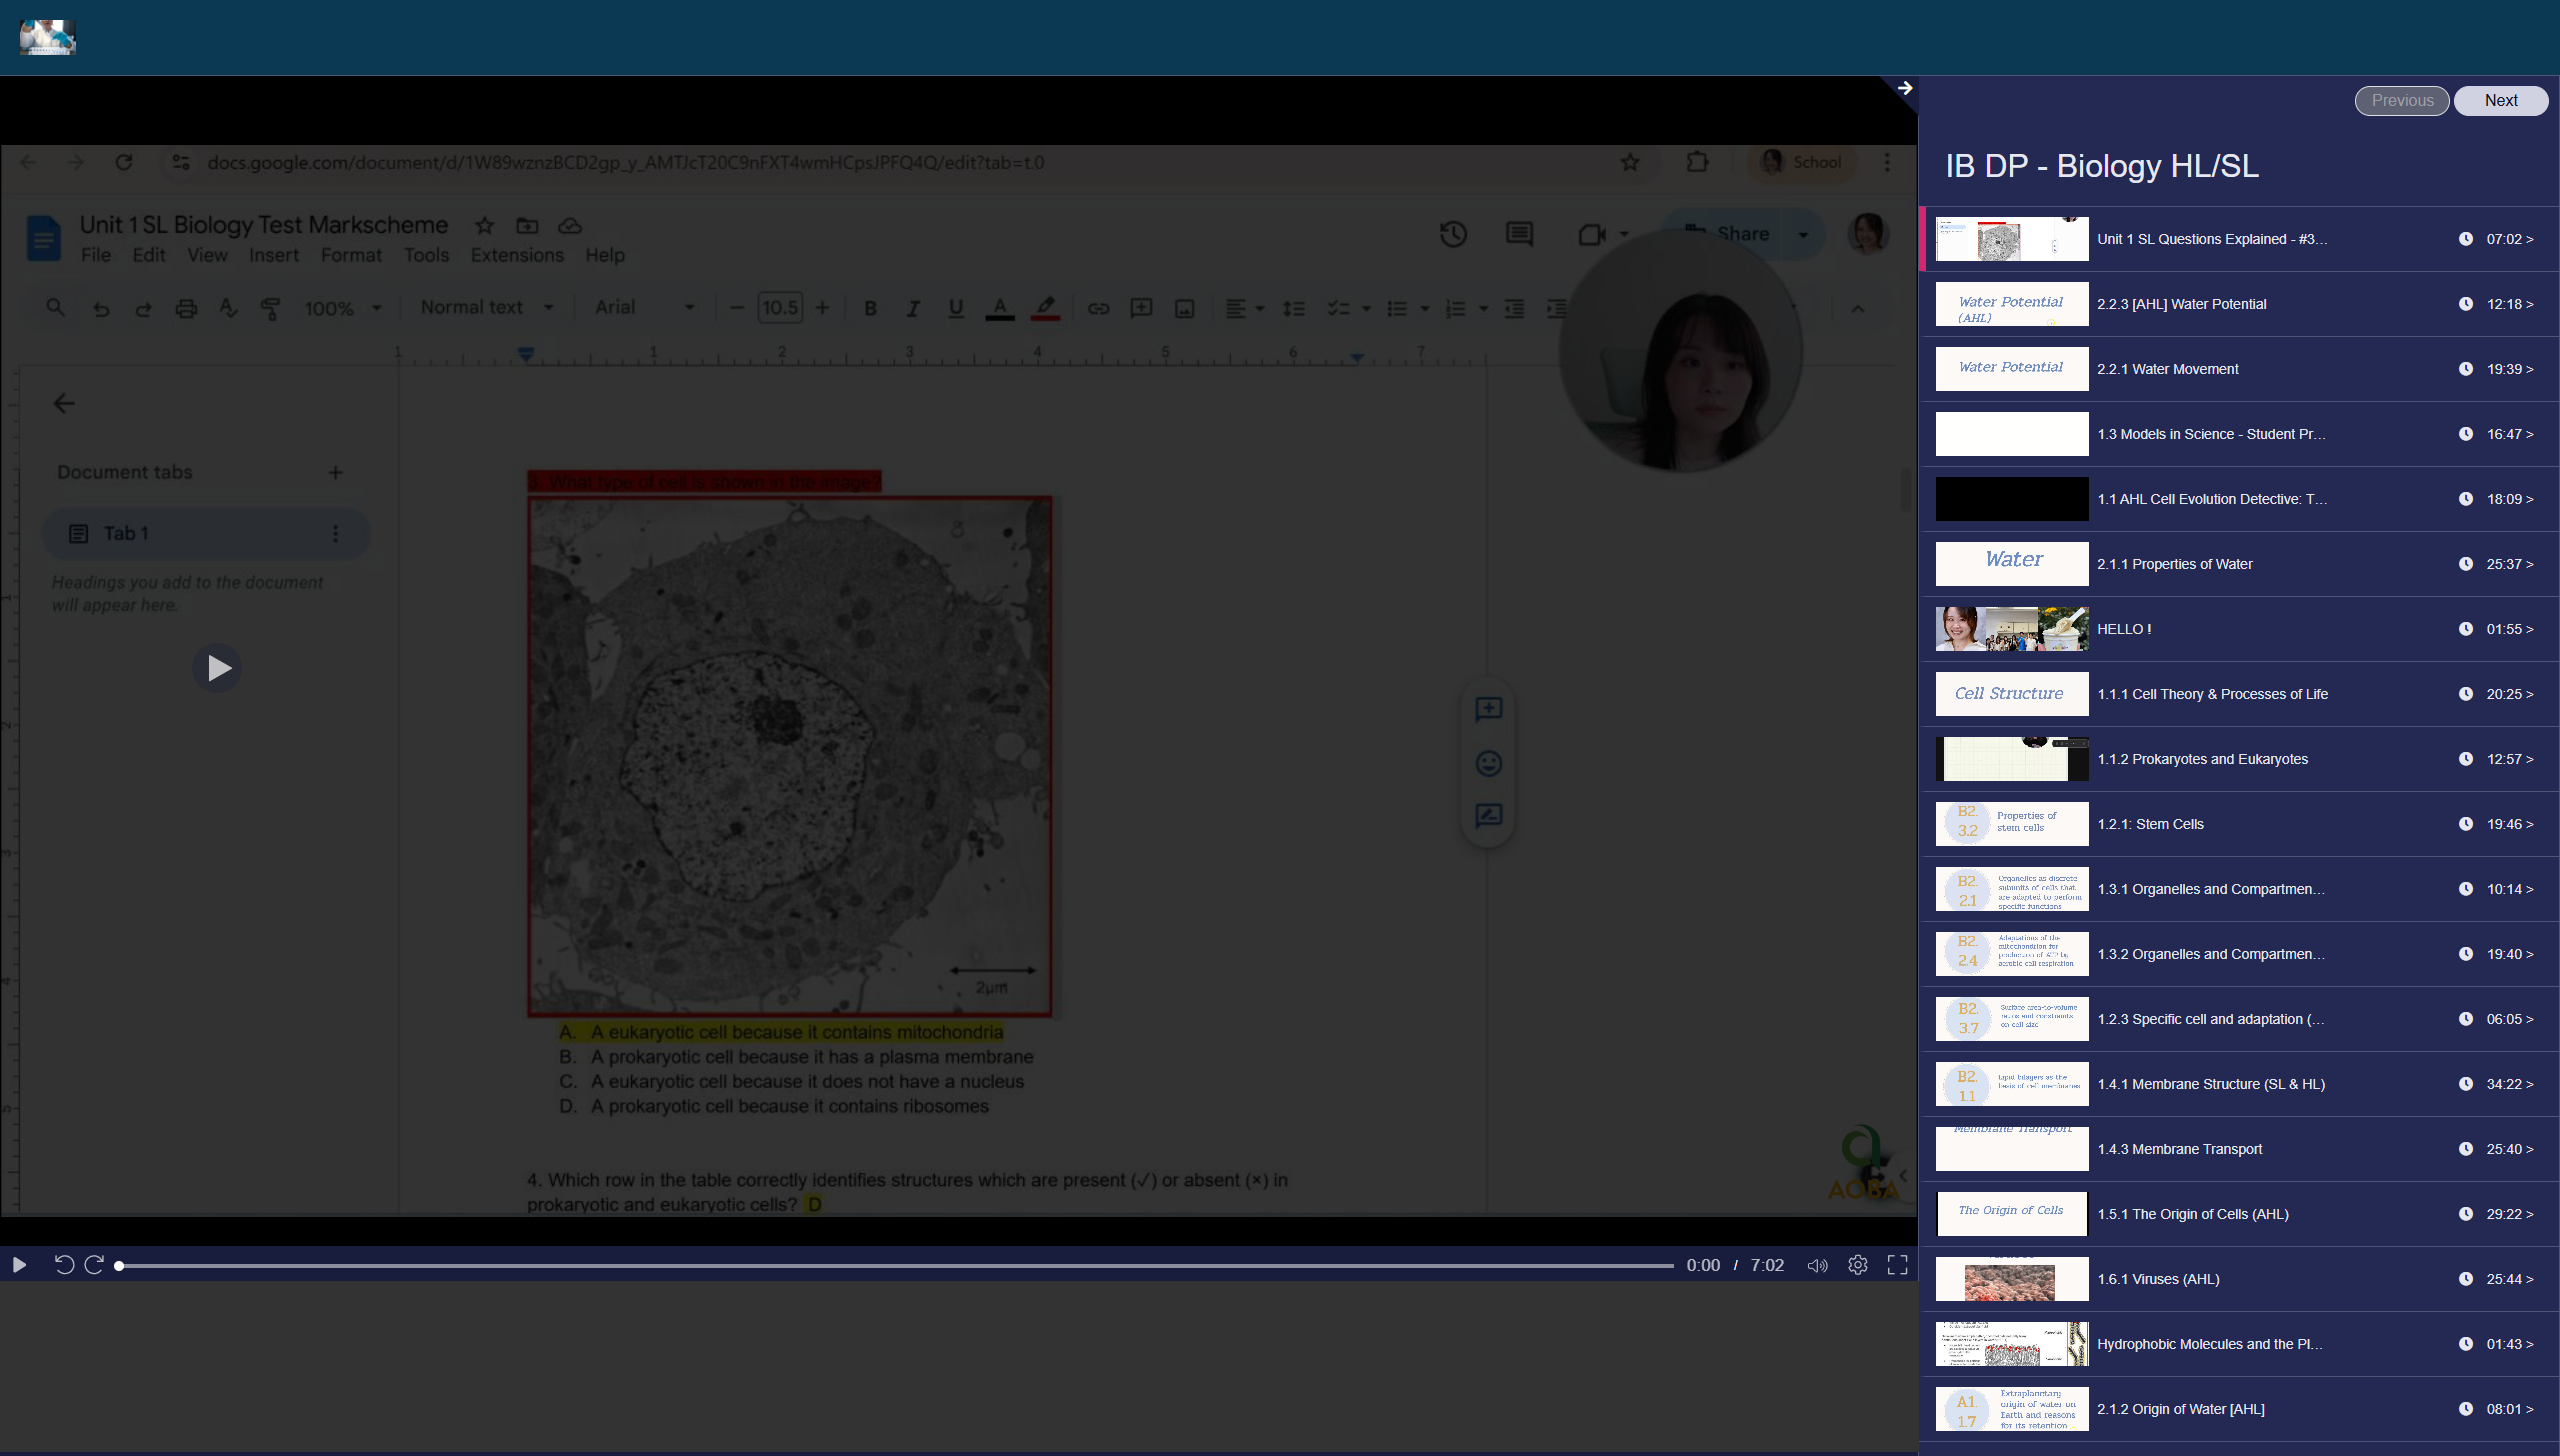
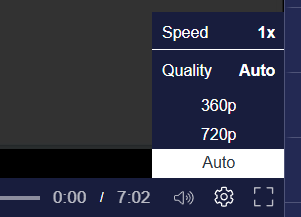
Views have the option to control the volume, resolution and speed of the video.