
How to add/connect to a Bambu 3D printer?
To print something on the Bambu A1 printers, you have two methods.
Use the microSD card
Wirelessly send the print through the Bambu Studio application
This guide will go into details about the second method. For the microSD card method, simply download the .gcode file, copy it to the card, then insert the card into the printer and it will be available in the menu.
At Bunkyo we have two printers. Please notes their asset name and access code below.

Name: BBA1-0001 Access Code 45585672

Name: BBA1-0002 Access Code 15004446
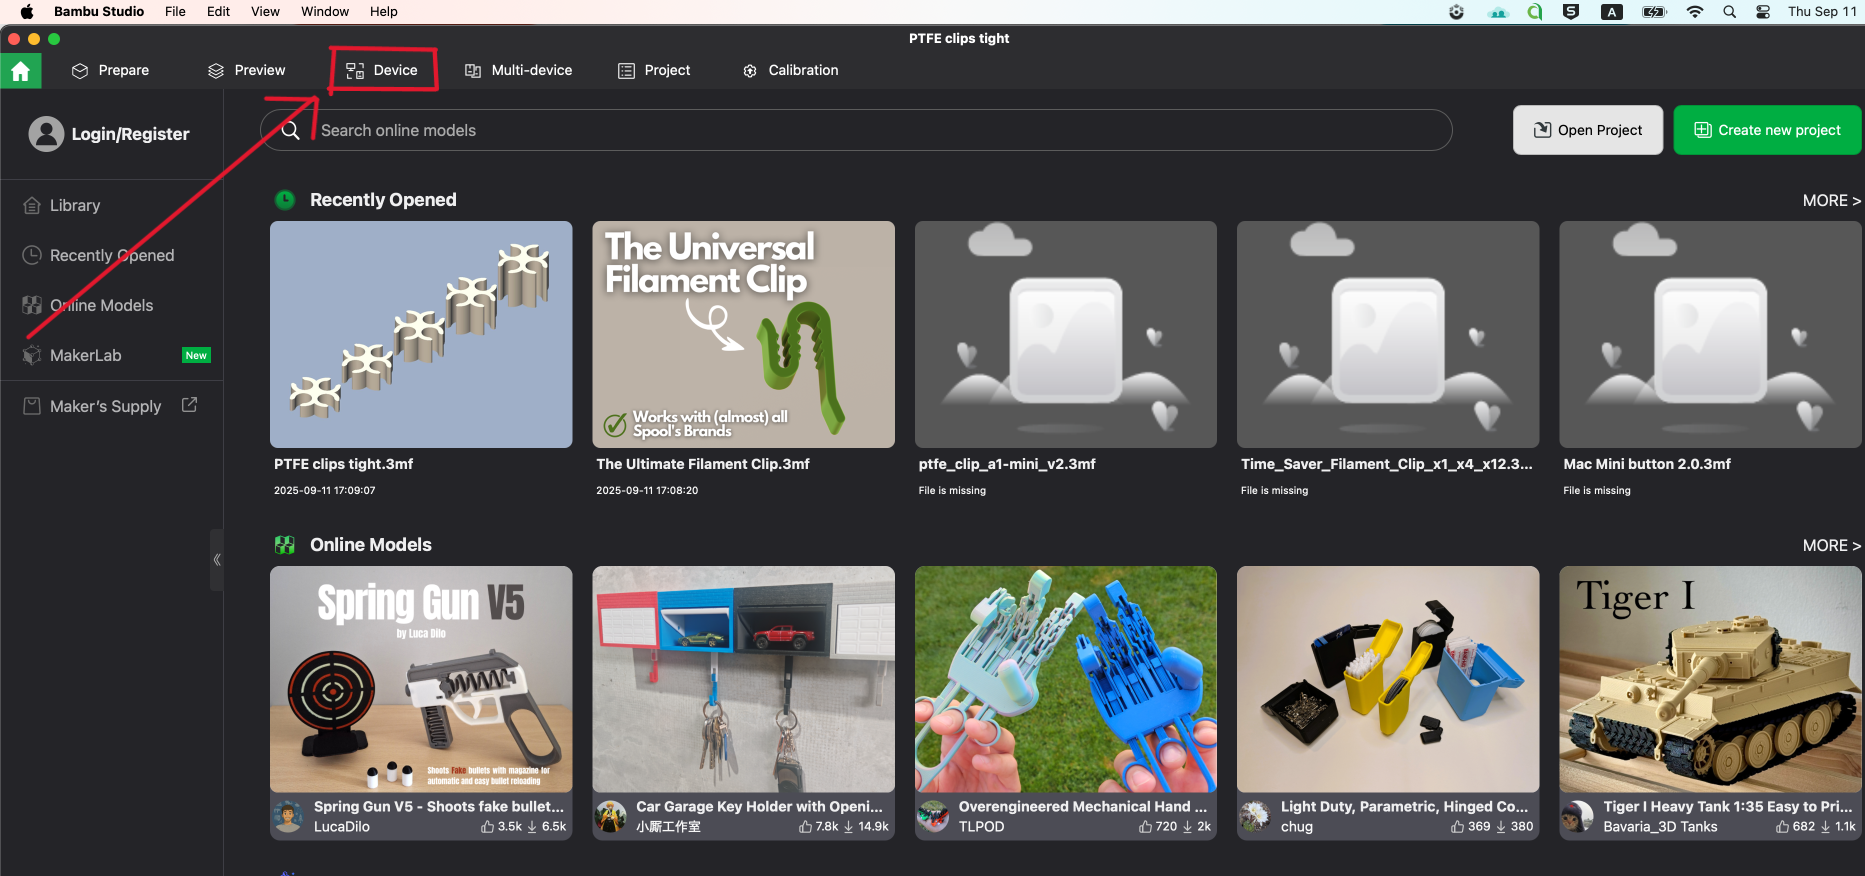
Step 1: Add Device(s)
Go to the Devices tab (you don’t need to log in for this)
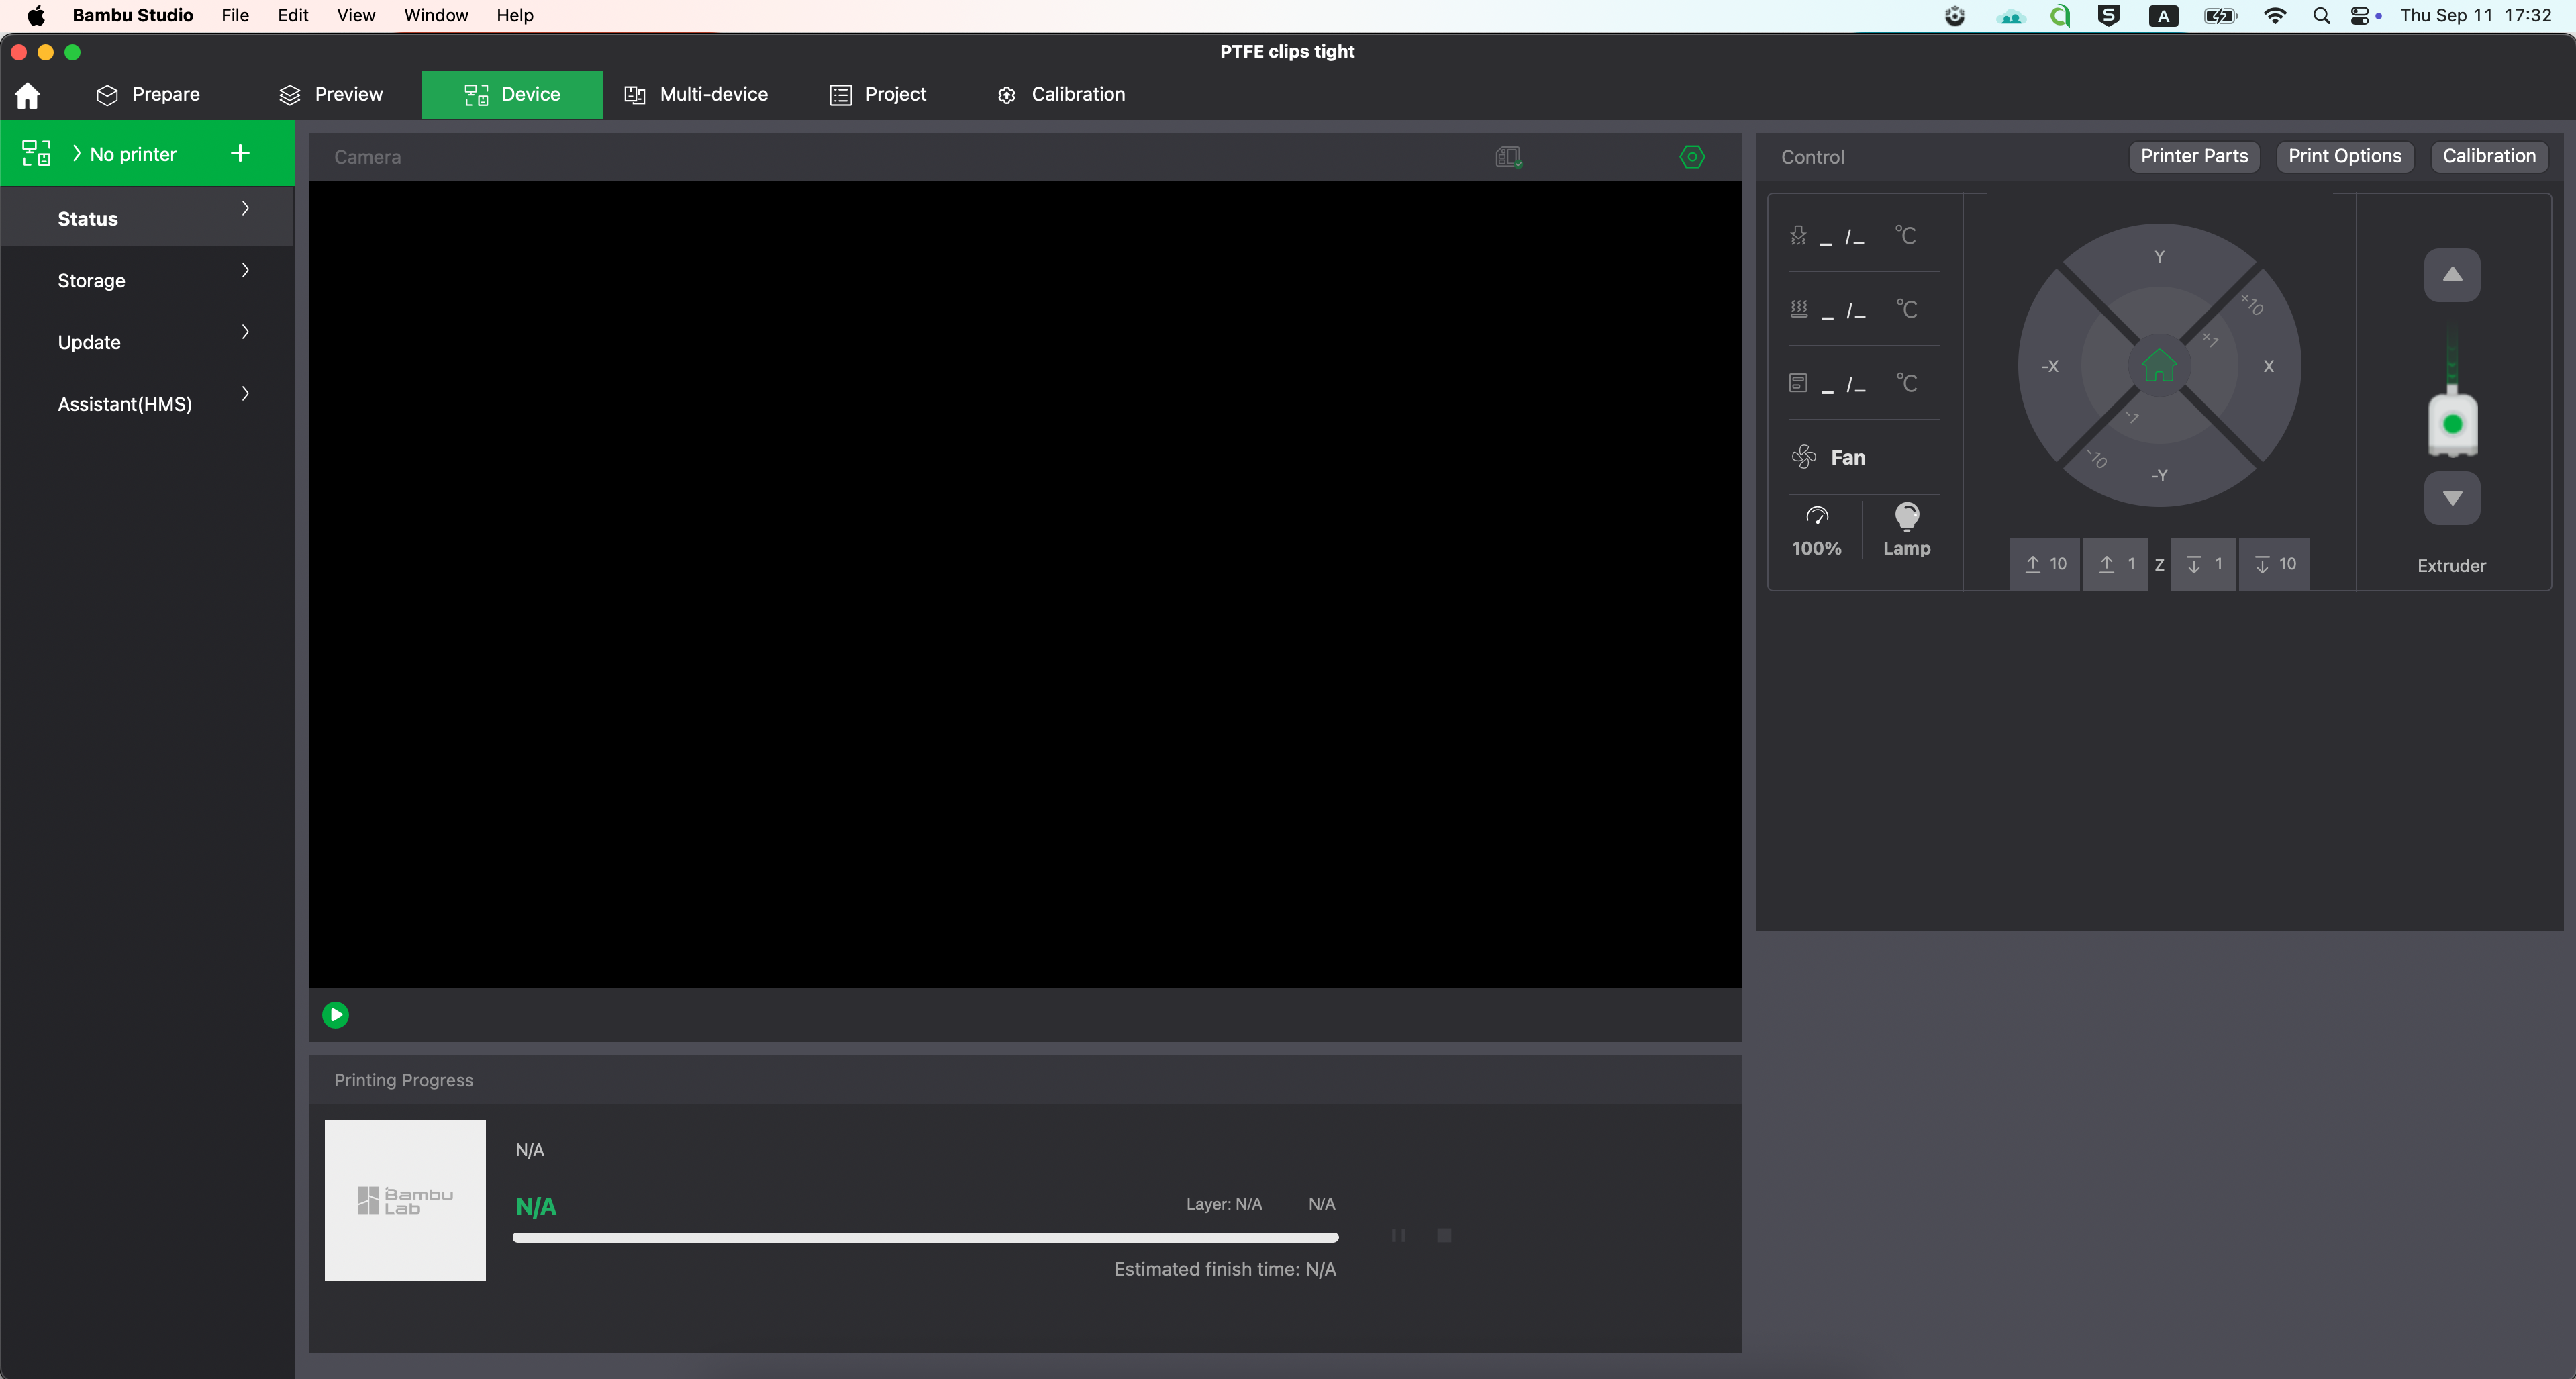
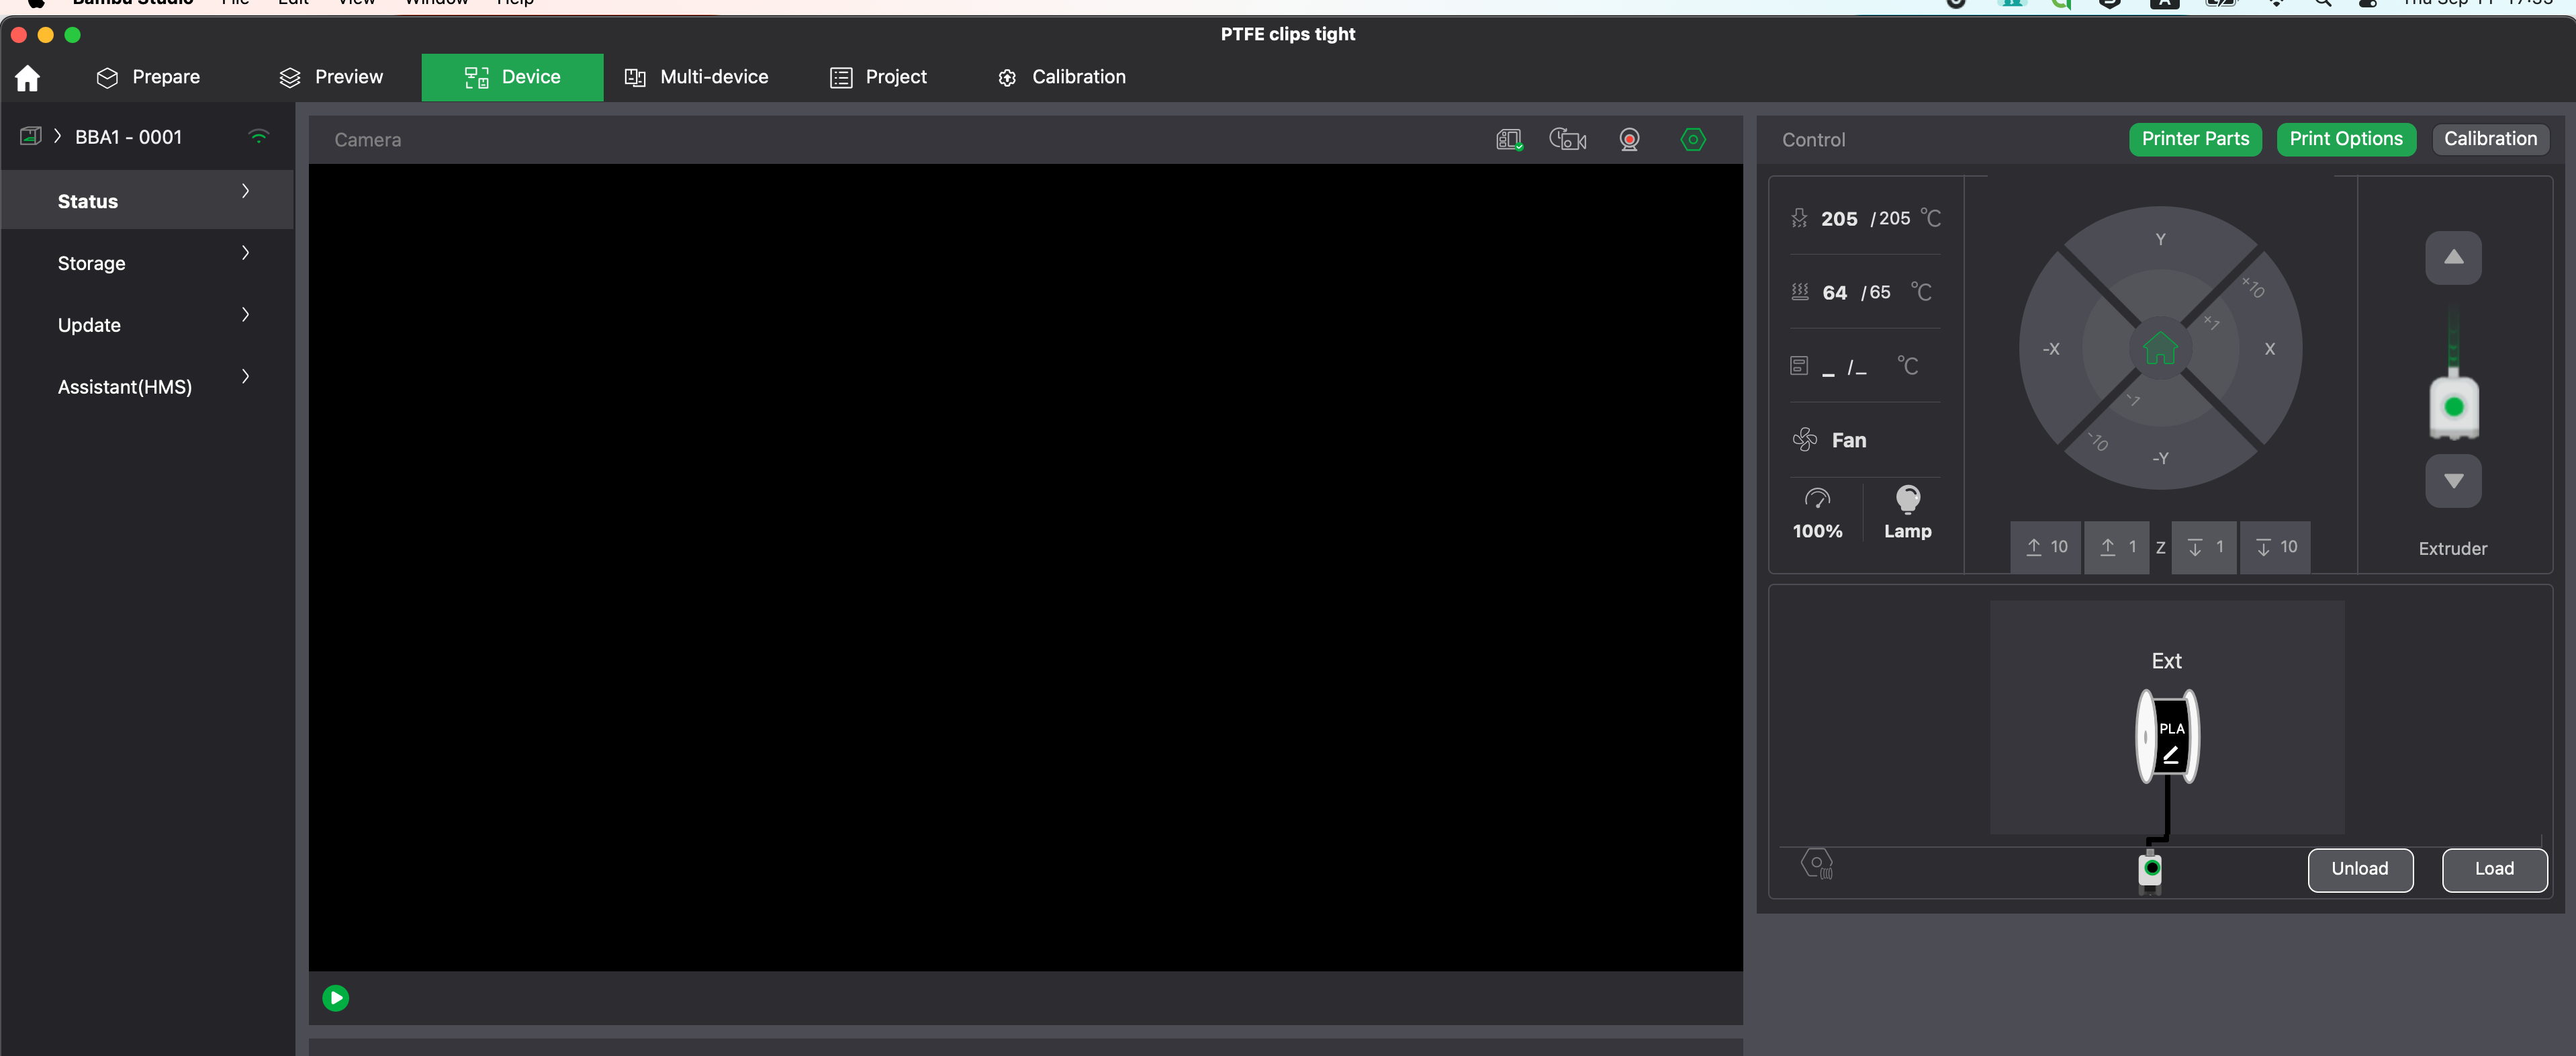
Step 2: On the Devices tab and you’ll see > No Printer +
Click on the > No Printer +
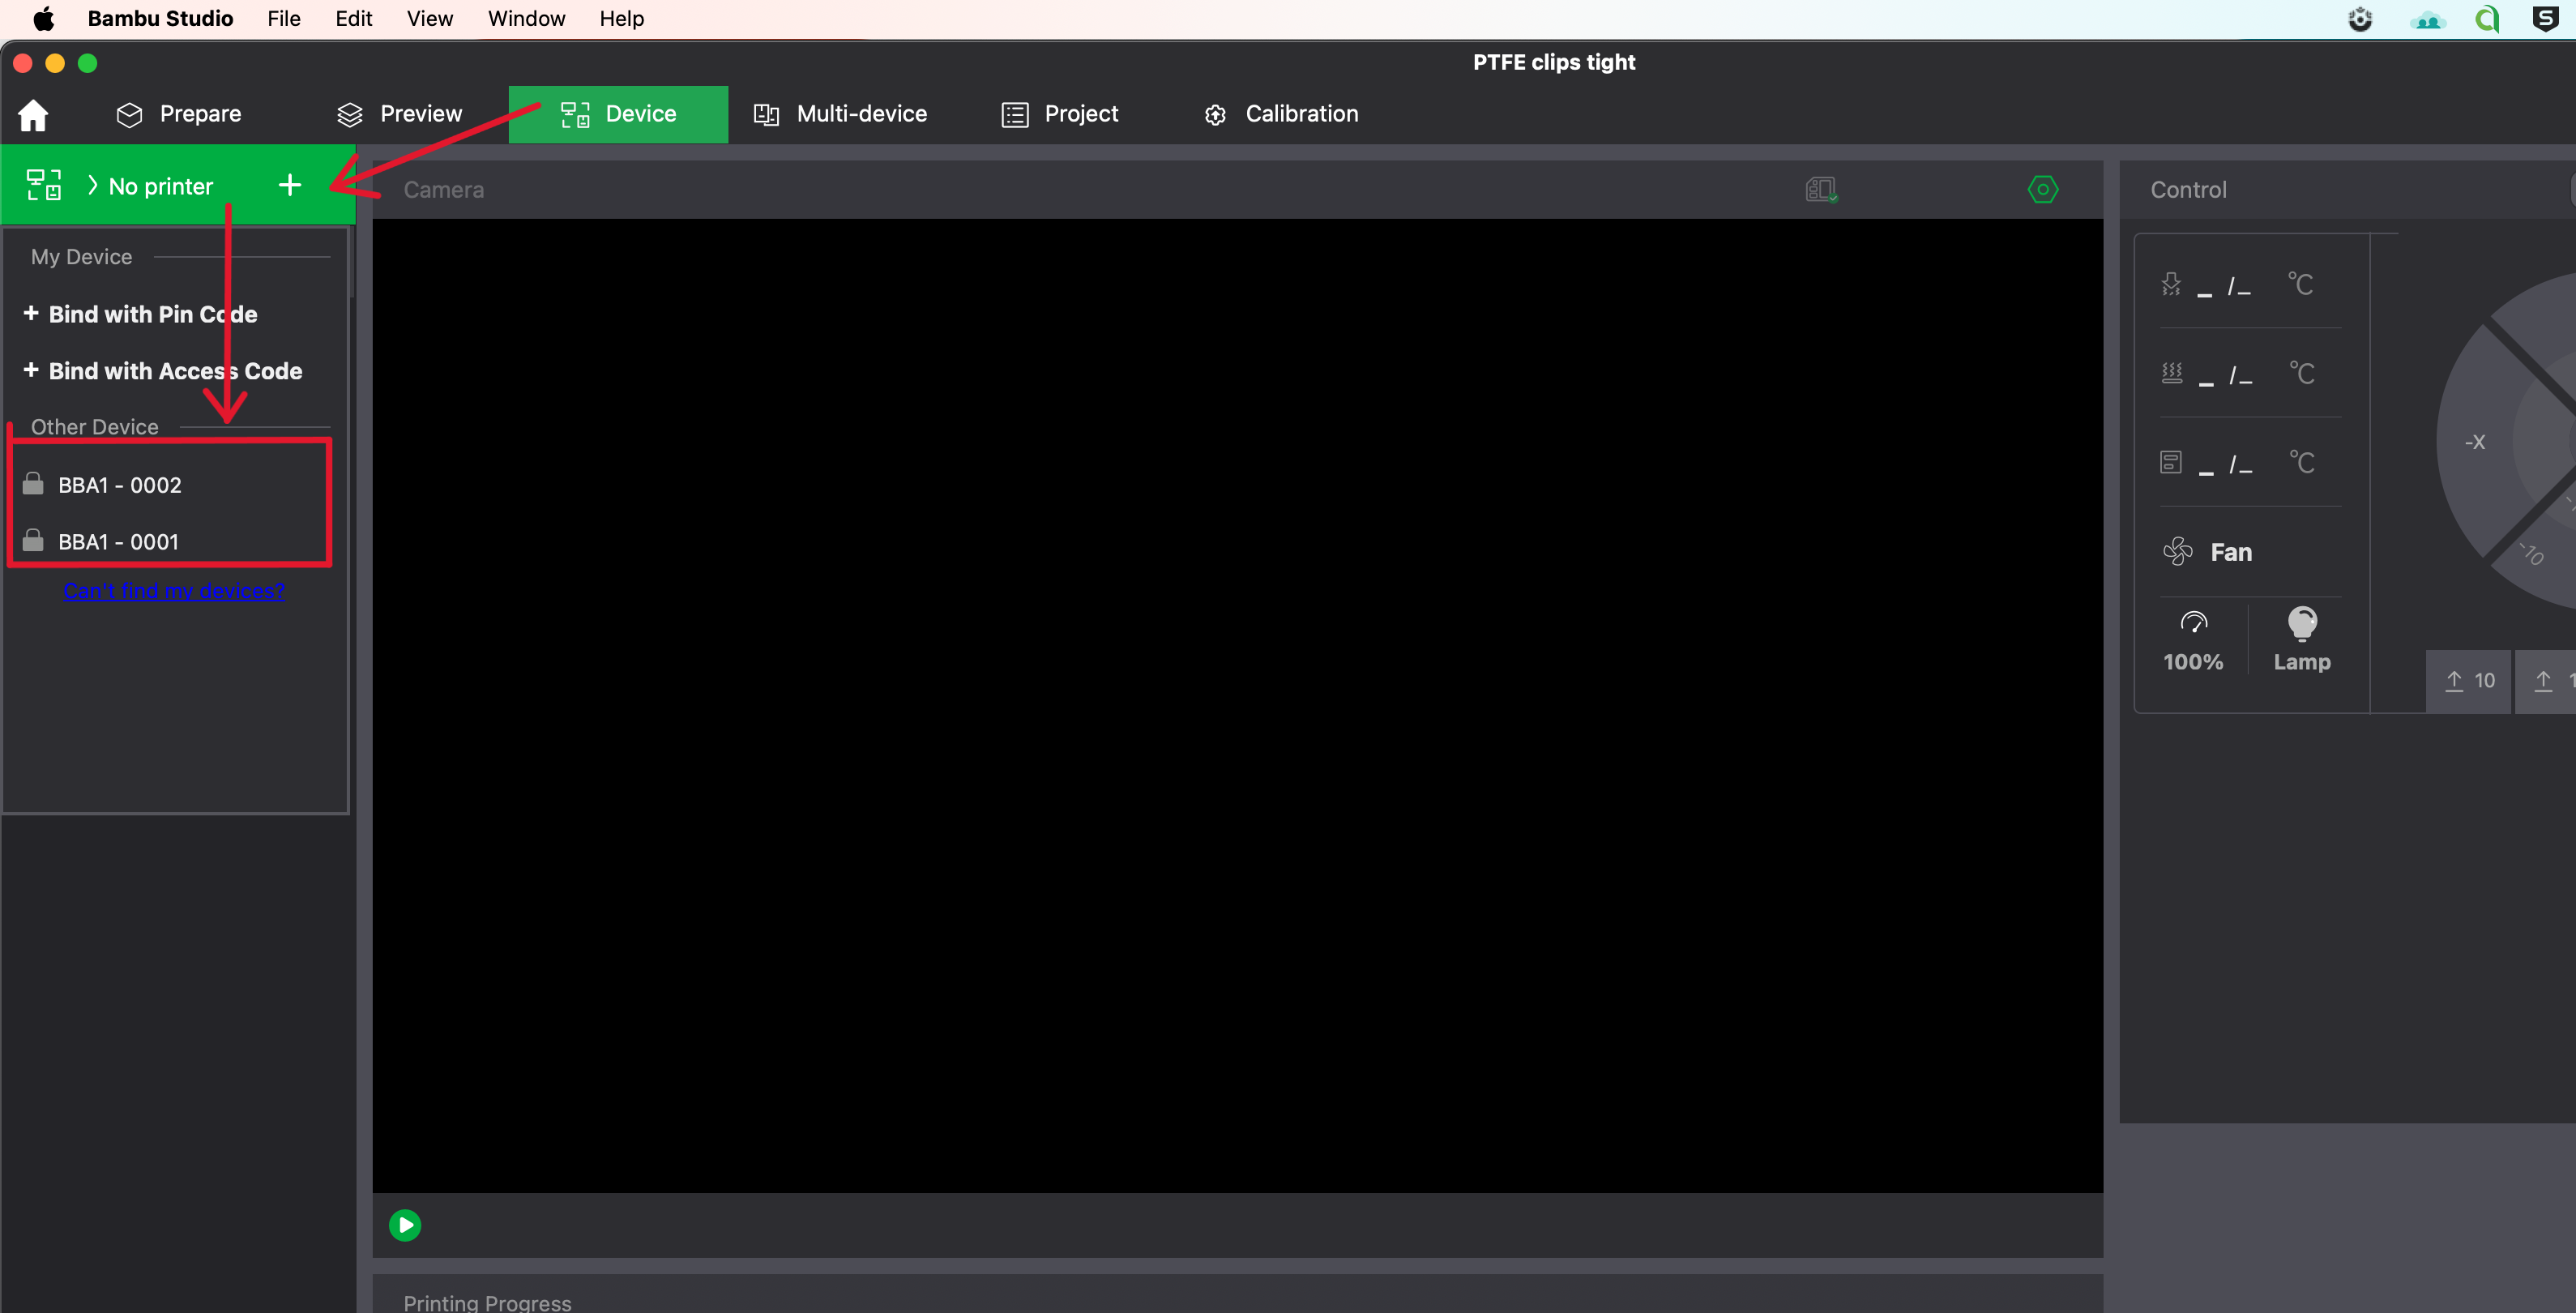
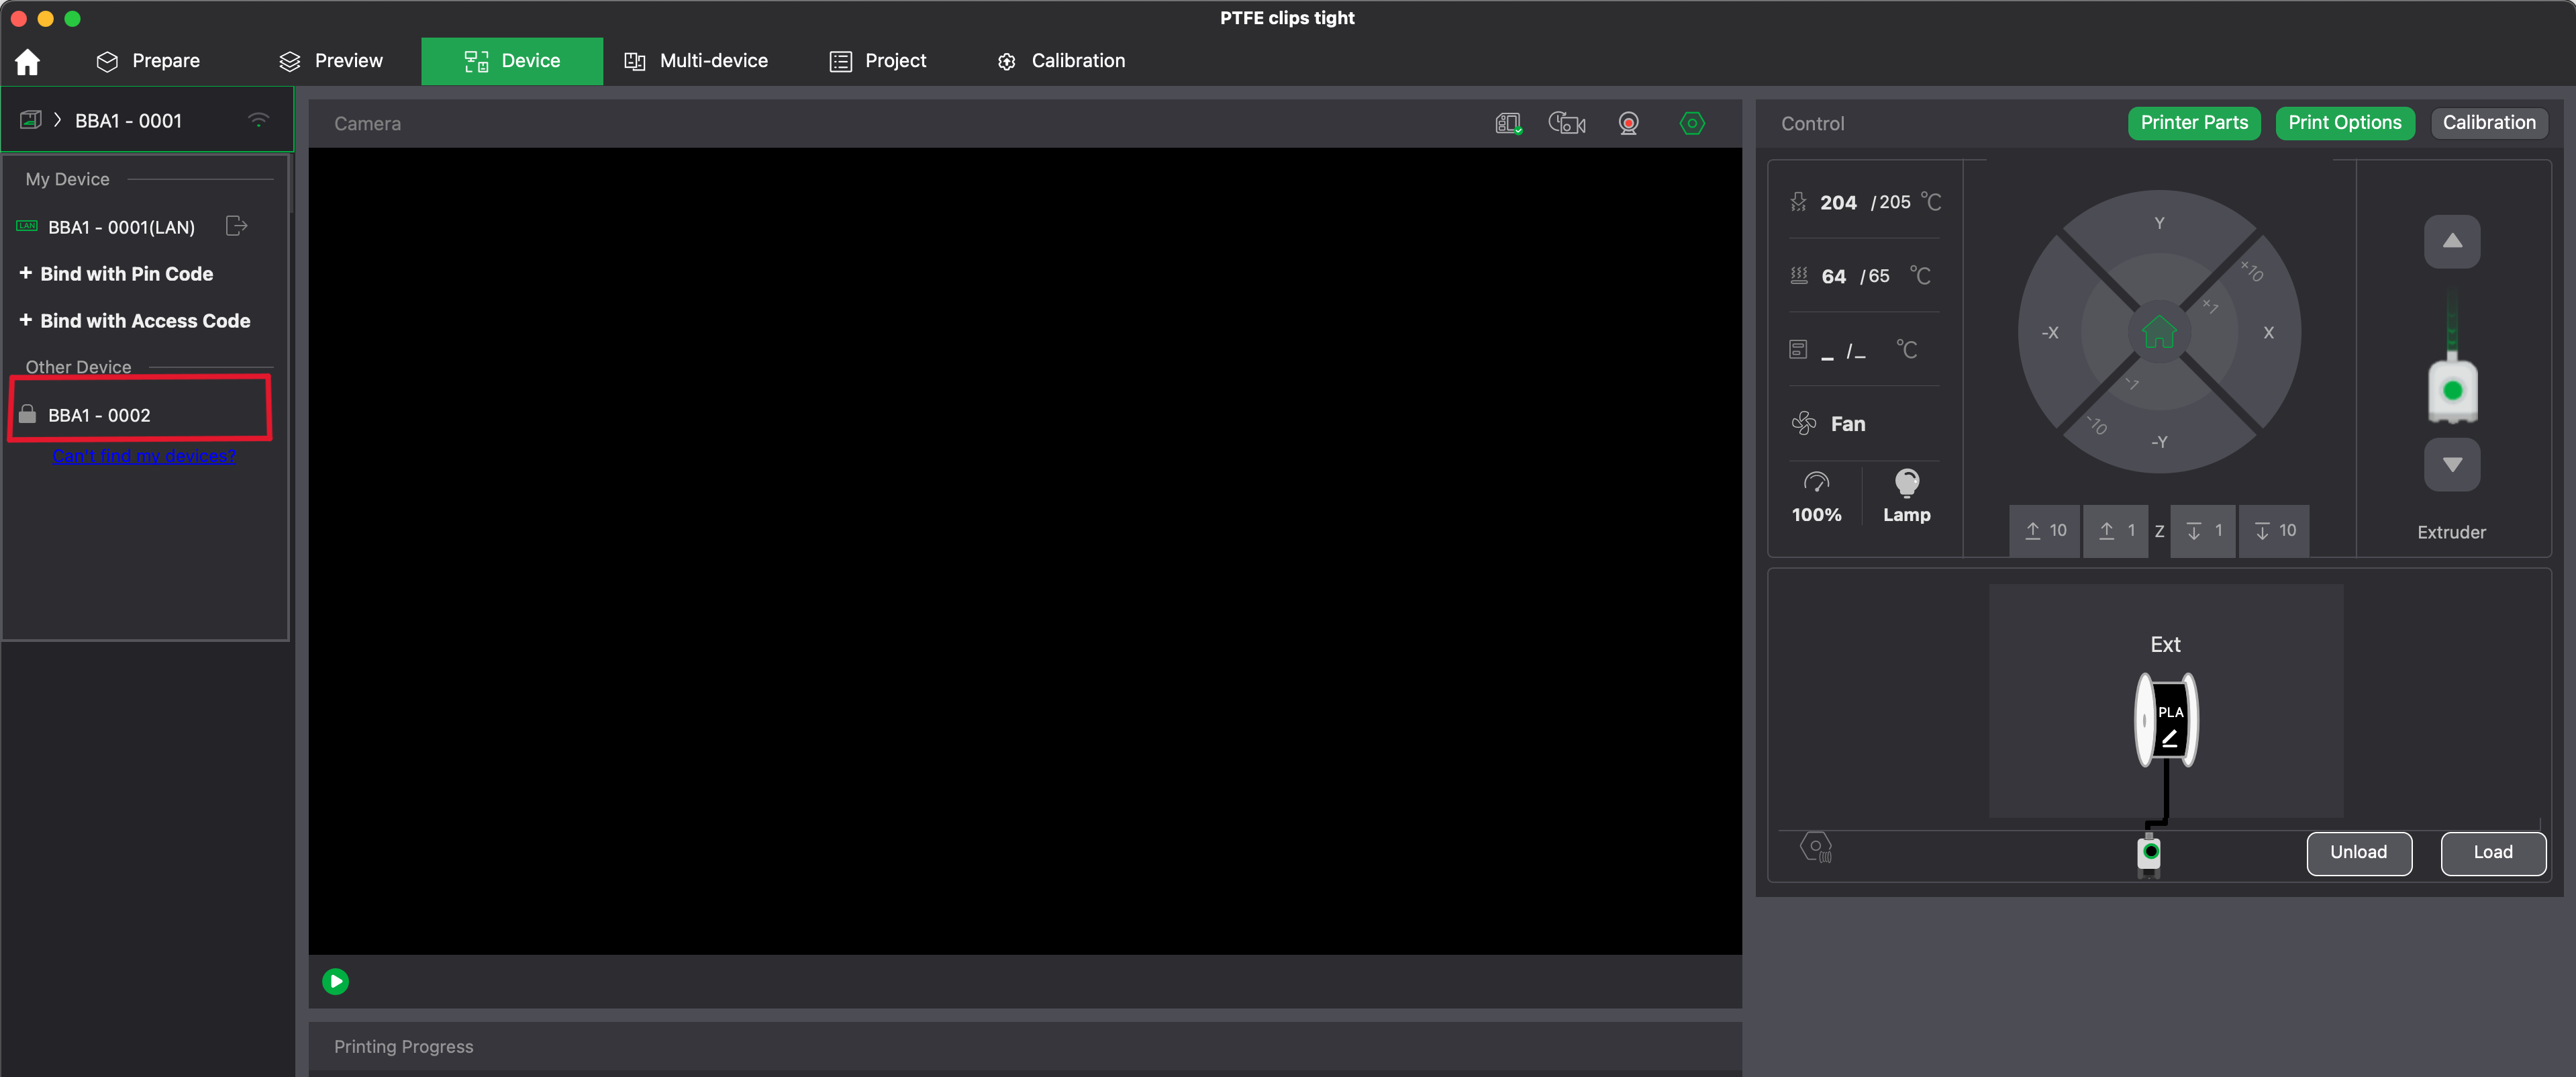
Then select one of the printers under “Other Device”
If no printer shows up, double check your WiFi. You must be on the same school network.
Step 3: Enter Access Code
A warming my come up but you can dismiss it. One you get the window called “Connect Printer (LAN)” enter the corresponding access code and hit confirm.
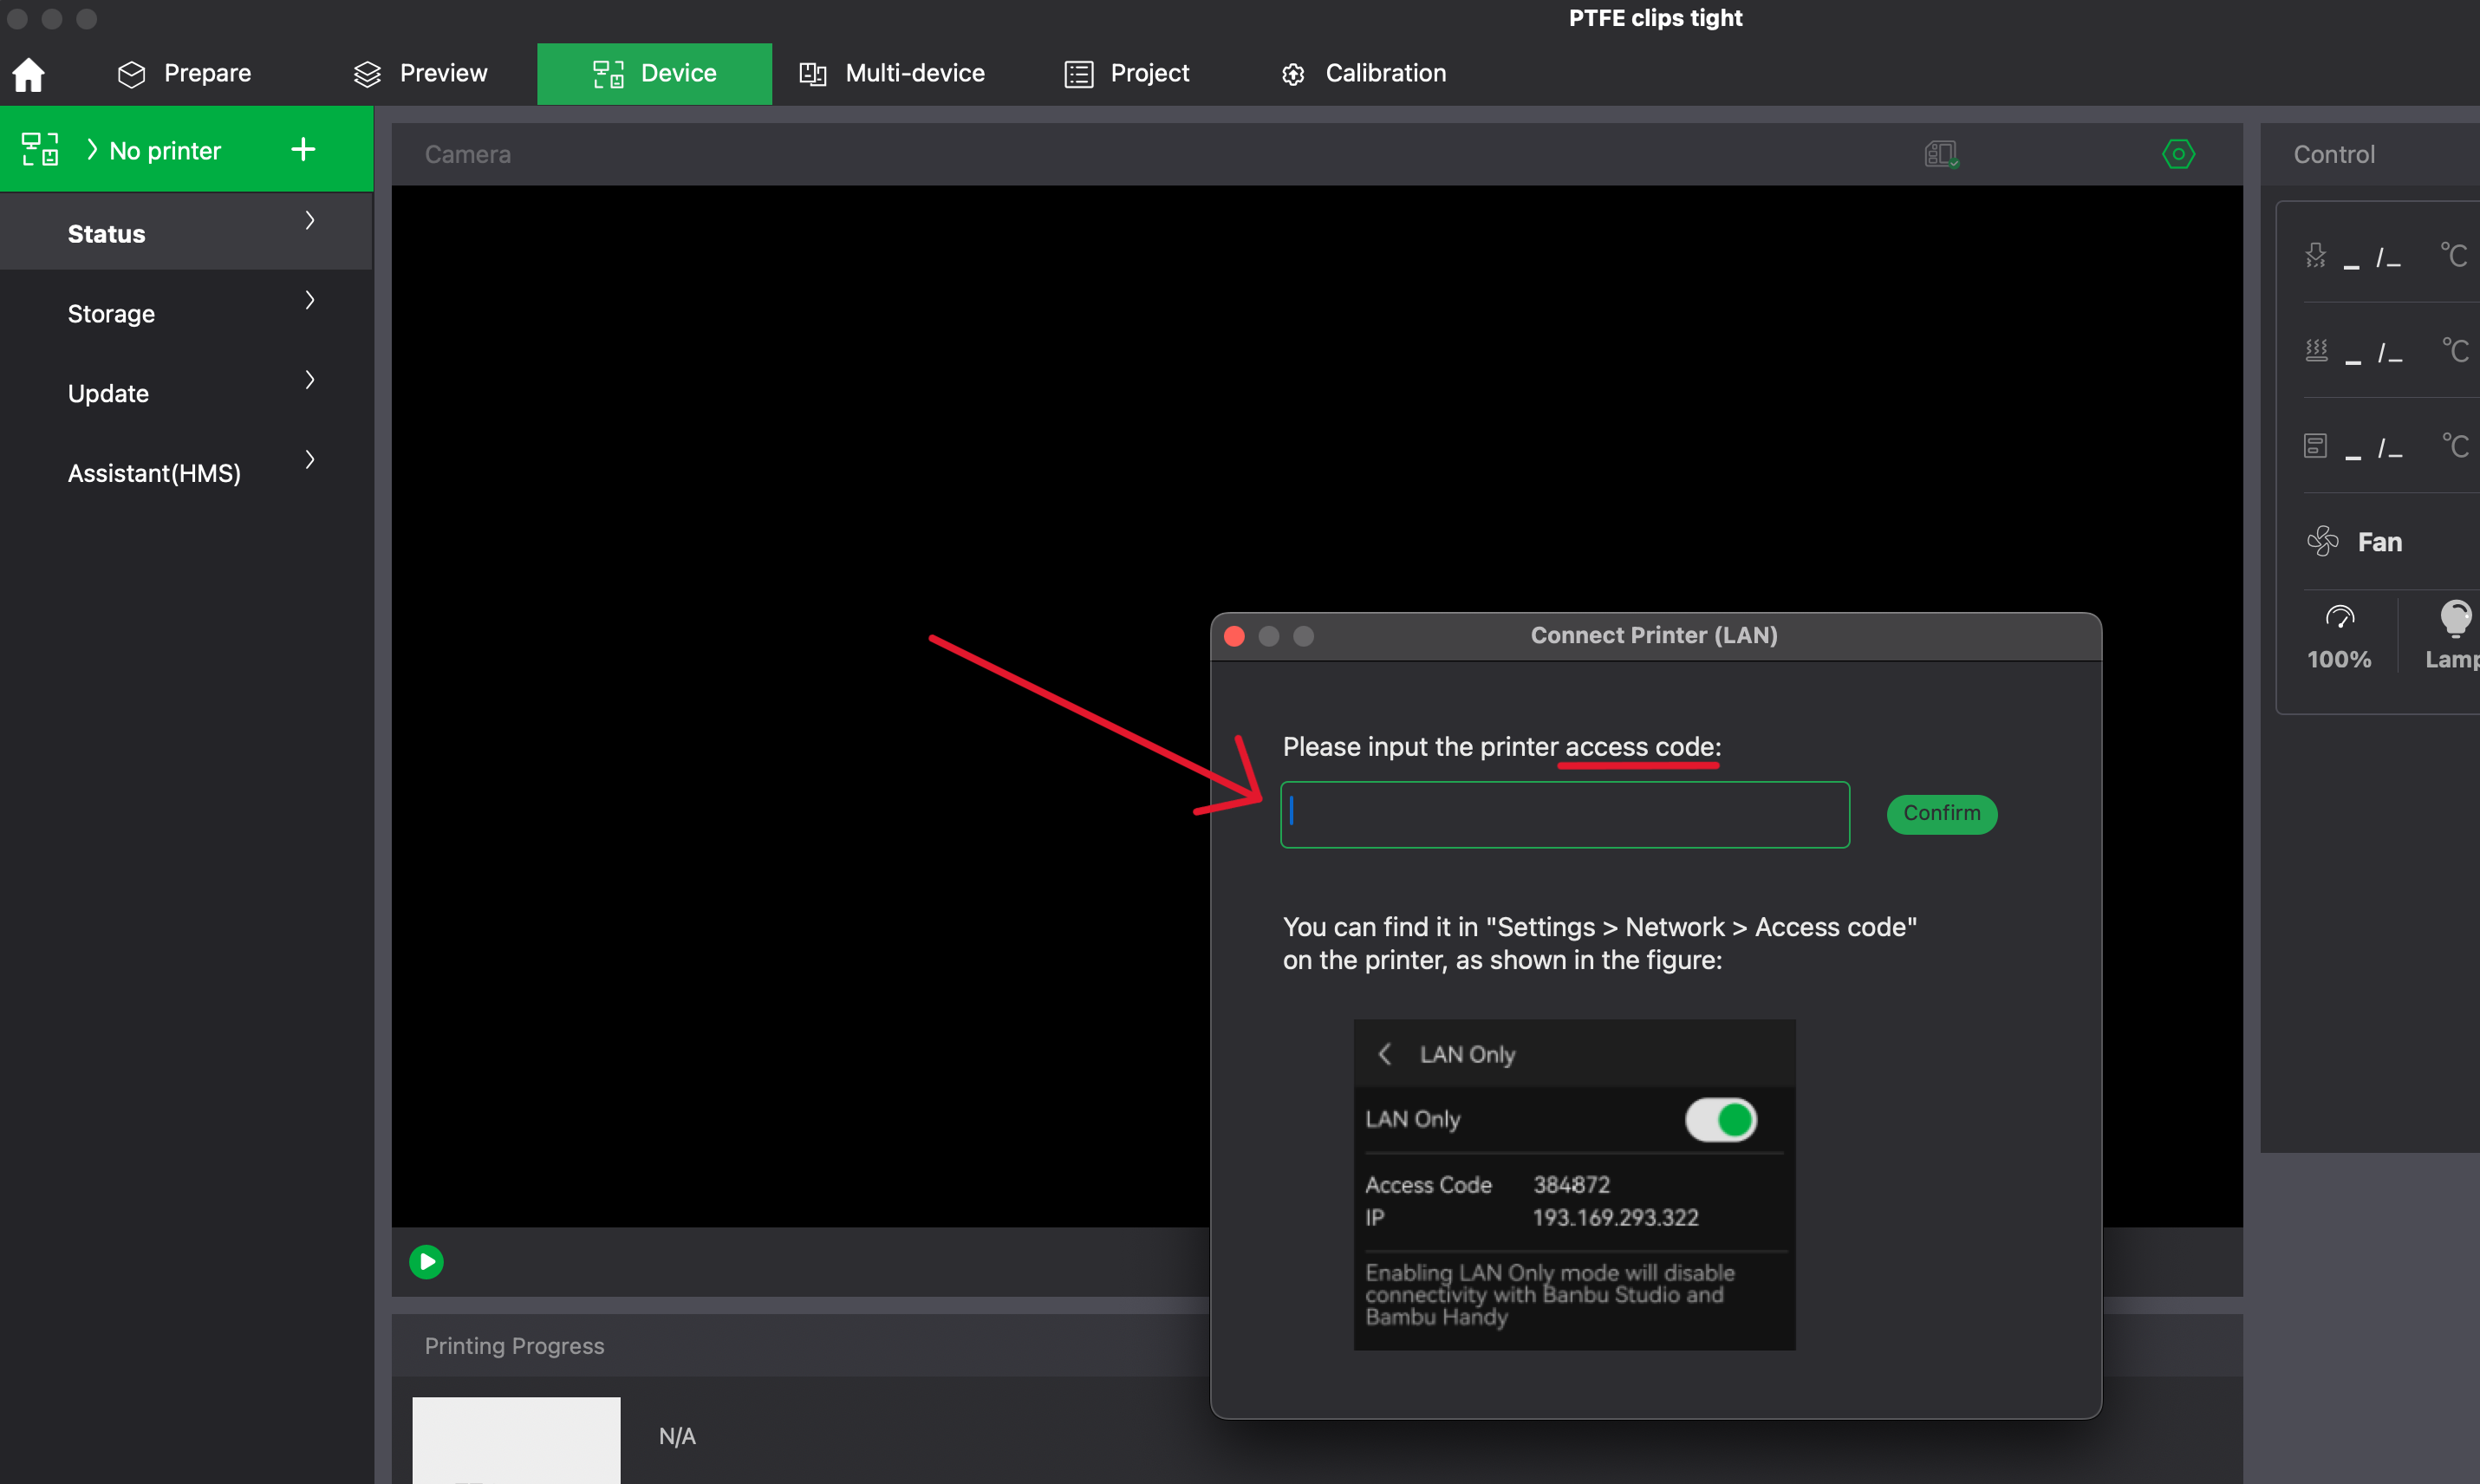
You should see it appear like below if works as intended.
Do it again with the other printer by clicking on BBA1-0001.
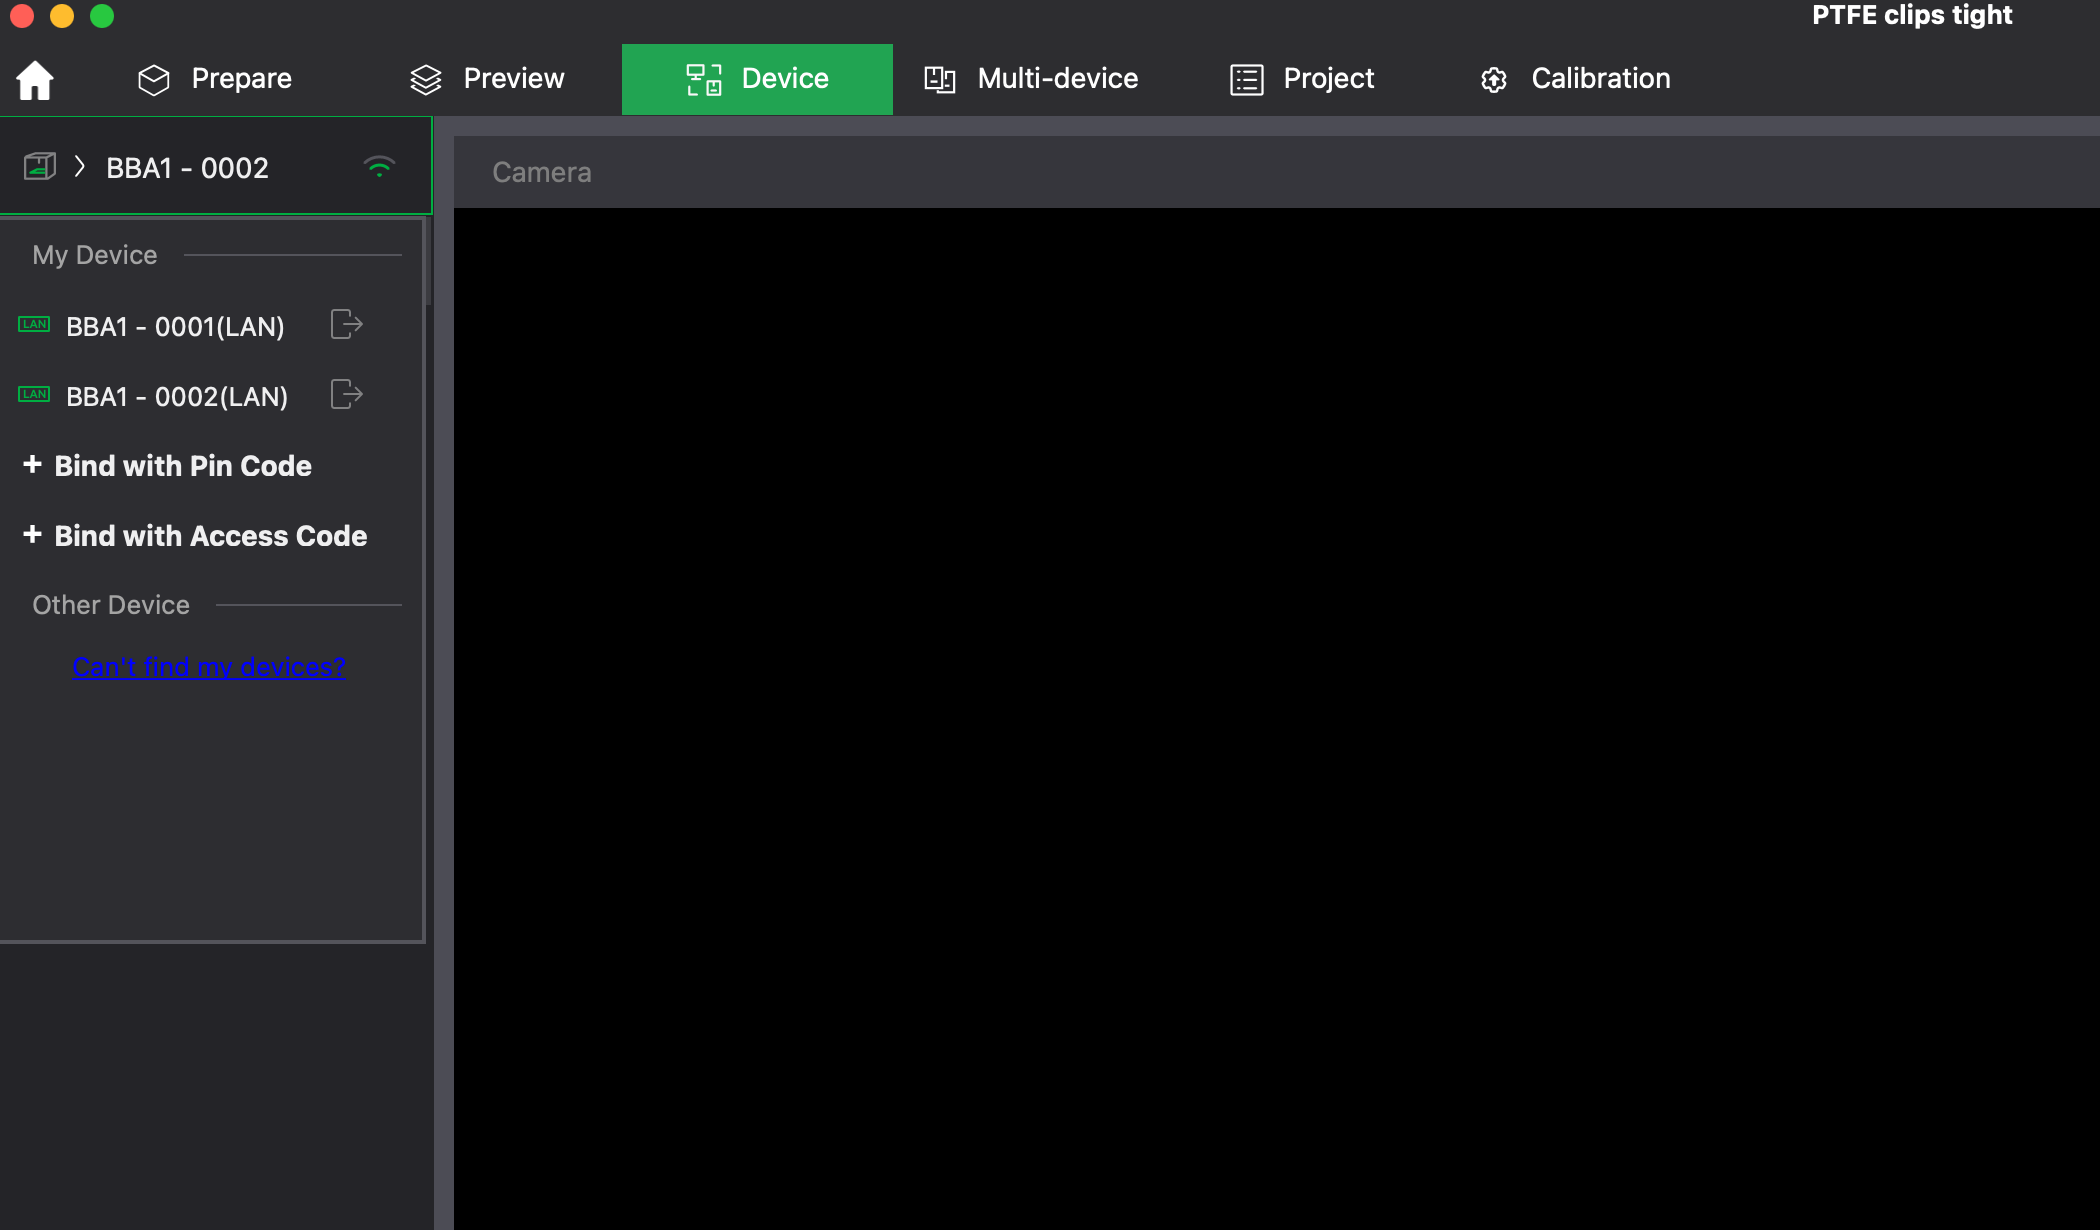
Now you should have both printers added and list under My Devices
Step 4: You’re ready to print wirelessly!
After you slice your build plate, go to Print Plate and select the printer you want to use. If the printer is in use, you’ll see a message “The printer is busy with another print job.”
Before you print, make sure you check yourself that the build plate is clear.
