
How to use Meraki Vision
Security Cameras systems were installed at Hikarigaoka and Bunkyo campuses in December 2024. As of there are 13 Cisco Meraki cameras installed as follows:
Hikarigaoka : 6 cameras
1F Hallway (2 count)
2F Hallway (2 count)
3F Hallway (2 count)
Bunkyo : 7 cameras
1F Main Entrance Lobby (1 count)
B1 Soundproof Music Studios (4 count)
B1 Kitchen (2 count)
Video record retention is approximative : 9 days for each camera (without audio, possible to enable it) and store on SSD camera memory (no cloud backup)
🧩 Setup your access :
If it’s the 1st connection follow the bellow instruction, if not skep to Access to the ↗️ Meraki Dashboard
To setup your access, you have to open the email and click on Create password :
from Cisco Meraki - noreply@meraki.com
subject - Welcome to Cisco Meraki
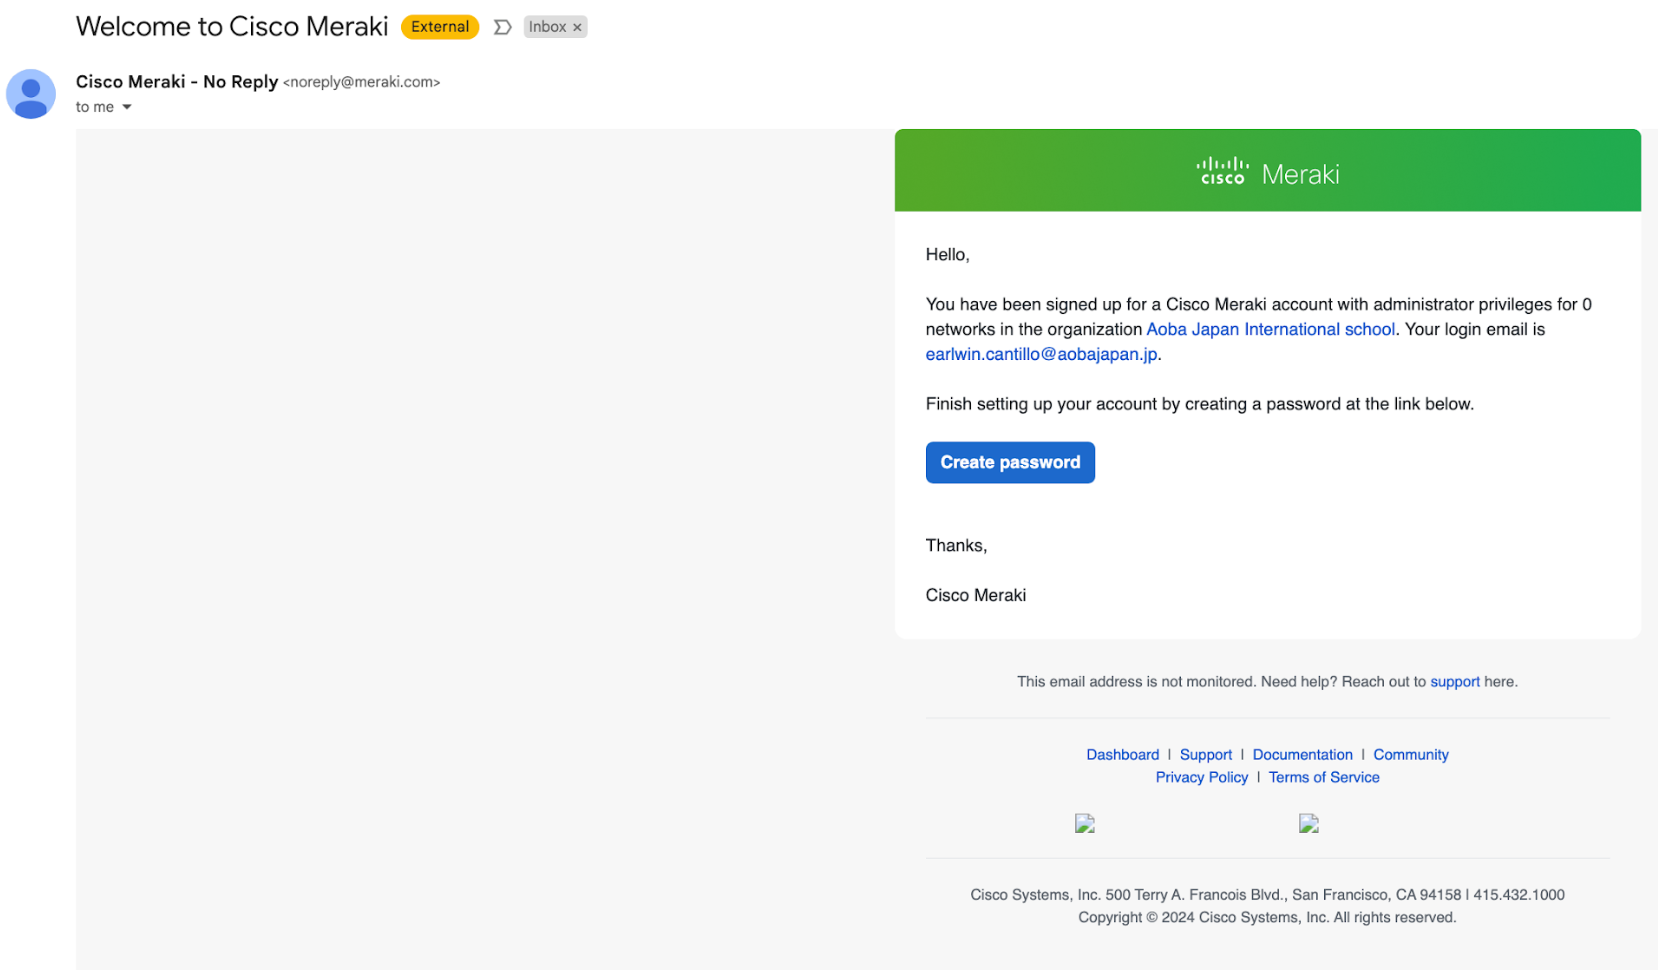
create your own Password, Confirm it and click on Confirm
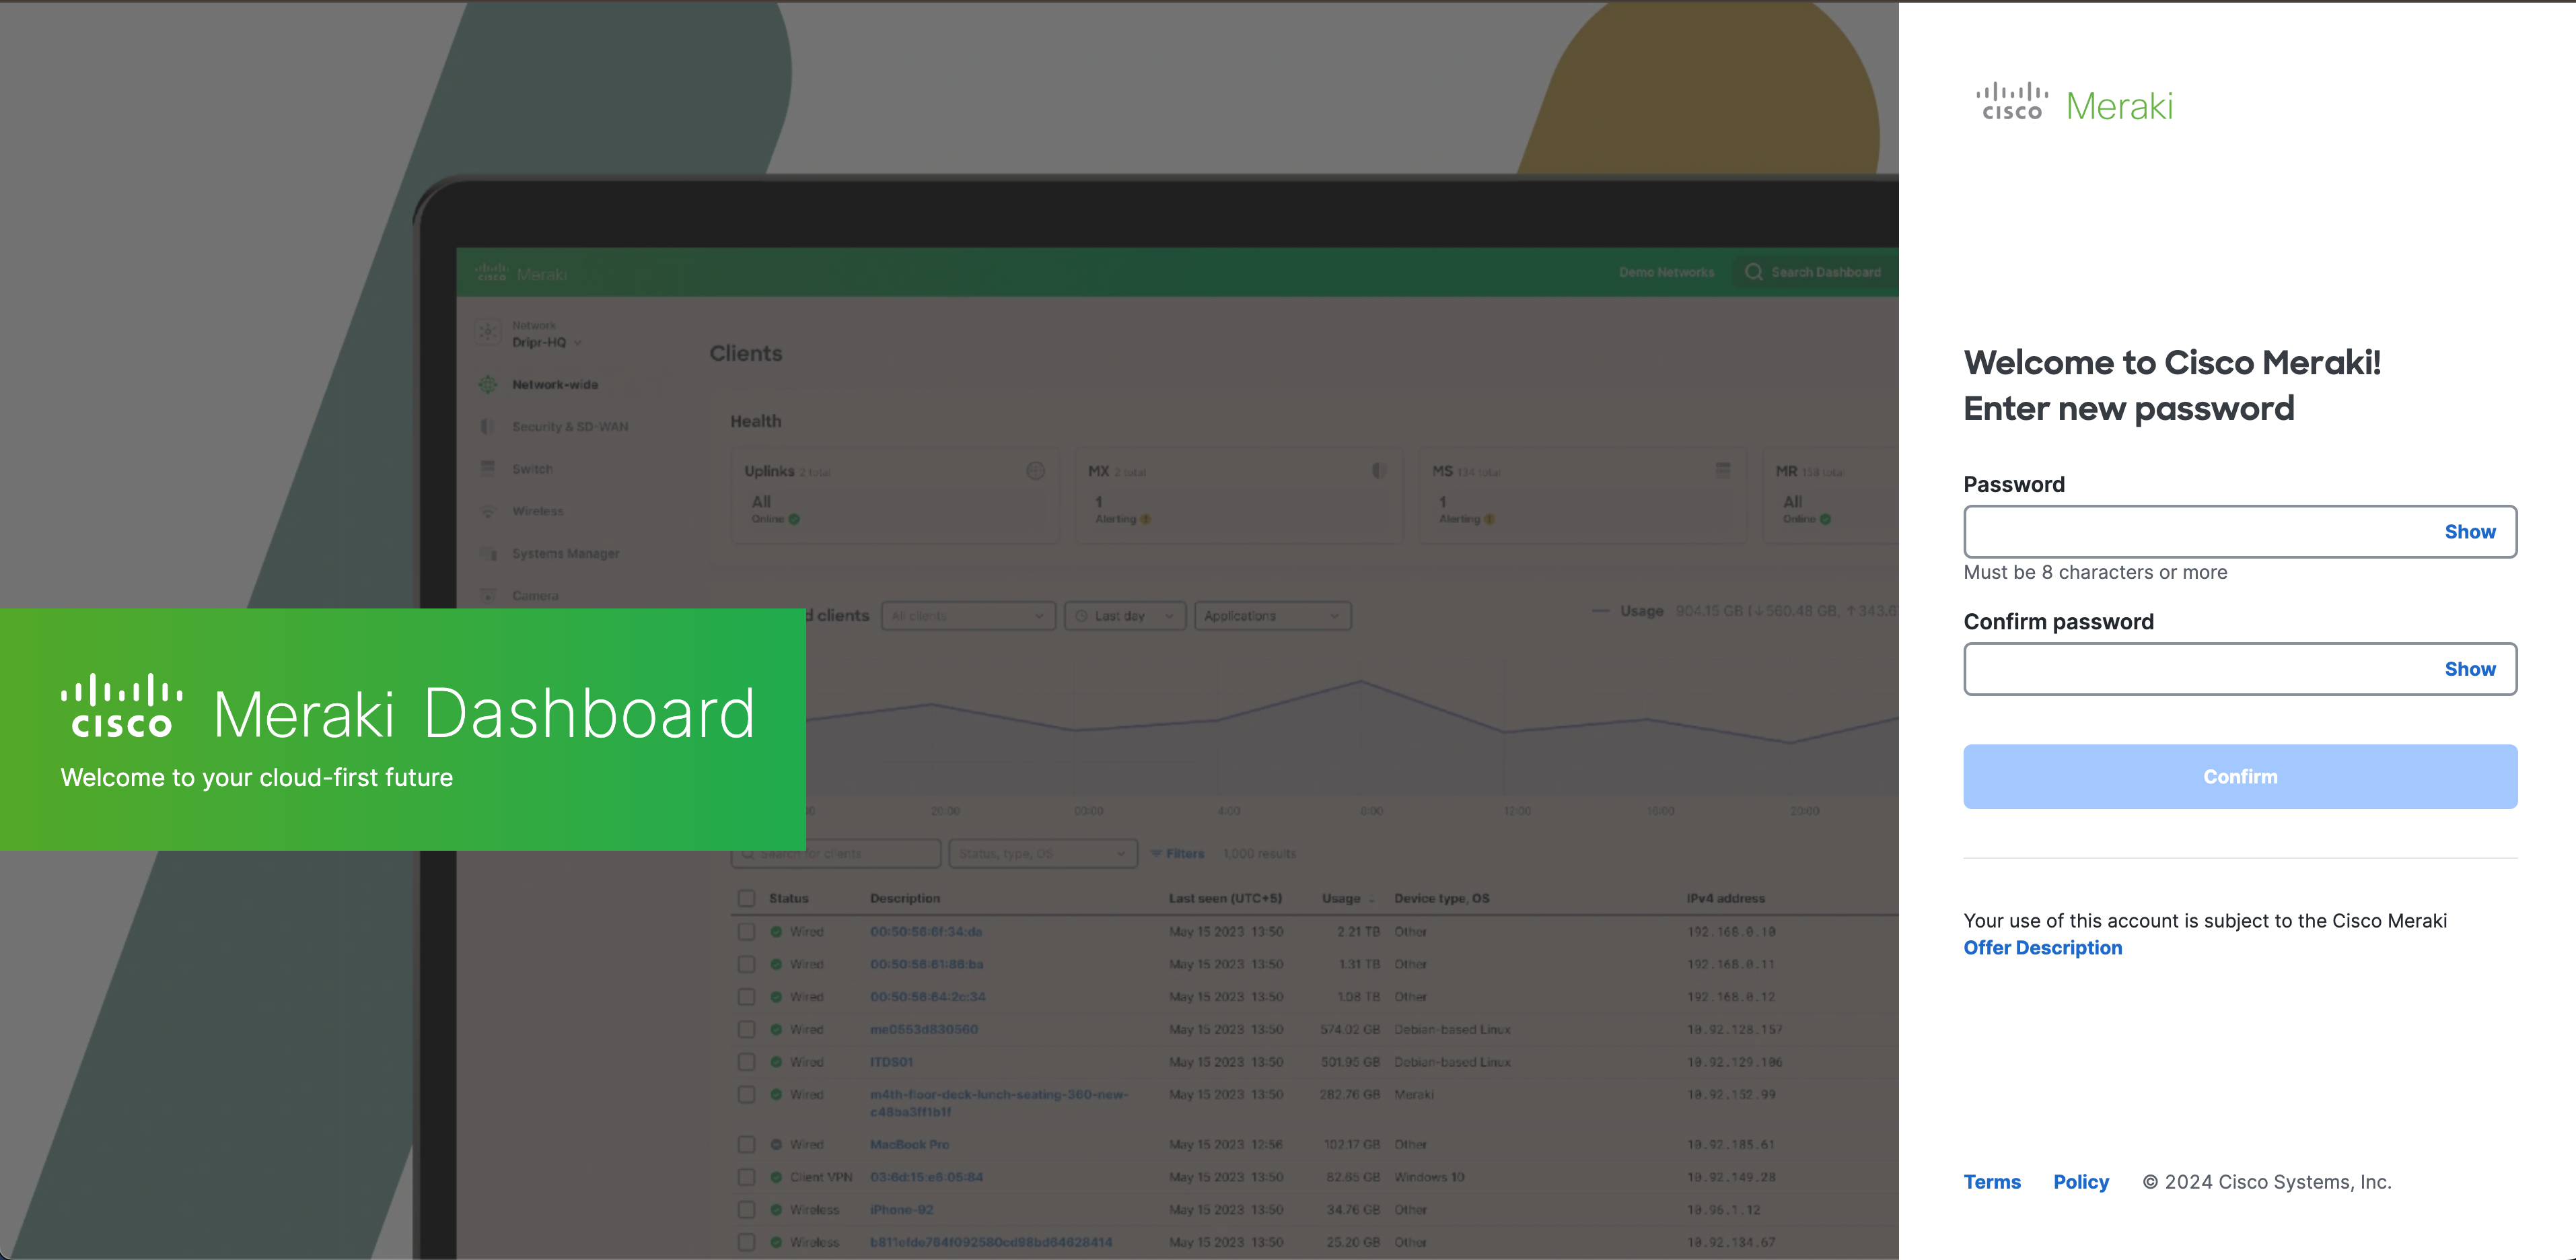
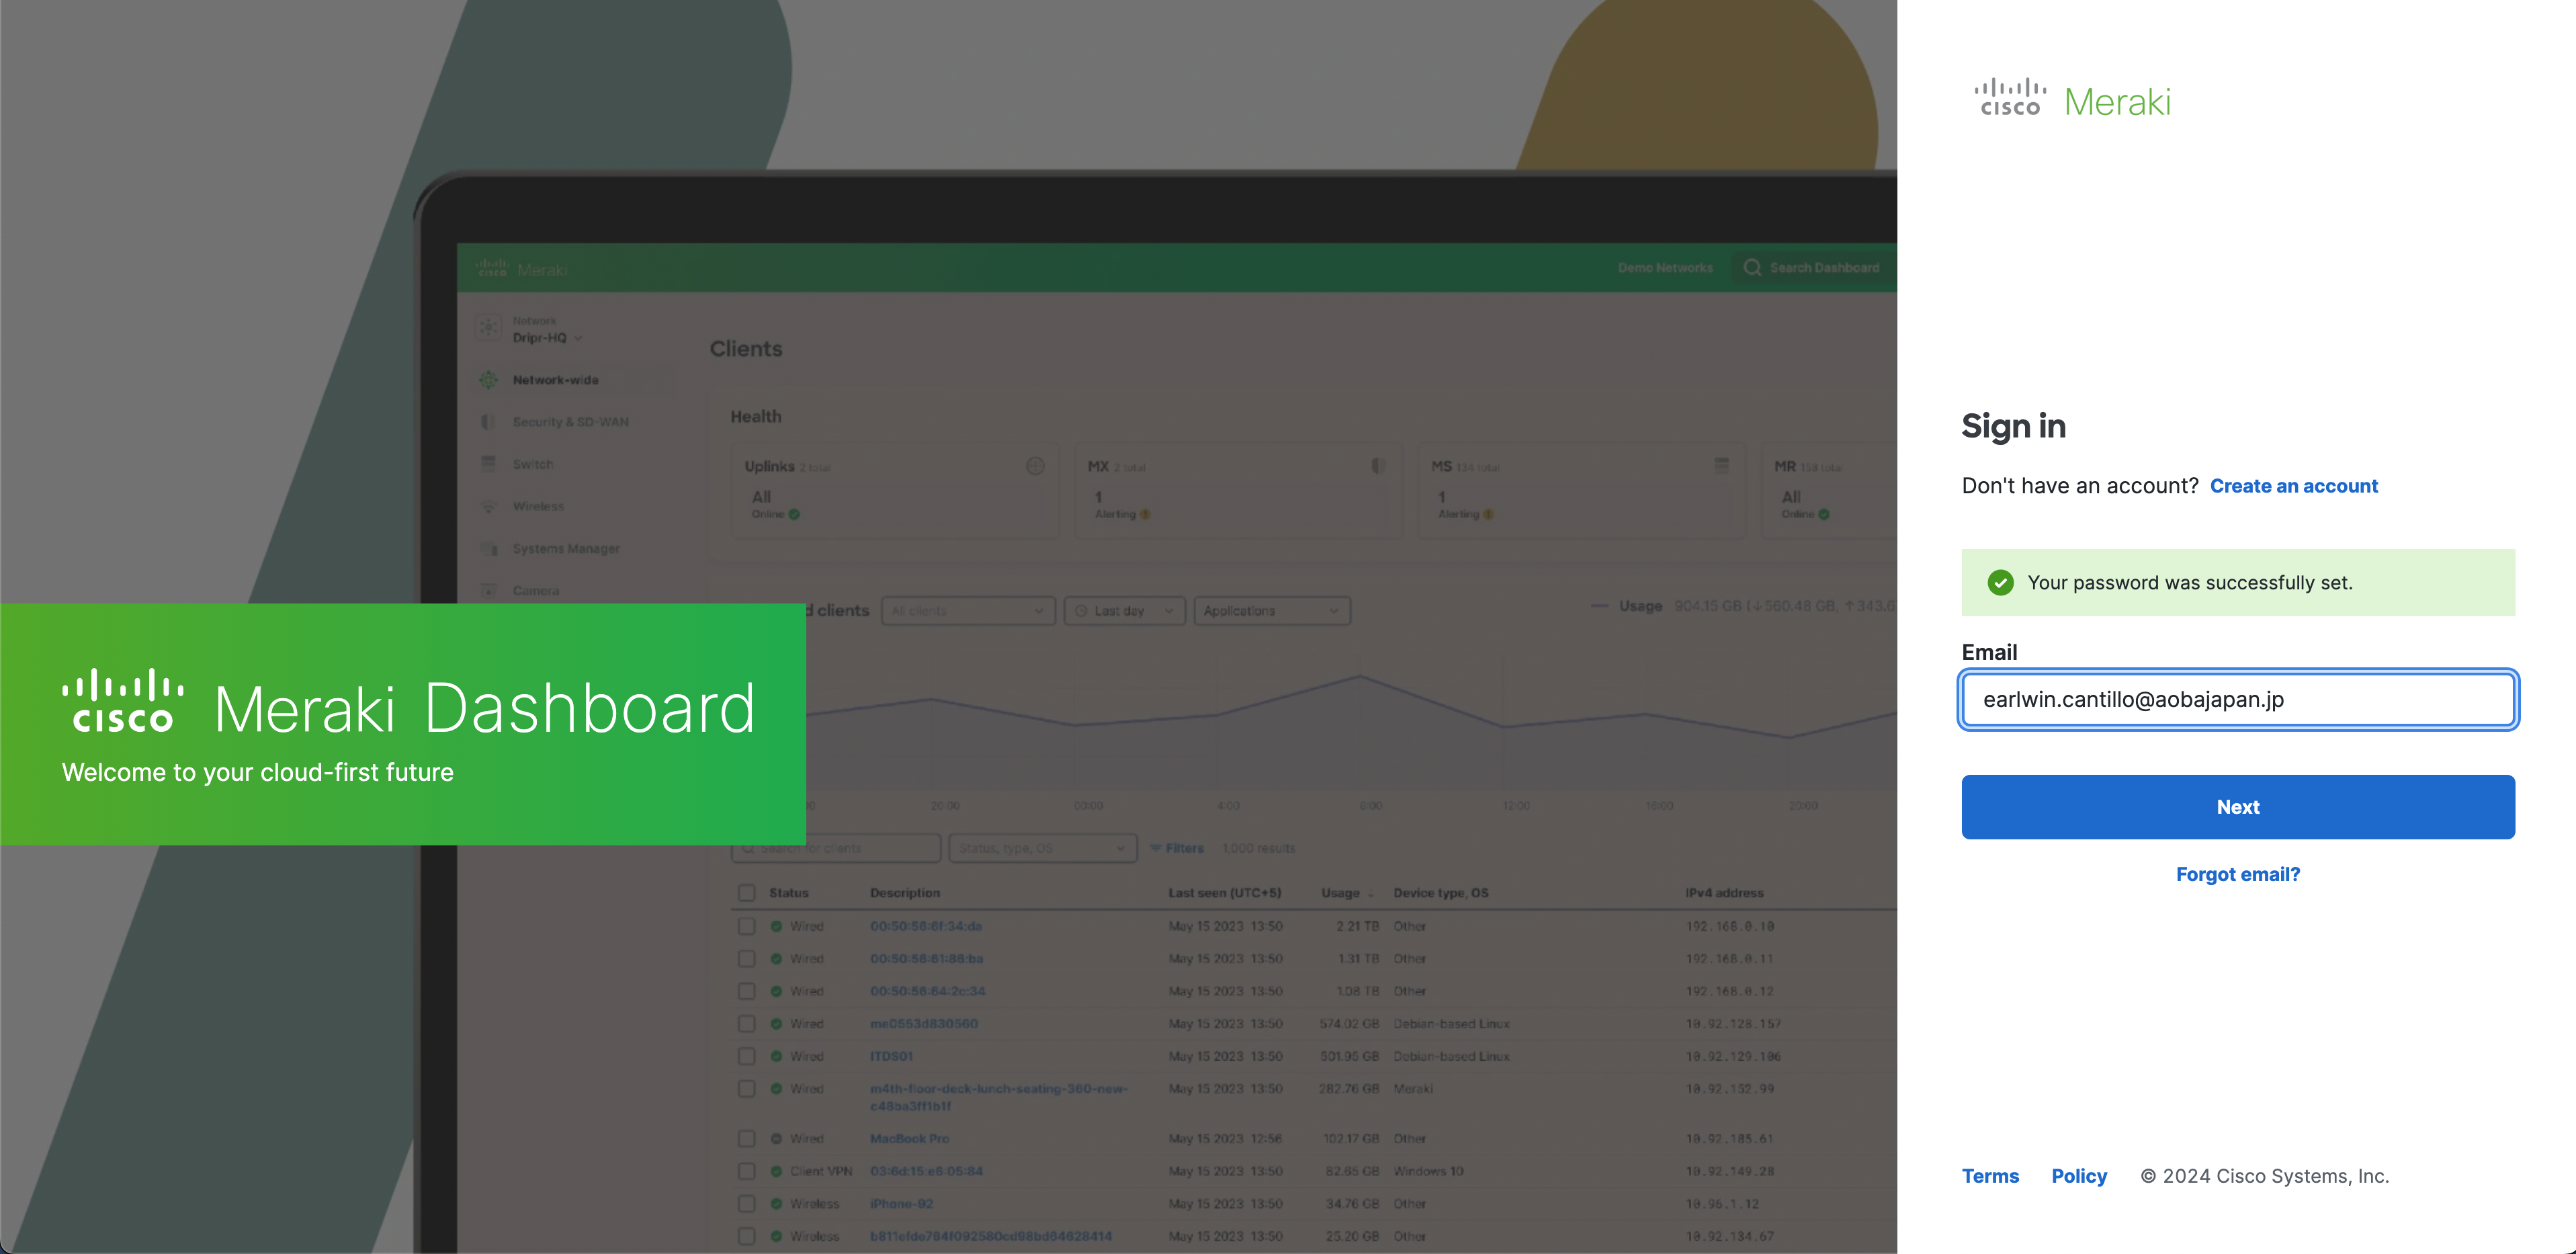
After your password has been successfully set Sign in with :
your Aoba email address - @aobajapan.jp and click Next
and enter your Password, then click Sign in
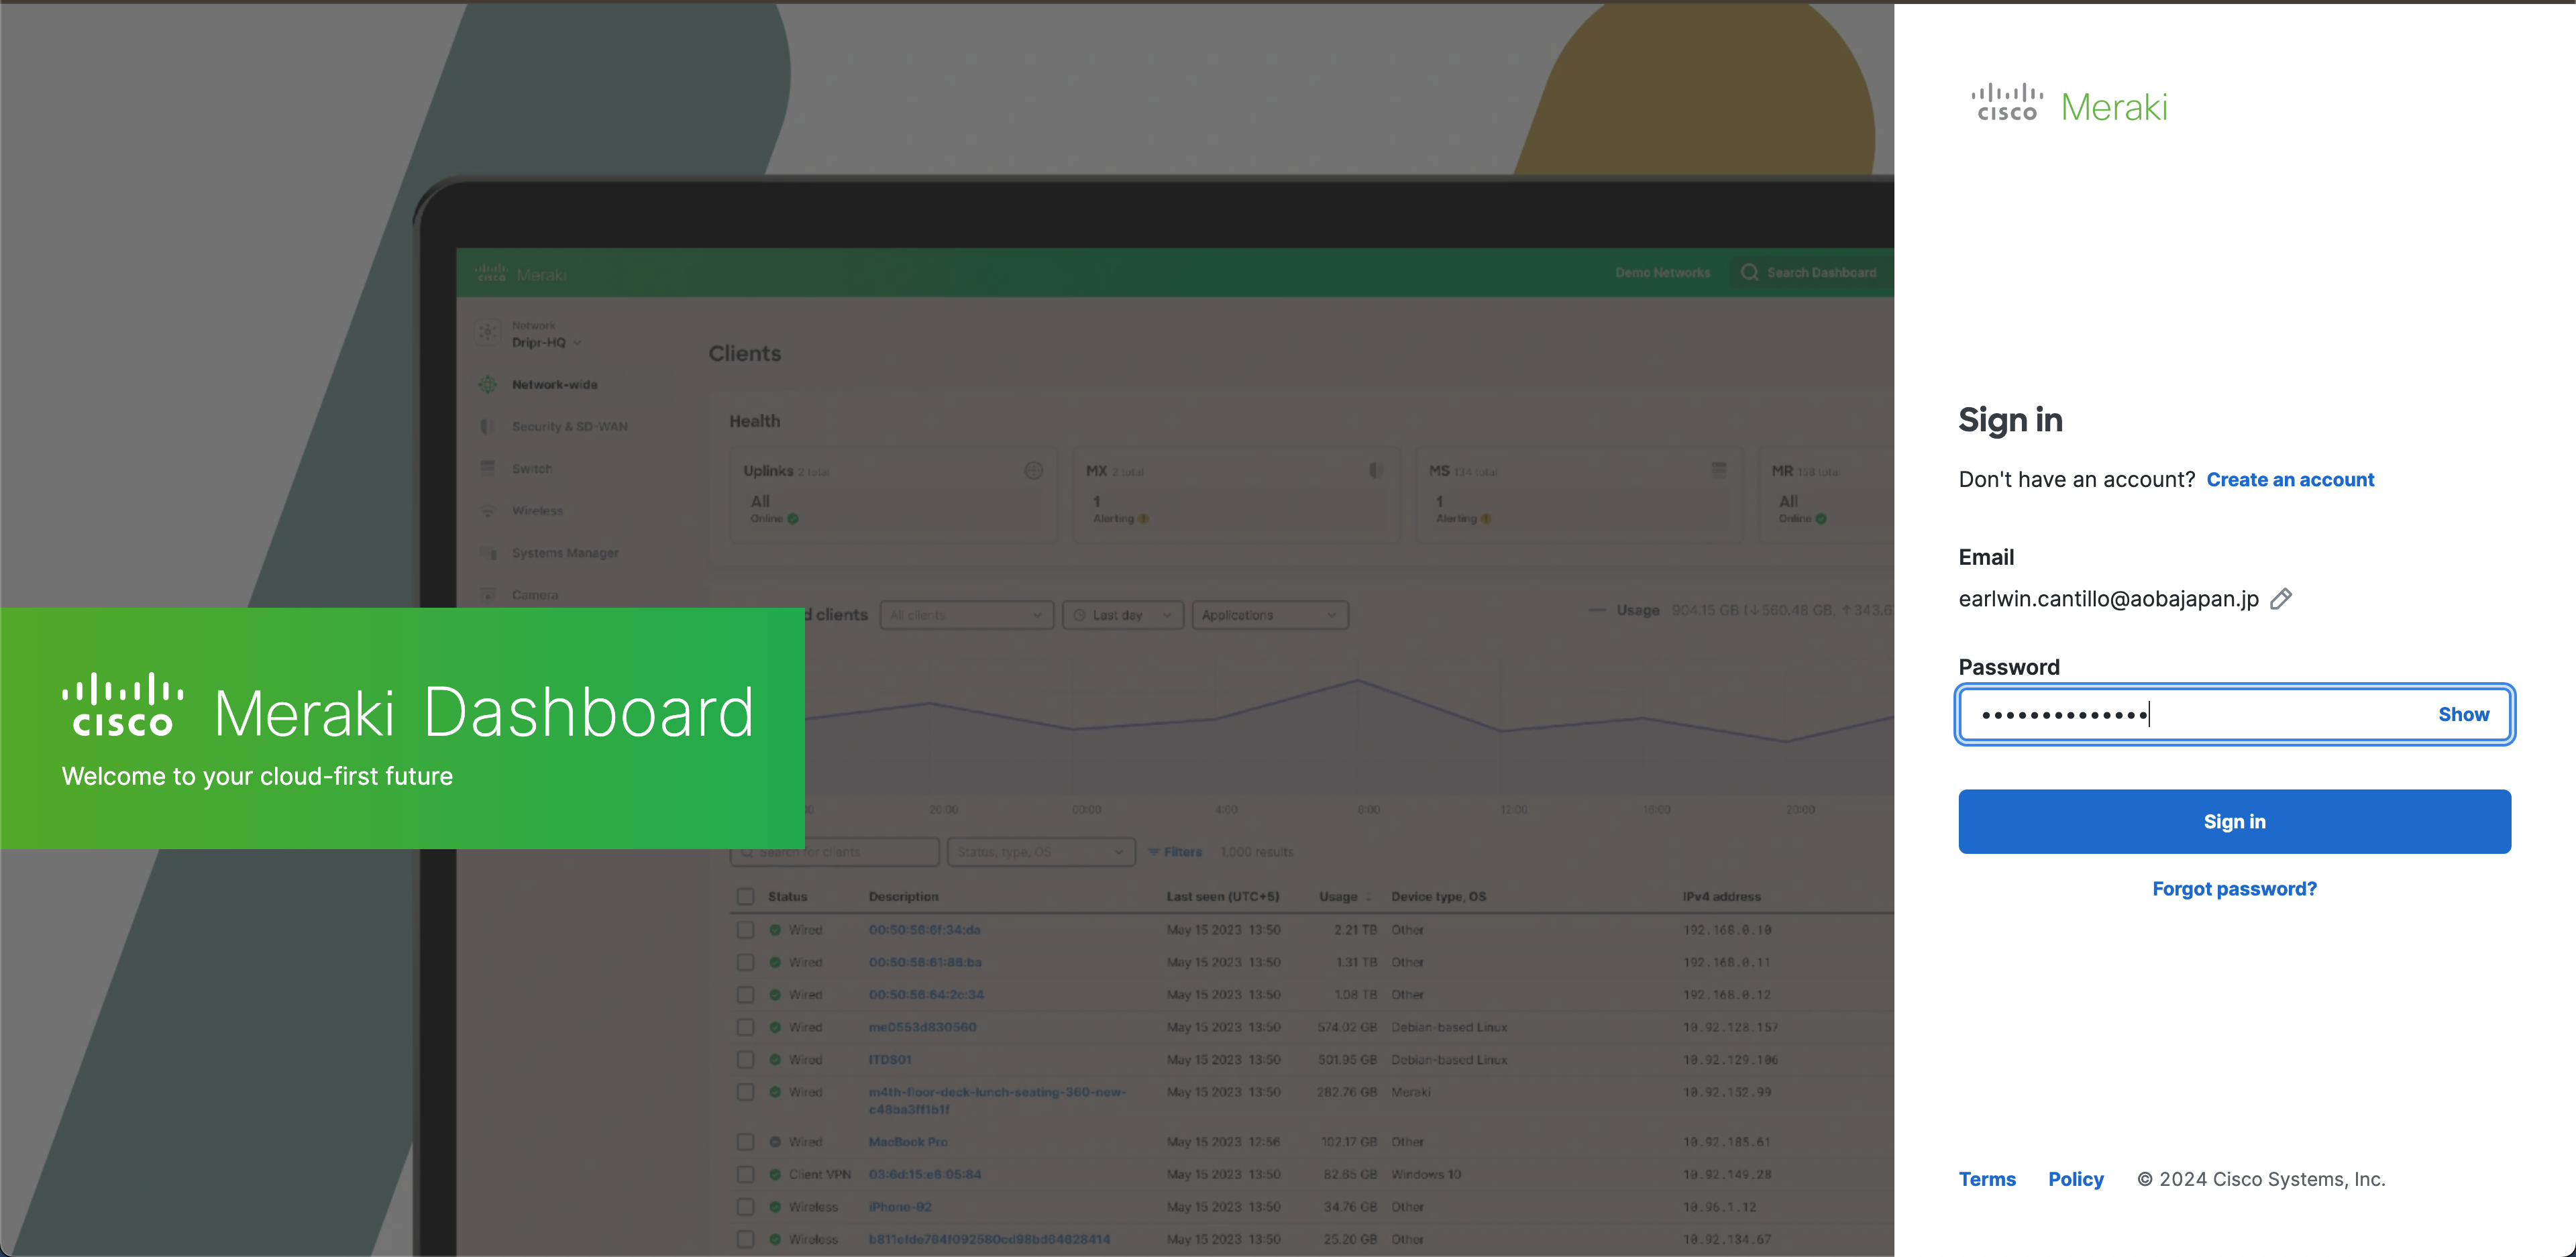
You will get this next page to setup Two-factor authentication
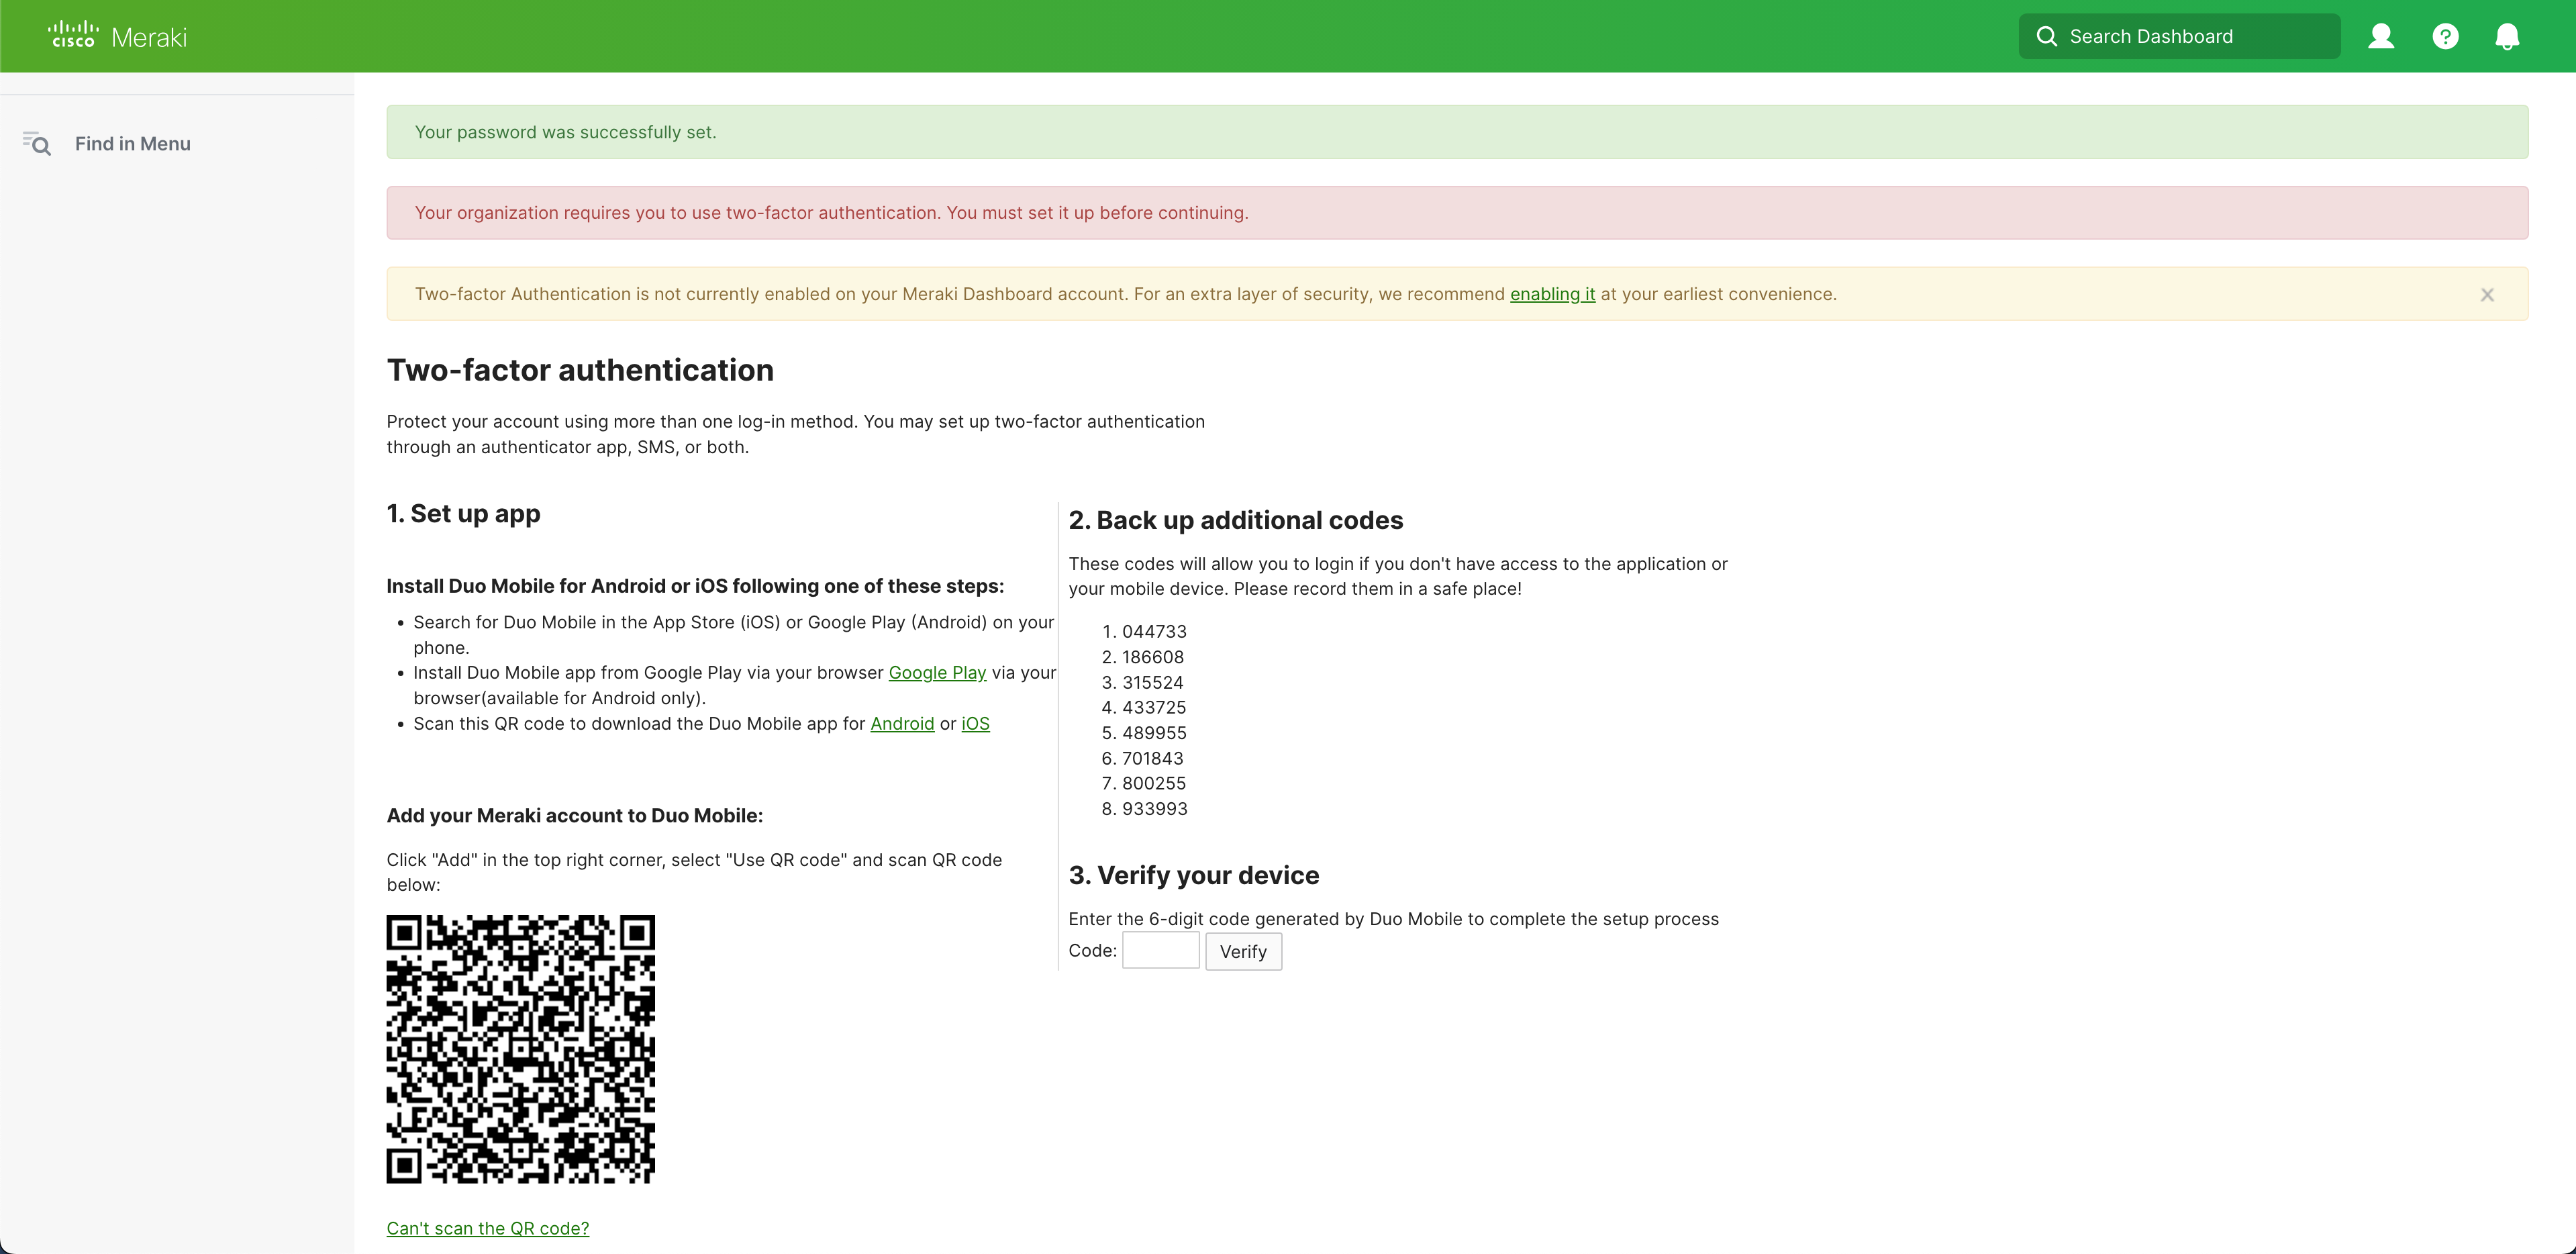
For more security, you have to setup Two-factor authentication
Using Duo Mobile for Two-Factor Authentication in Dashboard
The option to utilize Duo Mobile or Google Authenticator on an iOS or Android device is useful because it can provide two-factor authentication regardless of SMS service. It also allows users to back up Duo-protected accounts for recovery to the same device or to a new device.
Configuration
Visit your smartphone's mobile app store and download the Duo Mobile or Google Authenticator app

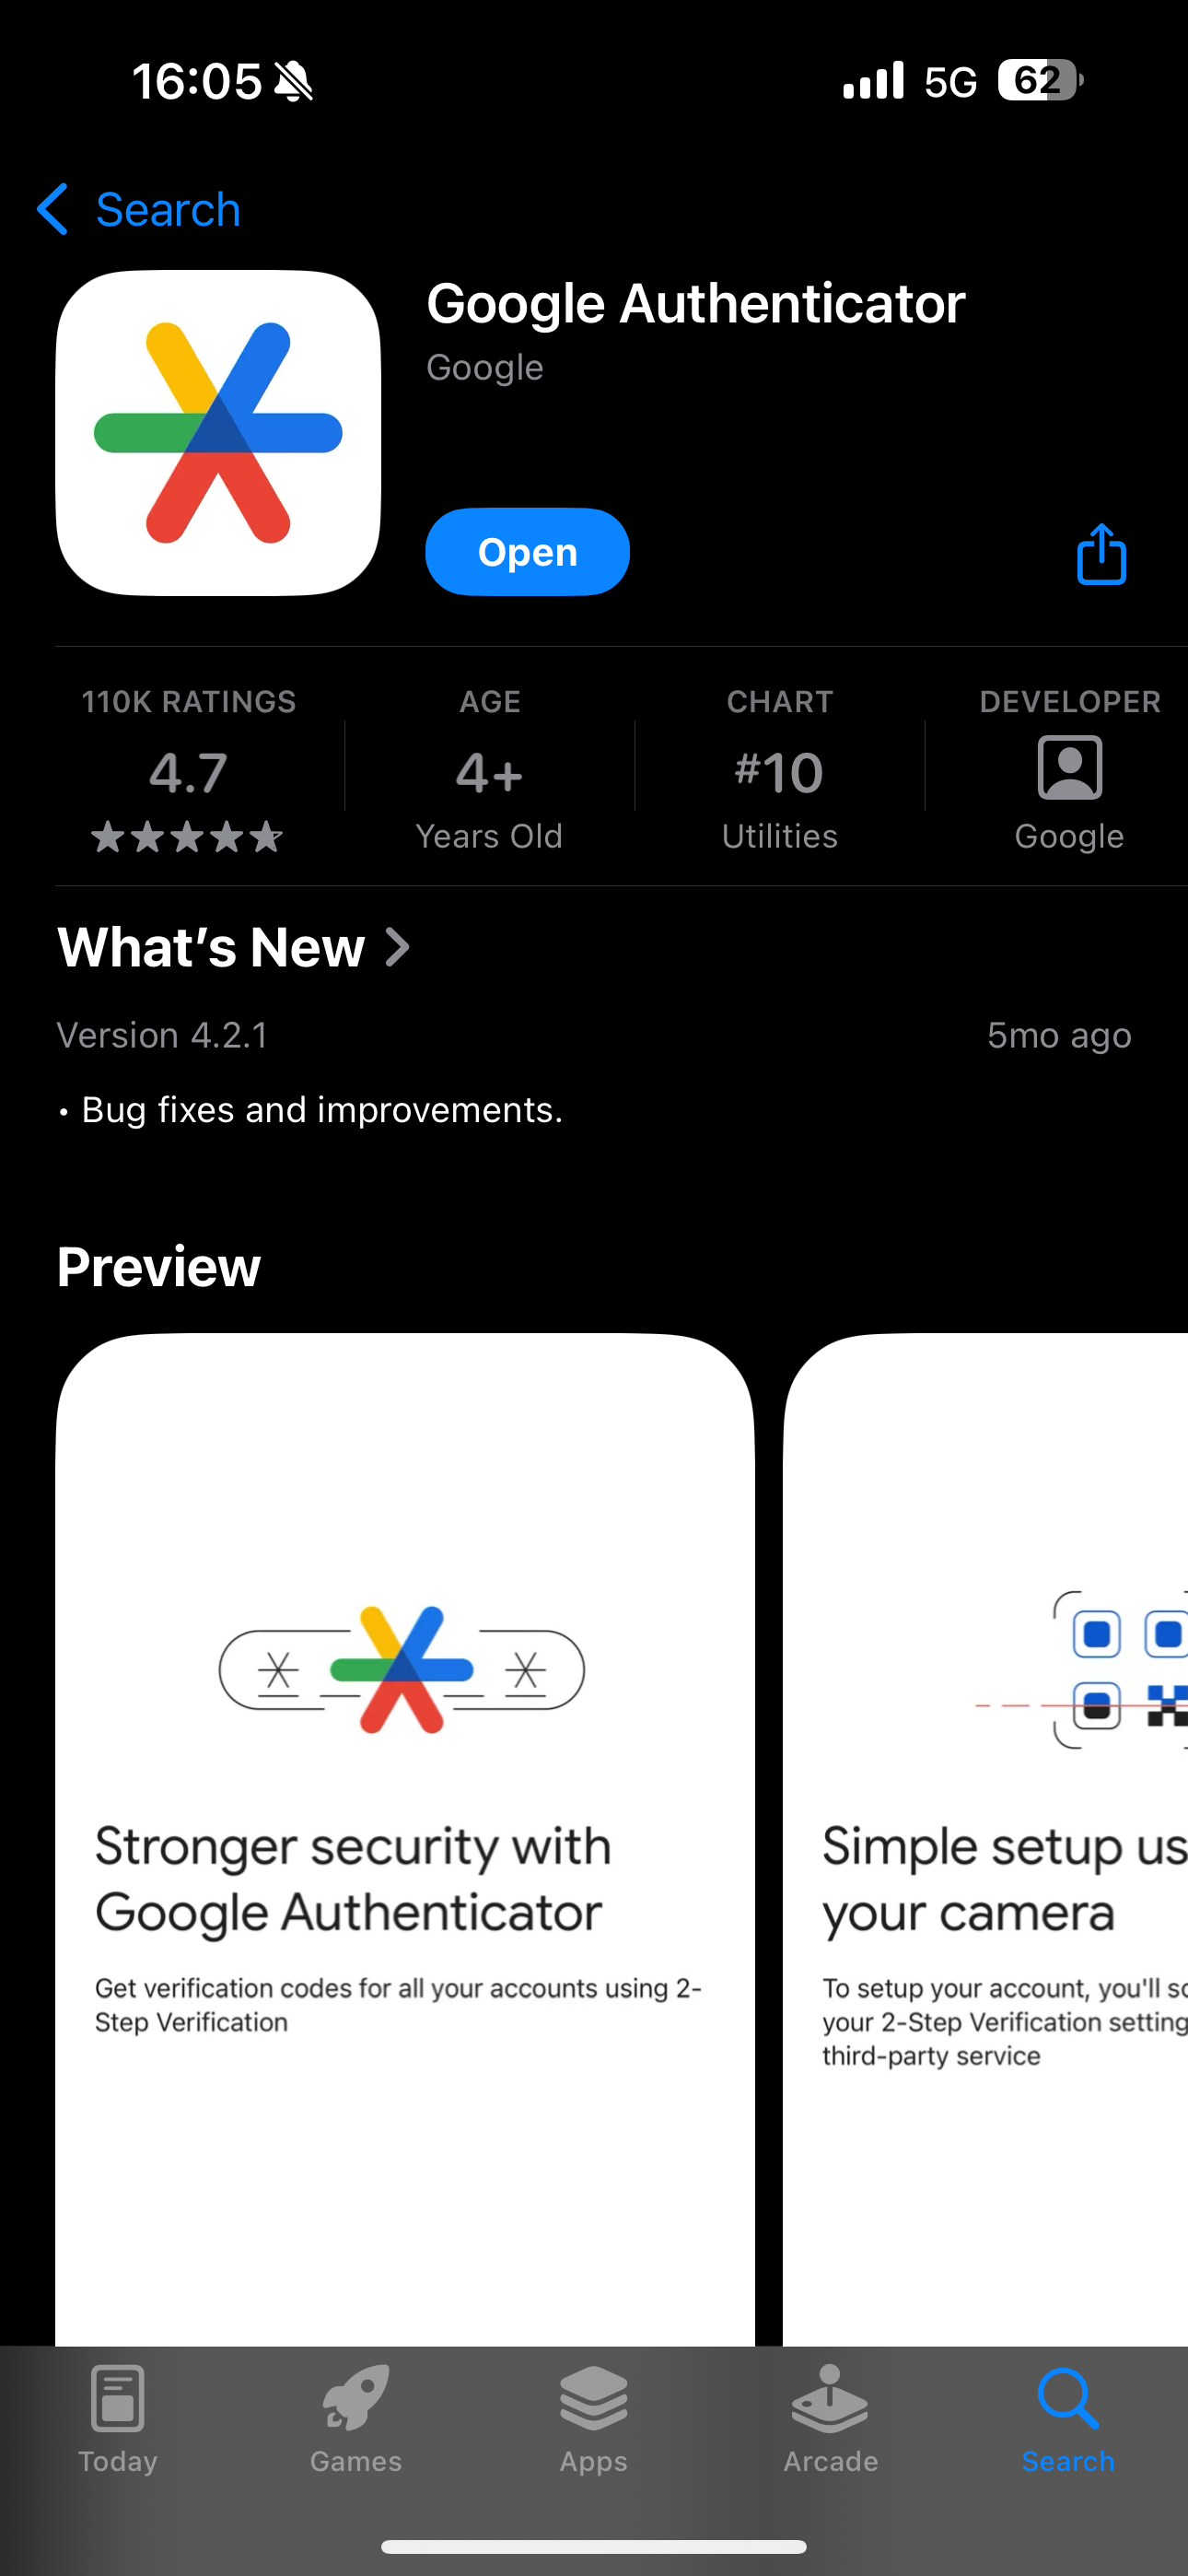
Once the app is downloaded and installed, open the application.
On your mobile, navigate to the +
Duo Mobile screen on the top right and select Use QR code
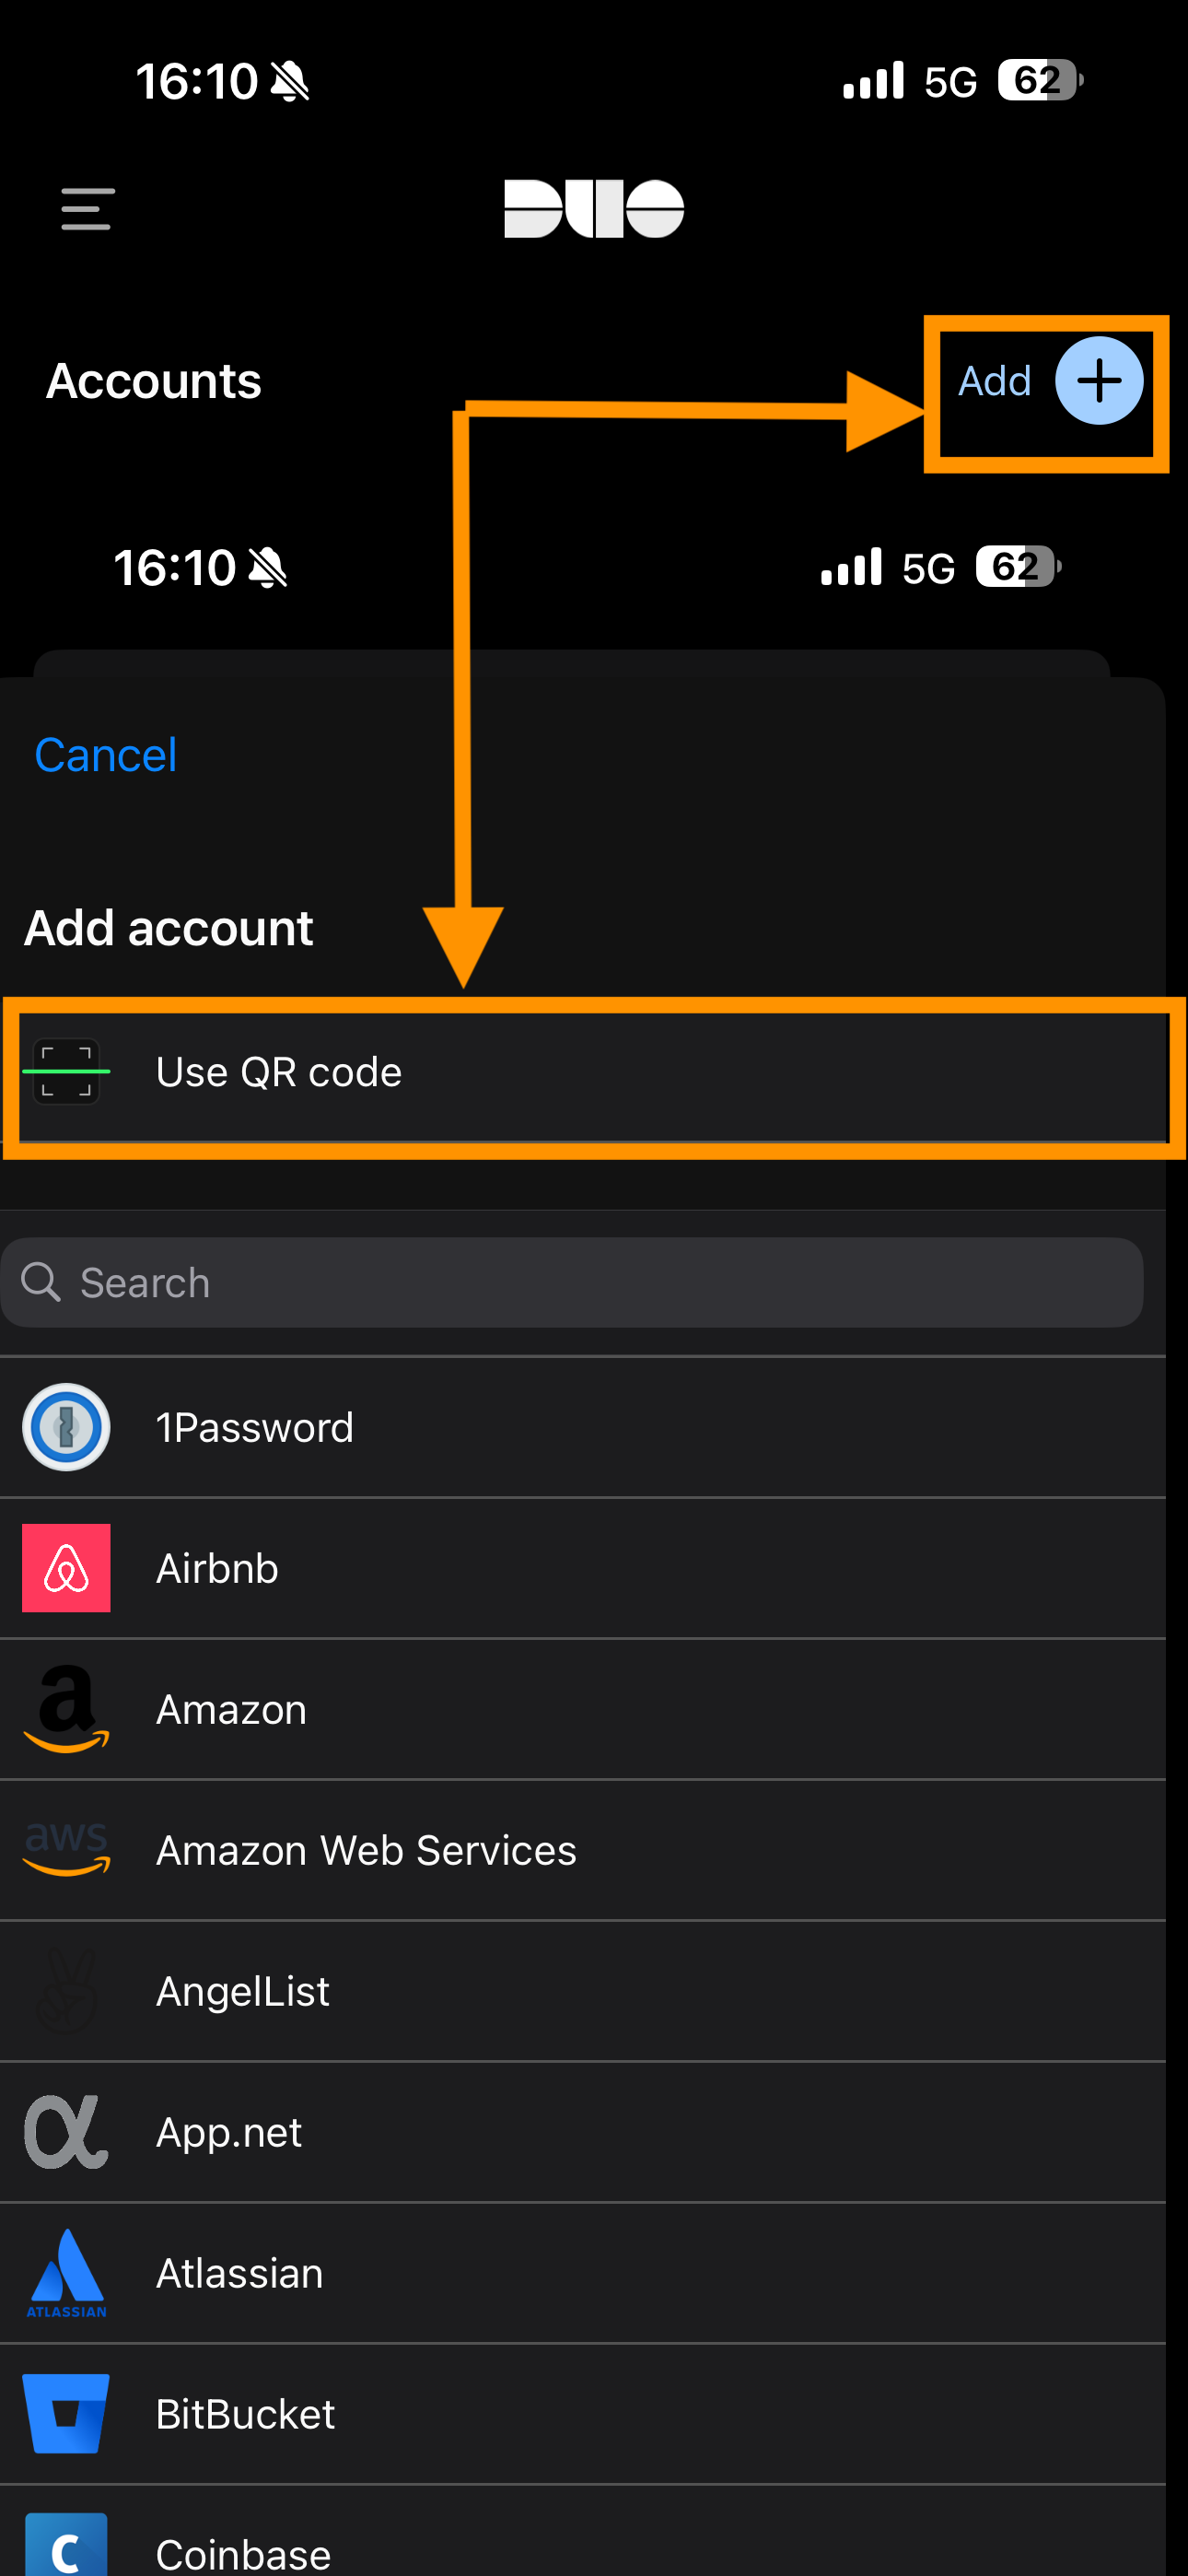
Google Authenticator screen on the bottom right and select Scan a QR code

Then scan the QR code you got on your laptop : (don’t scan the following QR code)

Click OK on the notification message on the top :
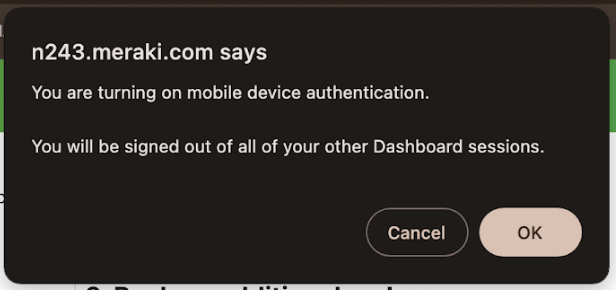
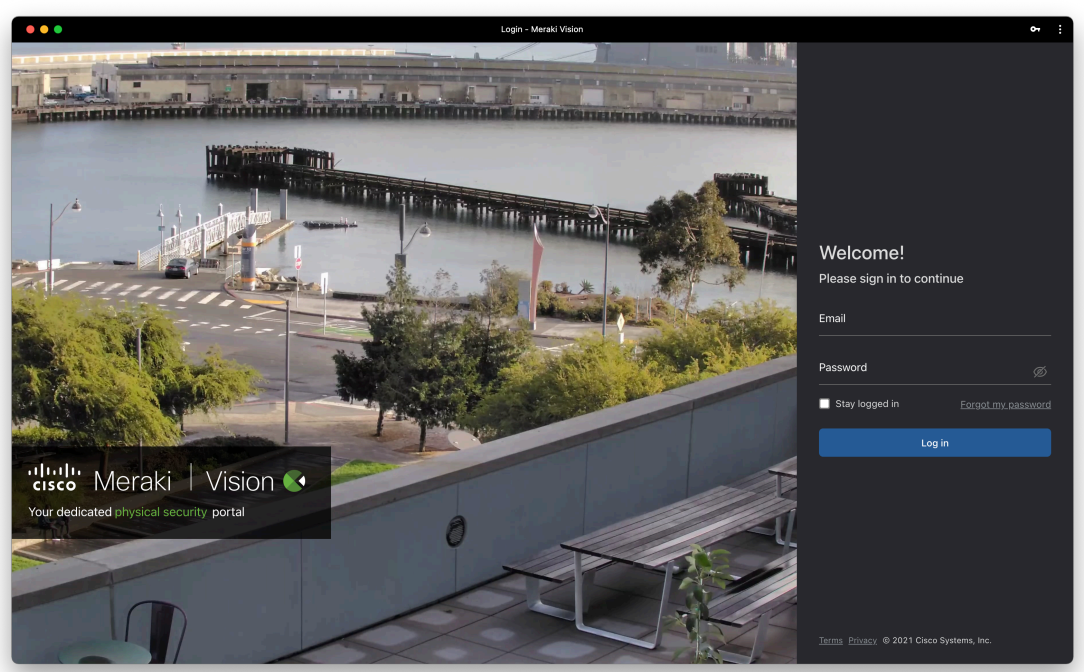
When you got this following page, you can close it and open Meraki Vision page - https://vision.meraki.com/login

↗️ Access to the Meraki Dashboard:
The Meraki Dashboard is only accessible from the Aoba network with this link:
https://vision.meraki.com/login
Any attempt to access the dashboard from an external IP address will result in the following errors:
.png?inst-v=a8cb1303-bd20-488e-8823-a7751fbb53b4)
.png?inst-v=a8cb1303-bd20-488e-8823-a7751fbb53b4)
👮♂️ Permissions:
3 access options are available :
View and export all footage :
Allows the user to view live and recorded camera footage
Allows the user to export recorded footage
View all footage :
Allows the user to view live and recorded camera footage
View live footage only :
Allows the user to view live footage only
Please find below the access given to users by role:
Senior Leadership | Middle Leadership | Student Protection Staff | Staff and Faculty (Bunkyo) | Staff and Faculty (Hikarigaoka) | |
|---|---|---|---|---|---|
View live footage | ✅ | ✅ | ✅ | ✅ | ✅ |
View recorded footage | ✅ | ✅ | ✅ | ⛔ | ⛔ |
Export recorded footage | ✅ | ✅ | ⛔ | ⛔ | ⛔ |
Note : Different access rights can be granted on an individual basis if approved by campus heads and documented in a Jira ticket request.
🔰 Introduction to the Meraki Video Dashboard :
Open this page : https://vision.meraki.com/loginand login with your Aoba email address - @aobajapan.jp and password you have created earlier for Cisco Meraki and click Log in
Entre the 6-digit authentication code generated by Duo Mobile or Google Authenticator app
To get it, open the application on your mobile and check the code generated by your app
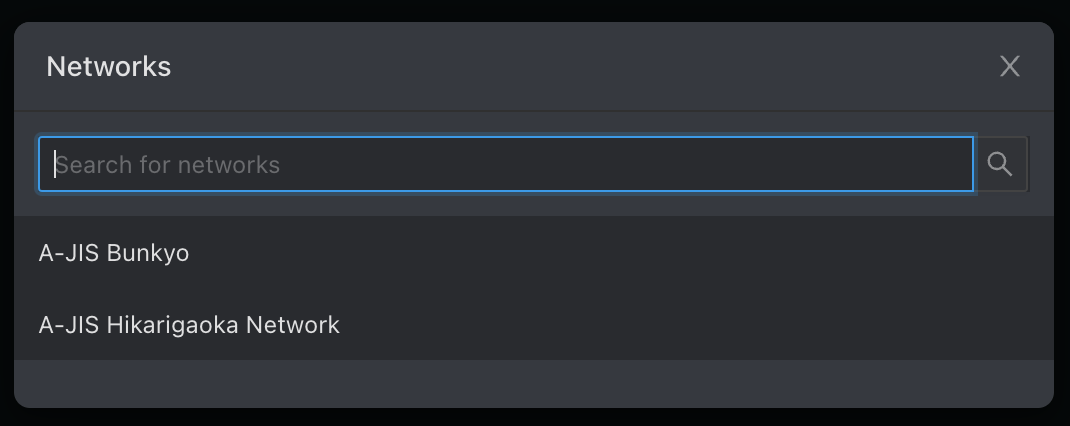
Option : Select the campus where you want to view camera footage:
Main page :
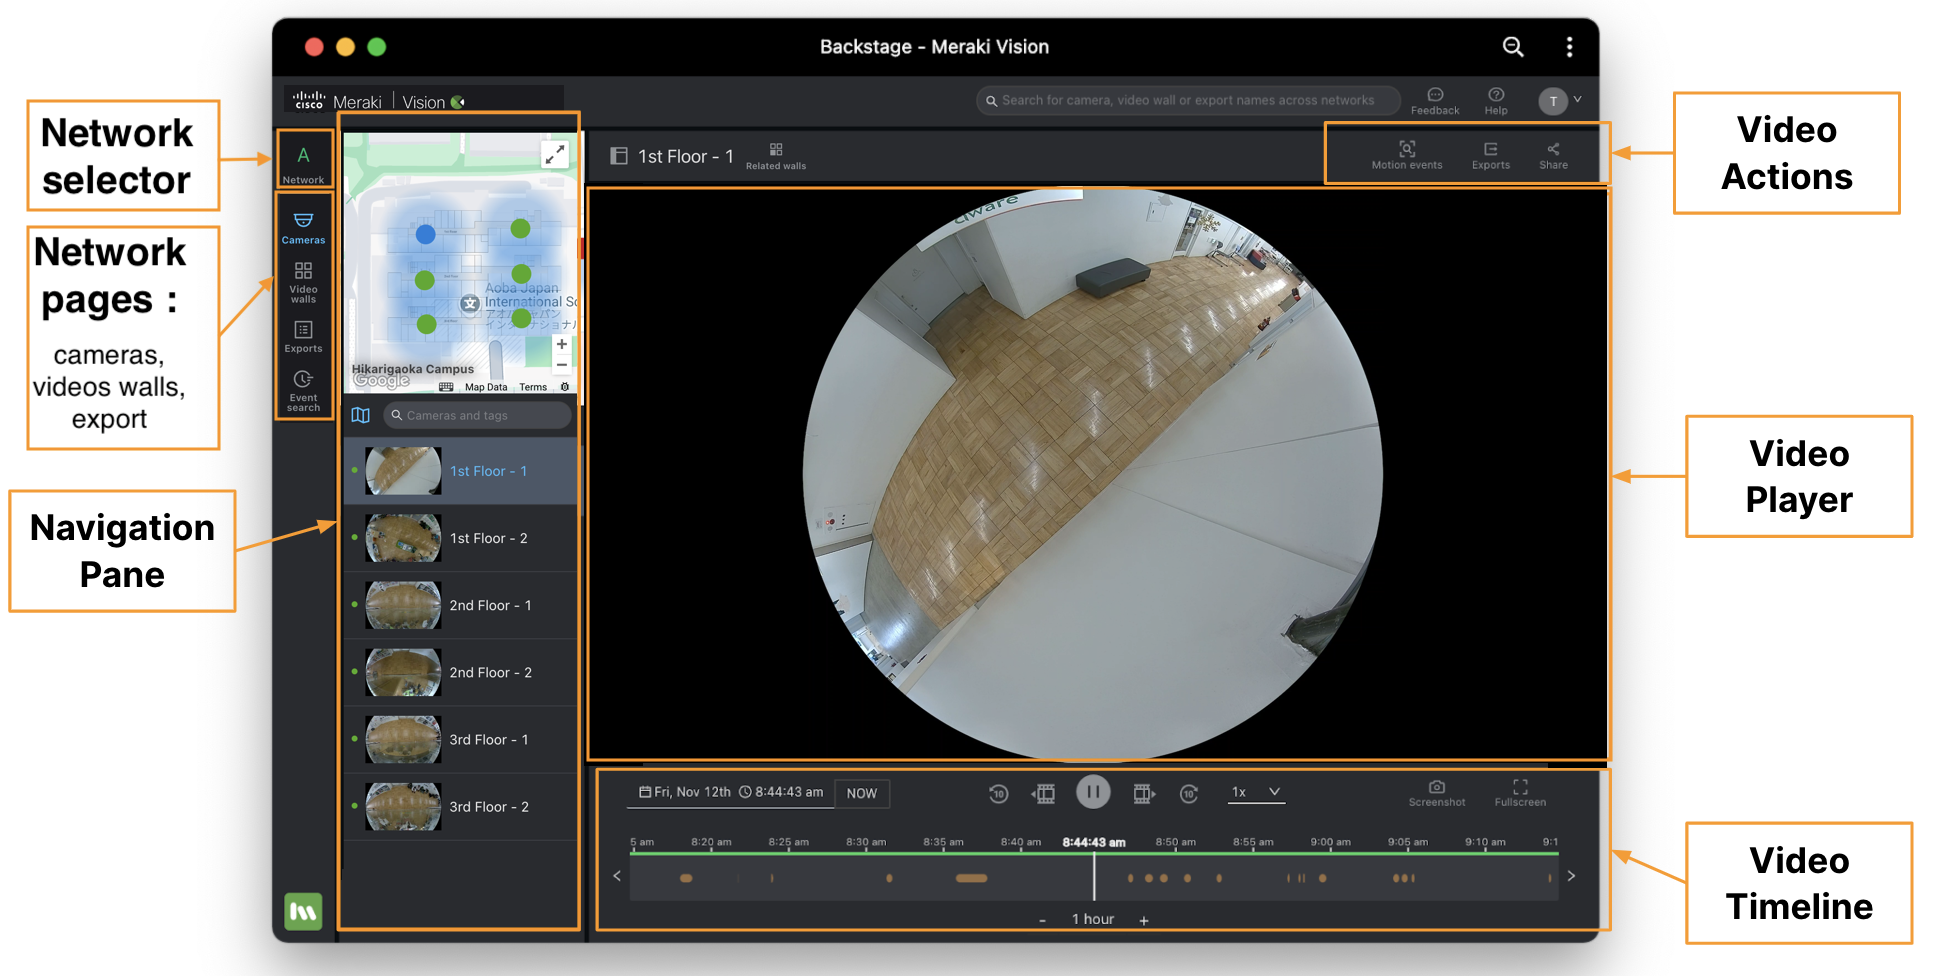
Cameras page > Navigation pane (map)
You can use the global search to find the right camera, but if you’re already on a single network, you can use the Cameras page → Navigation pane.
From here you can use the mini-map to find the right camera based on its location ◦ The blue dot refers to the selected camera, and red dots are cameras that are offline
Expand this for a larger view, and to switch between floor plans • Collapse this if you don’t have any placements or don’t need this; your setting will be remembered on your device
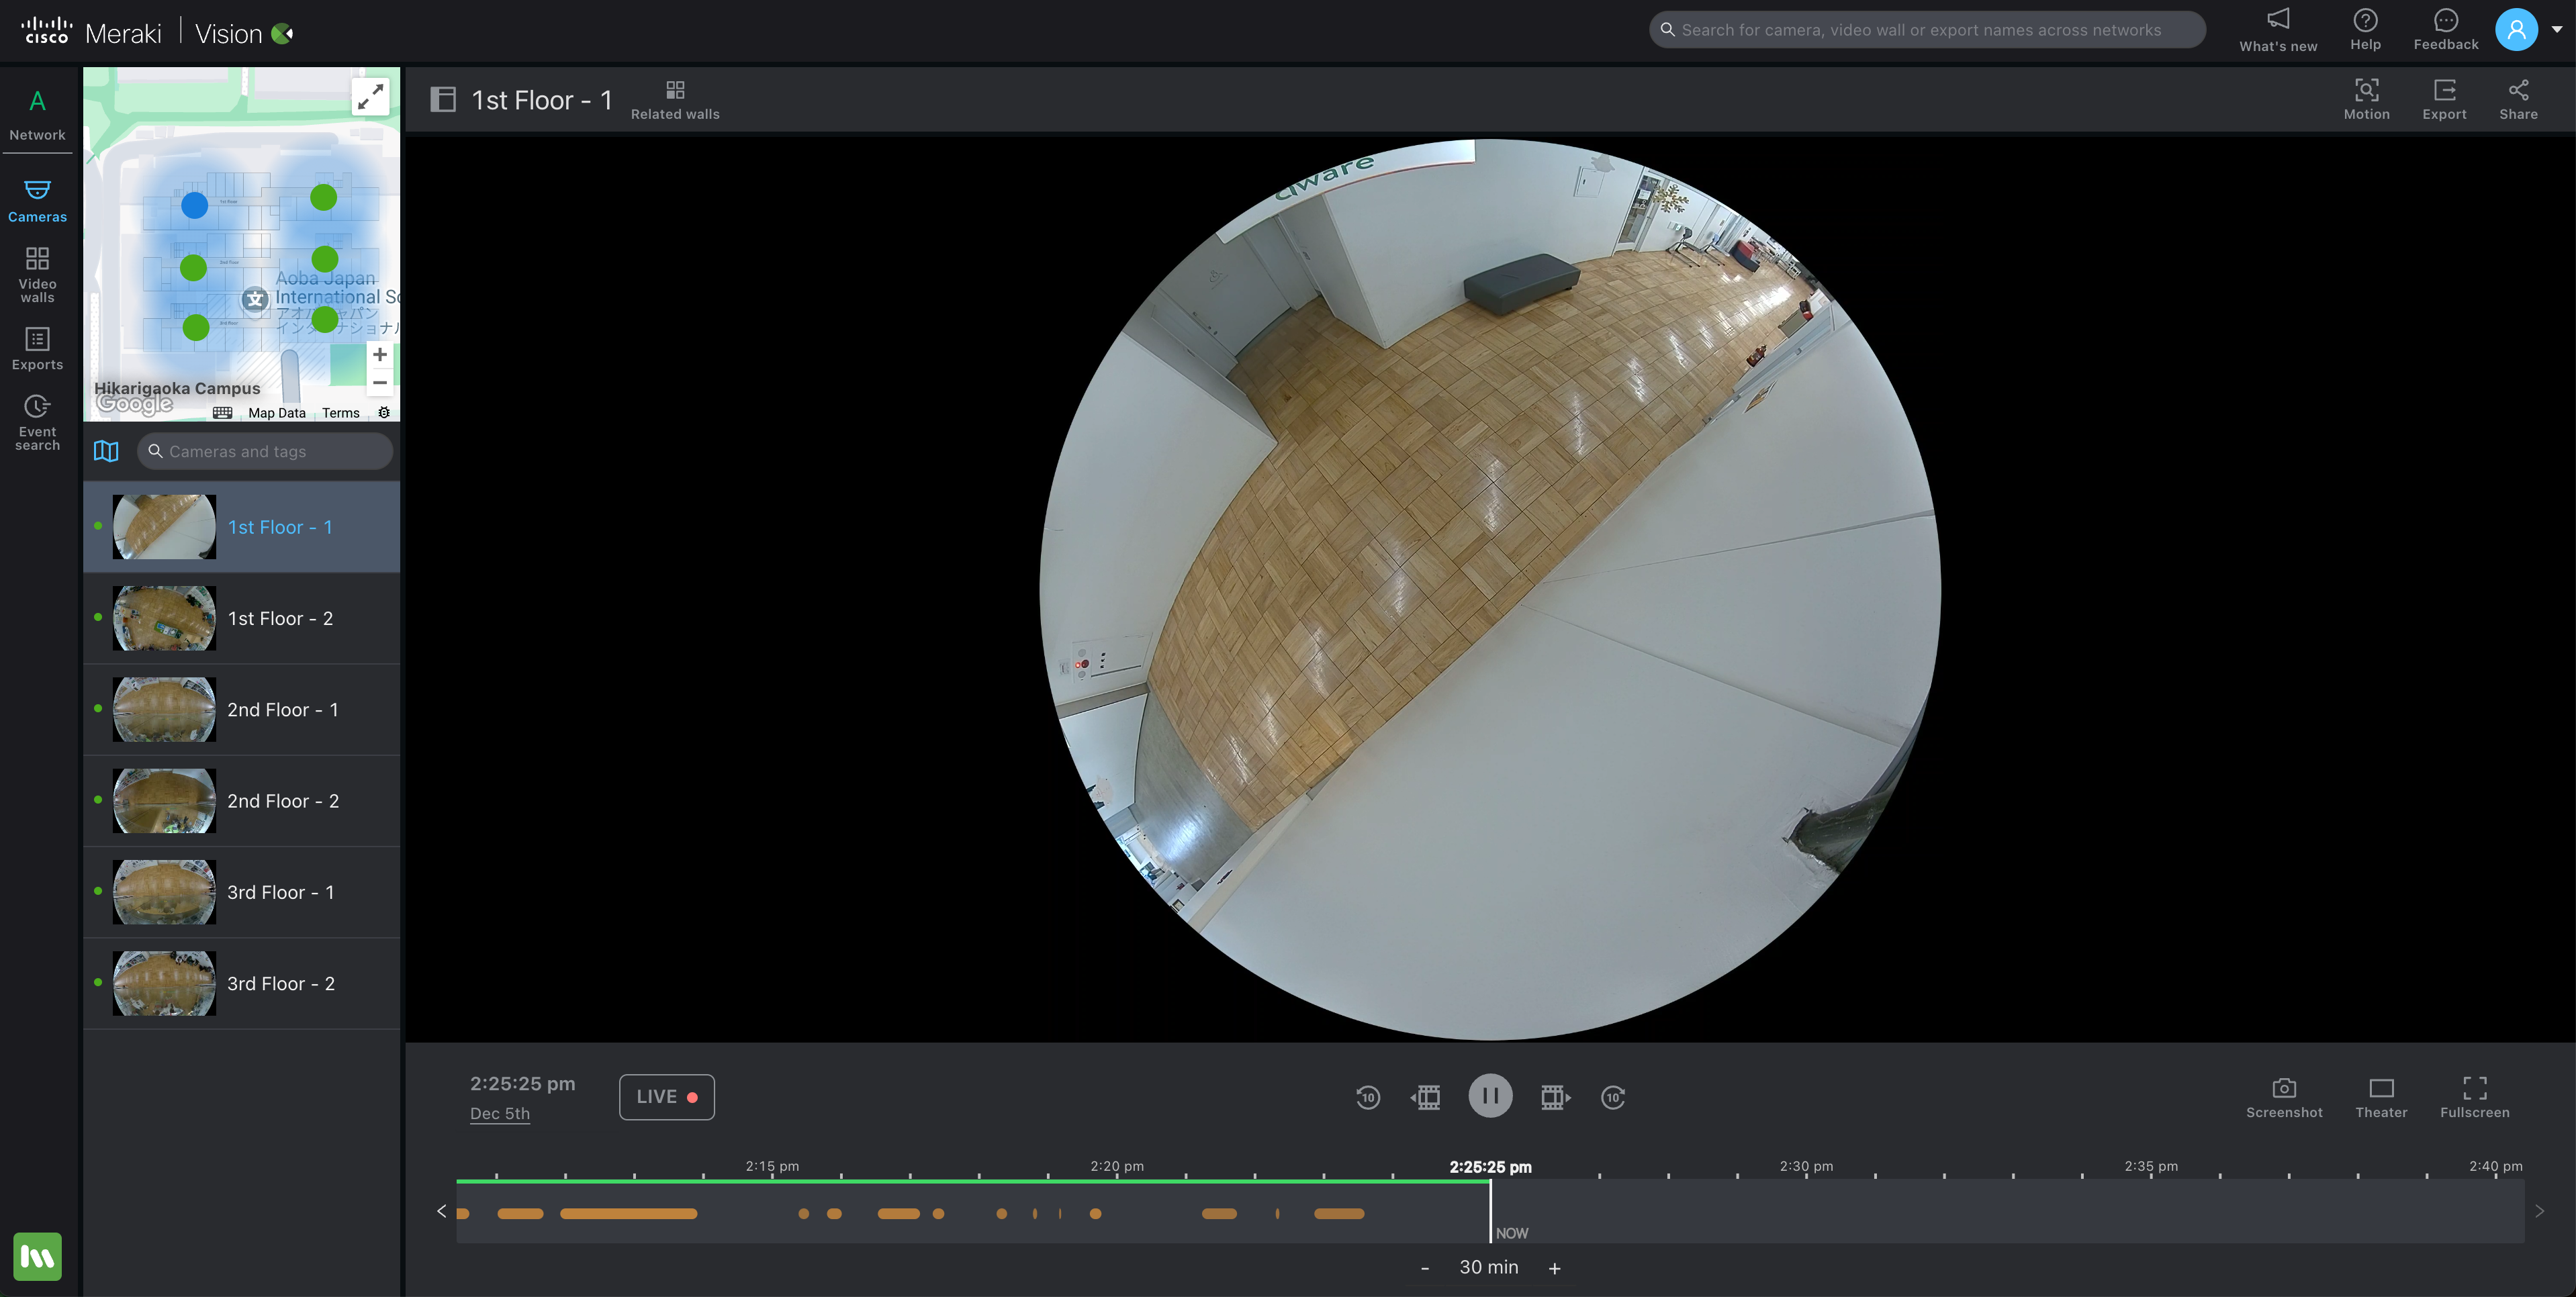
Cameras page > Navigation pane (search and list)
On top of the global search or the mini-map, you can use the search input or the list view below the mini-map.
Type in a string that corresponds to a camera name or tag
Check which tags are associated with a camera by looking at the tag icon next to the camera name
Or, use the thumbnails to select the correct camera
Green dots correspond to cameras online, red dots are cameras that are offline
Find a video wall in a network
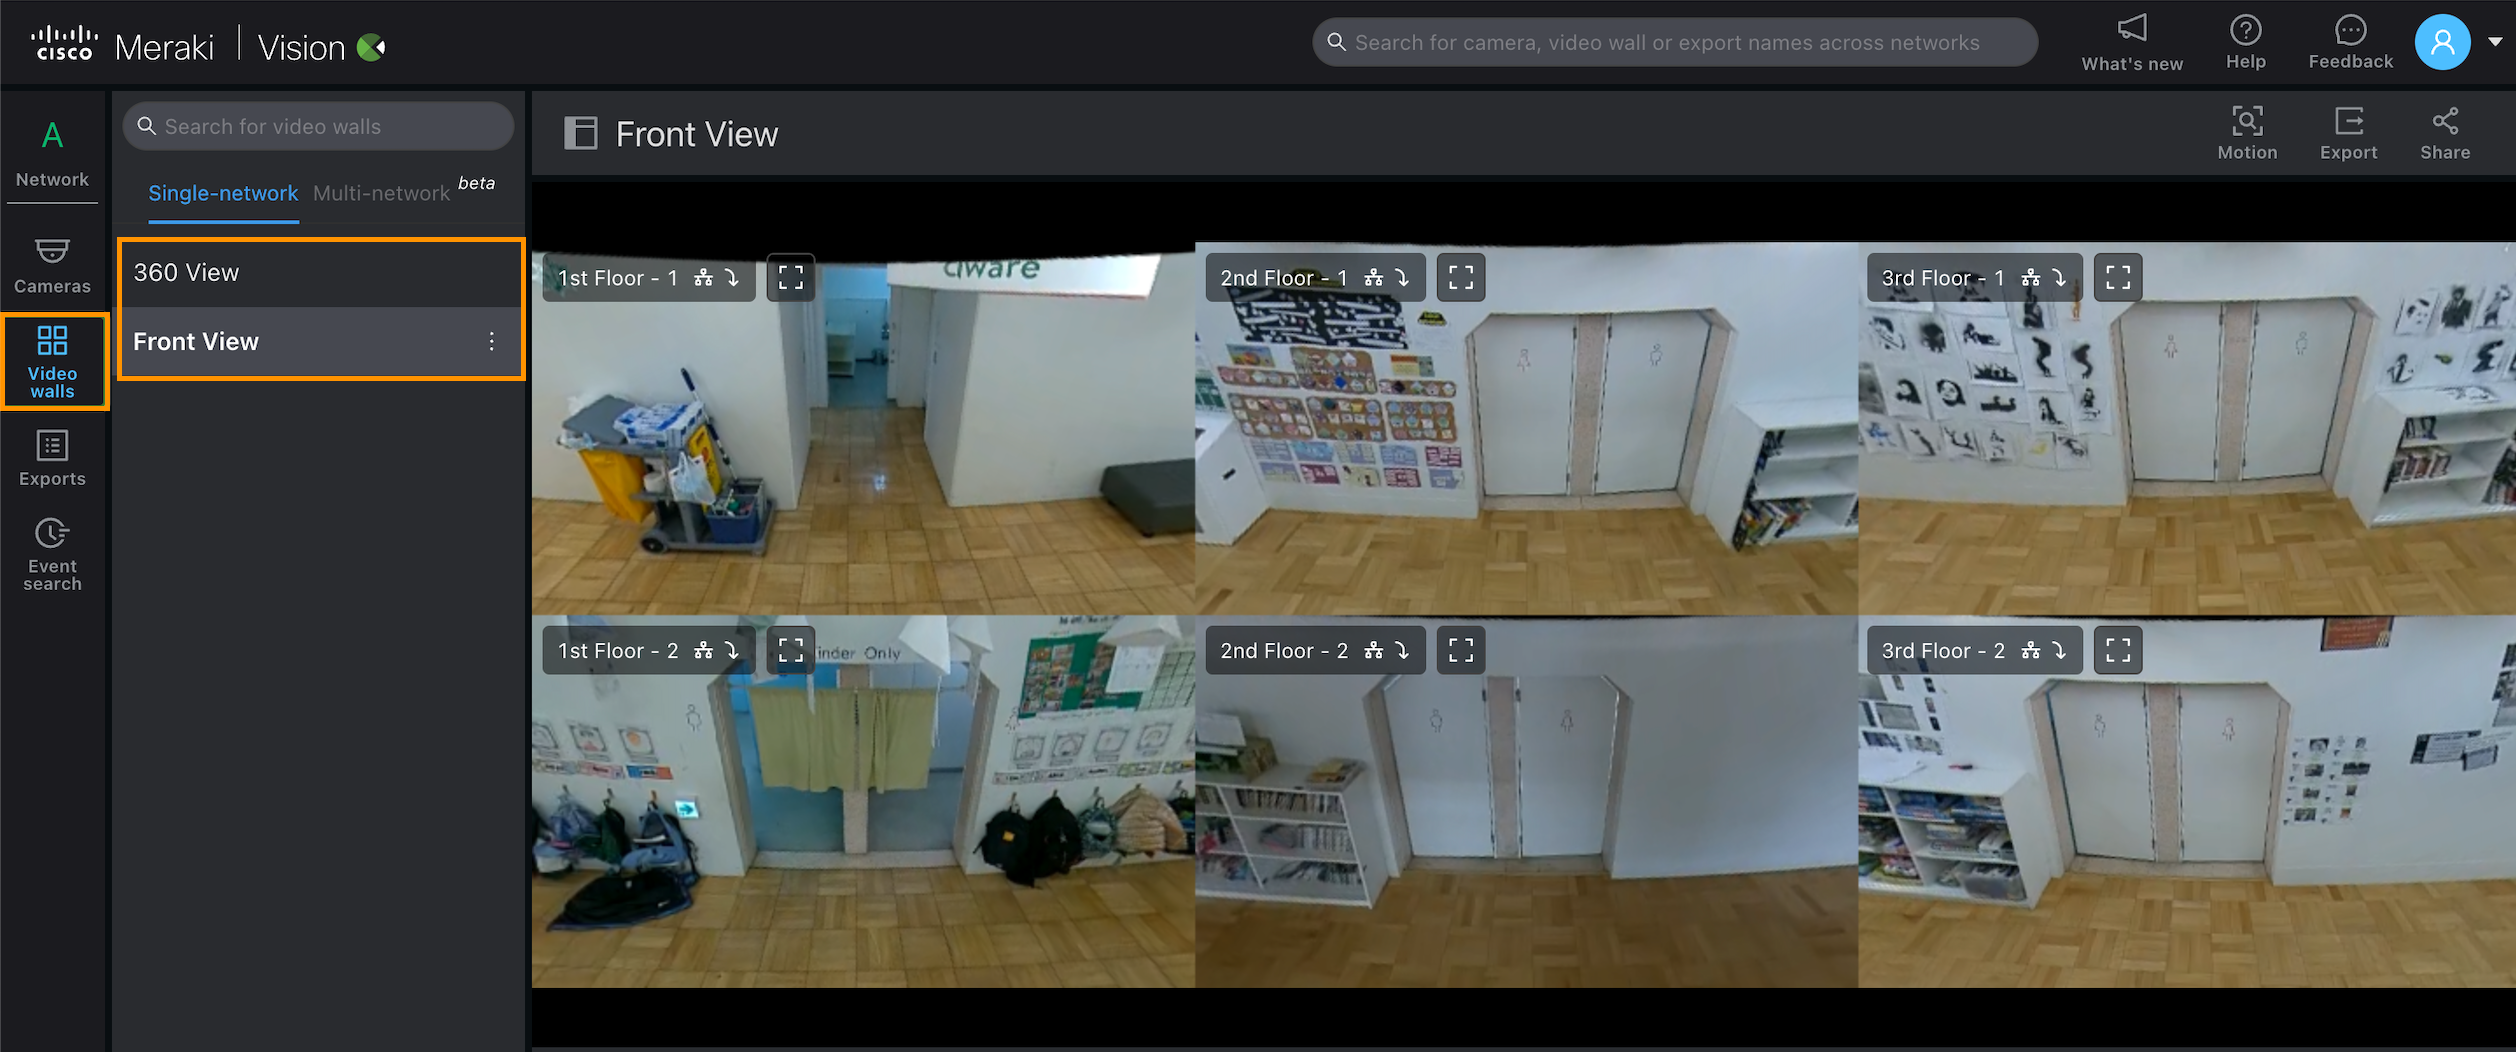
Scroll through the list of video walls on the navigation pane.
Watch live video
You can watch live video through either the cameras or video wall video player page.
On each page, click “NOW” on the video timeline to go to live video.
On the video wall page, you can also edit and start a video wall rotation to flip through live video on many video walls one after another.
You can generate a link that will start a video wall rotation and enter theater mode without user intervention by appending the following at the end of the URL: "?&autostart=true&fullPage=true" •
Use the audio on/off button on the video timeline to listen to audio (if enabled) •
Hit "Theater" or “Fullscreen” on the video timeline if needed ◦
Org idle timeout is ignored if this is done on the video wall
Click and zoom into any of the cameras on the video wall
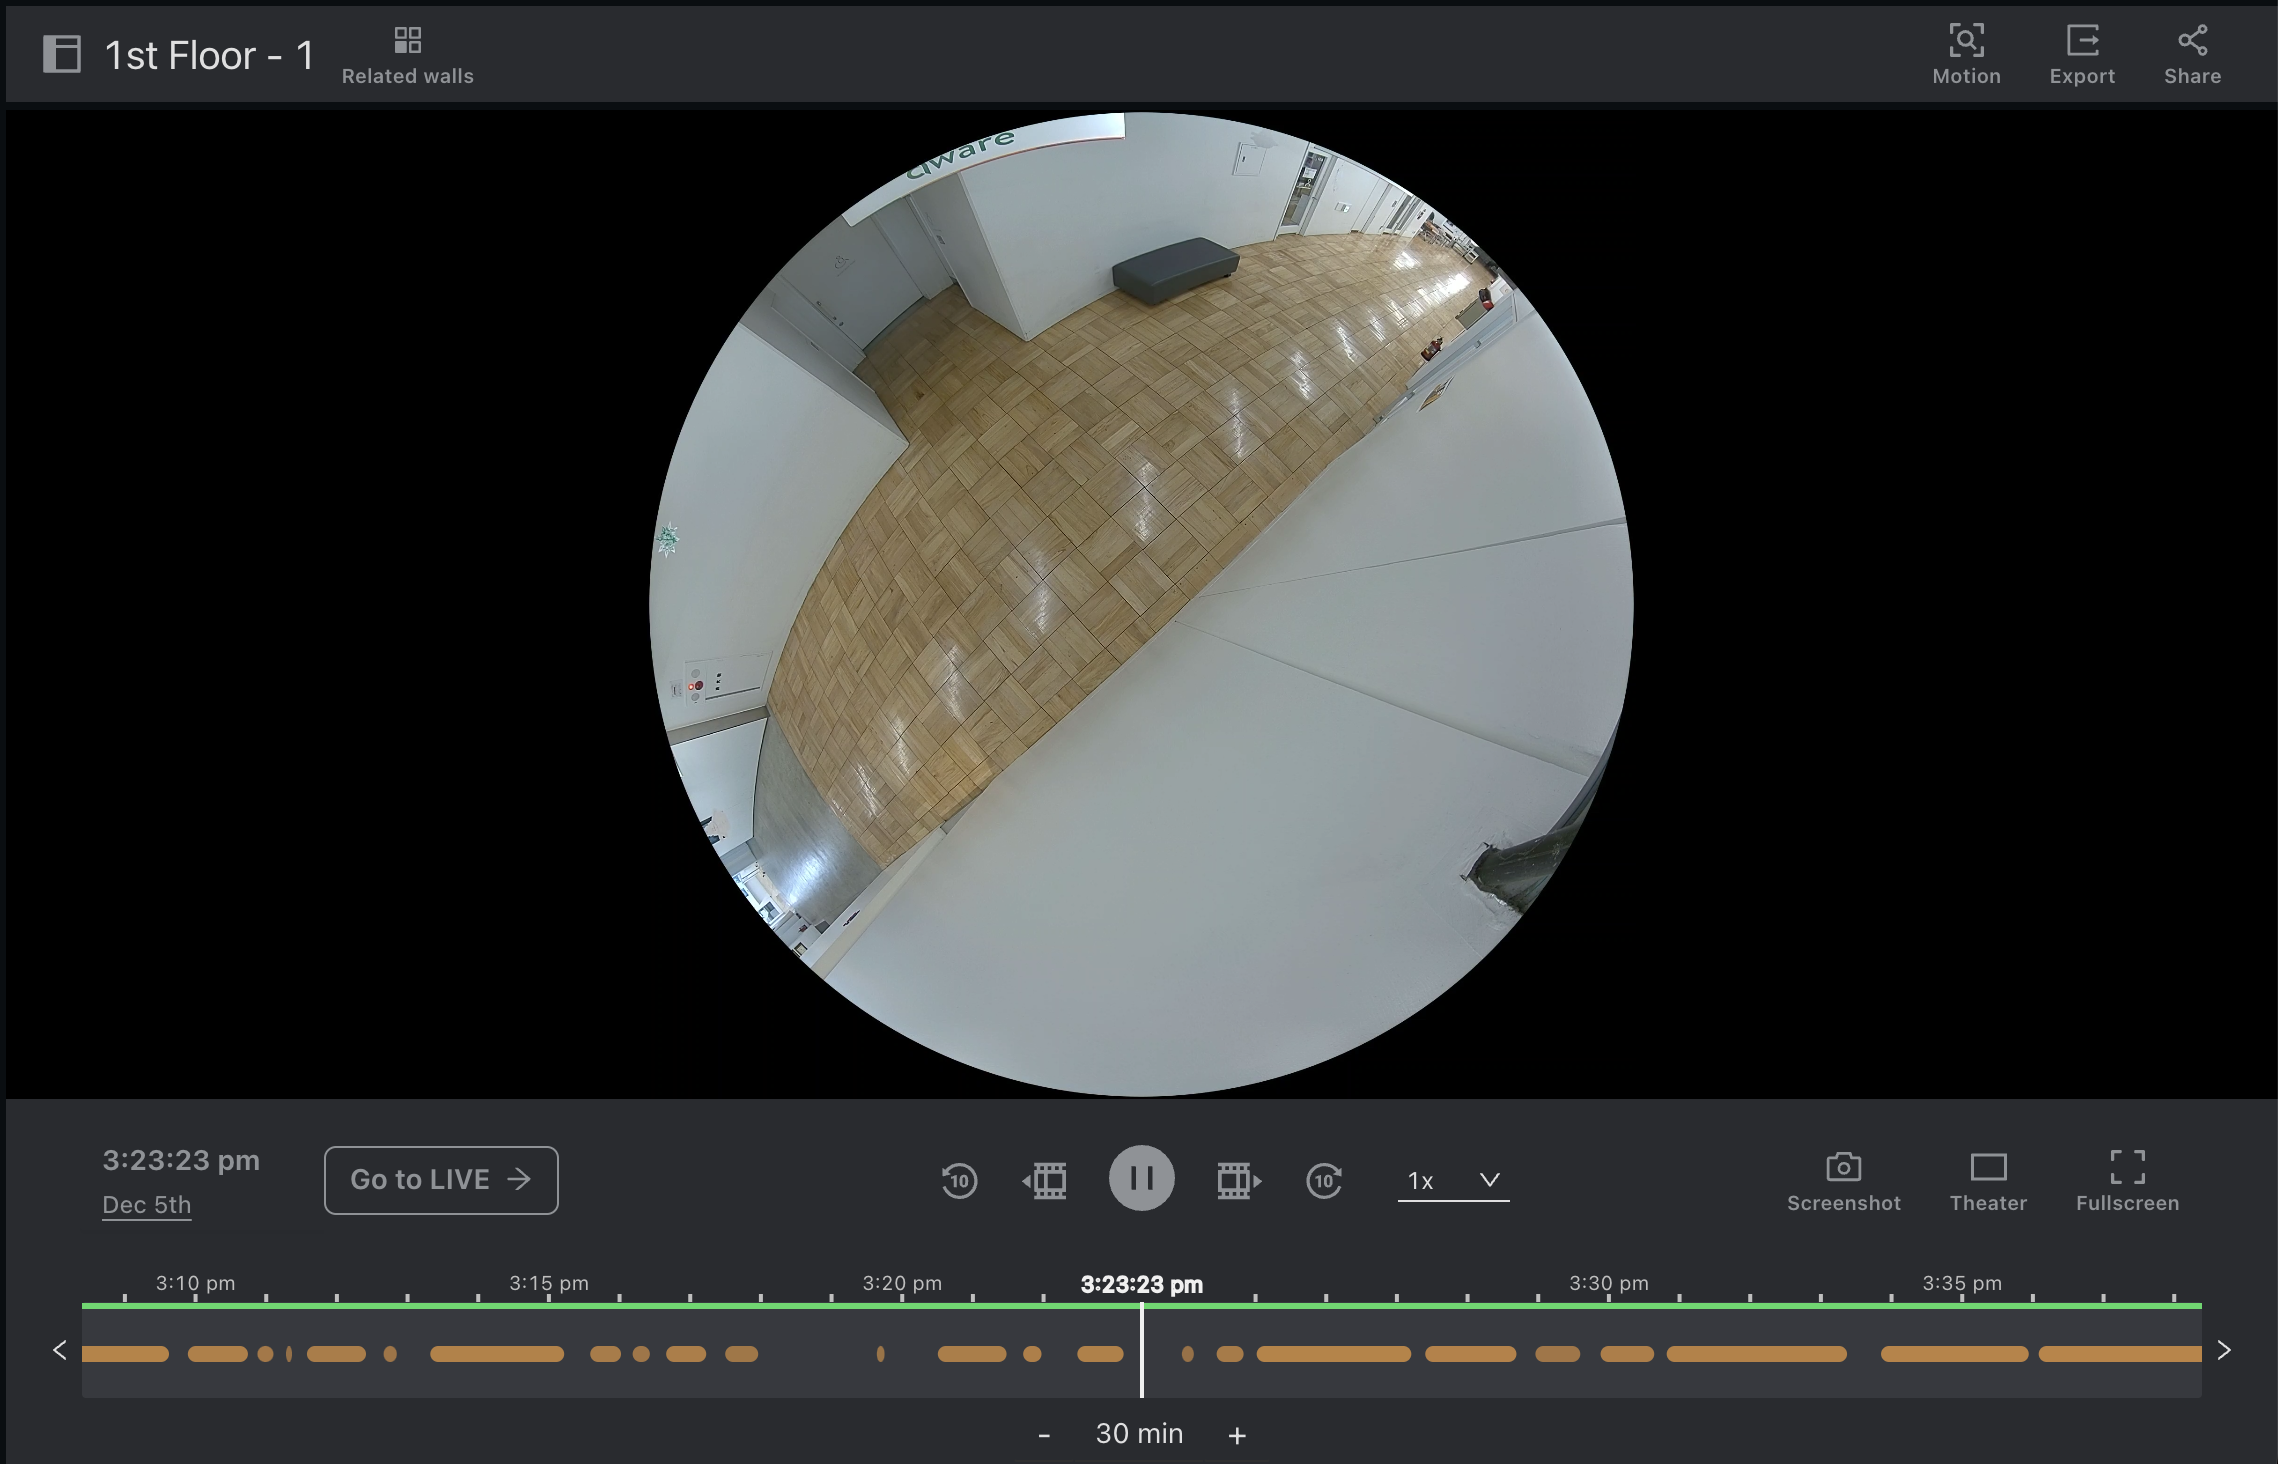
Find and play historical video
Cameras and video wall page → Video timeline

The video timeline on both the cameras and video wall page can help you navigate to historical video.
Use the time-picker to type in a date and time using natural language processing, or click the date and time using the calendar and clock
Browse through the timeline by clicking the arrows and changing the zoom level
The timeline also provides options to go backwards and forward by one frame or ten seconds
The timeline also provides a way to play back by 0.25x, 0.5x, 1x, 2x, and 4x • Use the audio on/off button on the video timeline to listen to audio (if enabled)
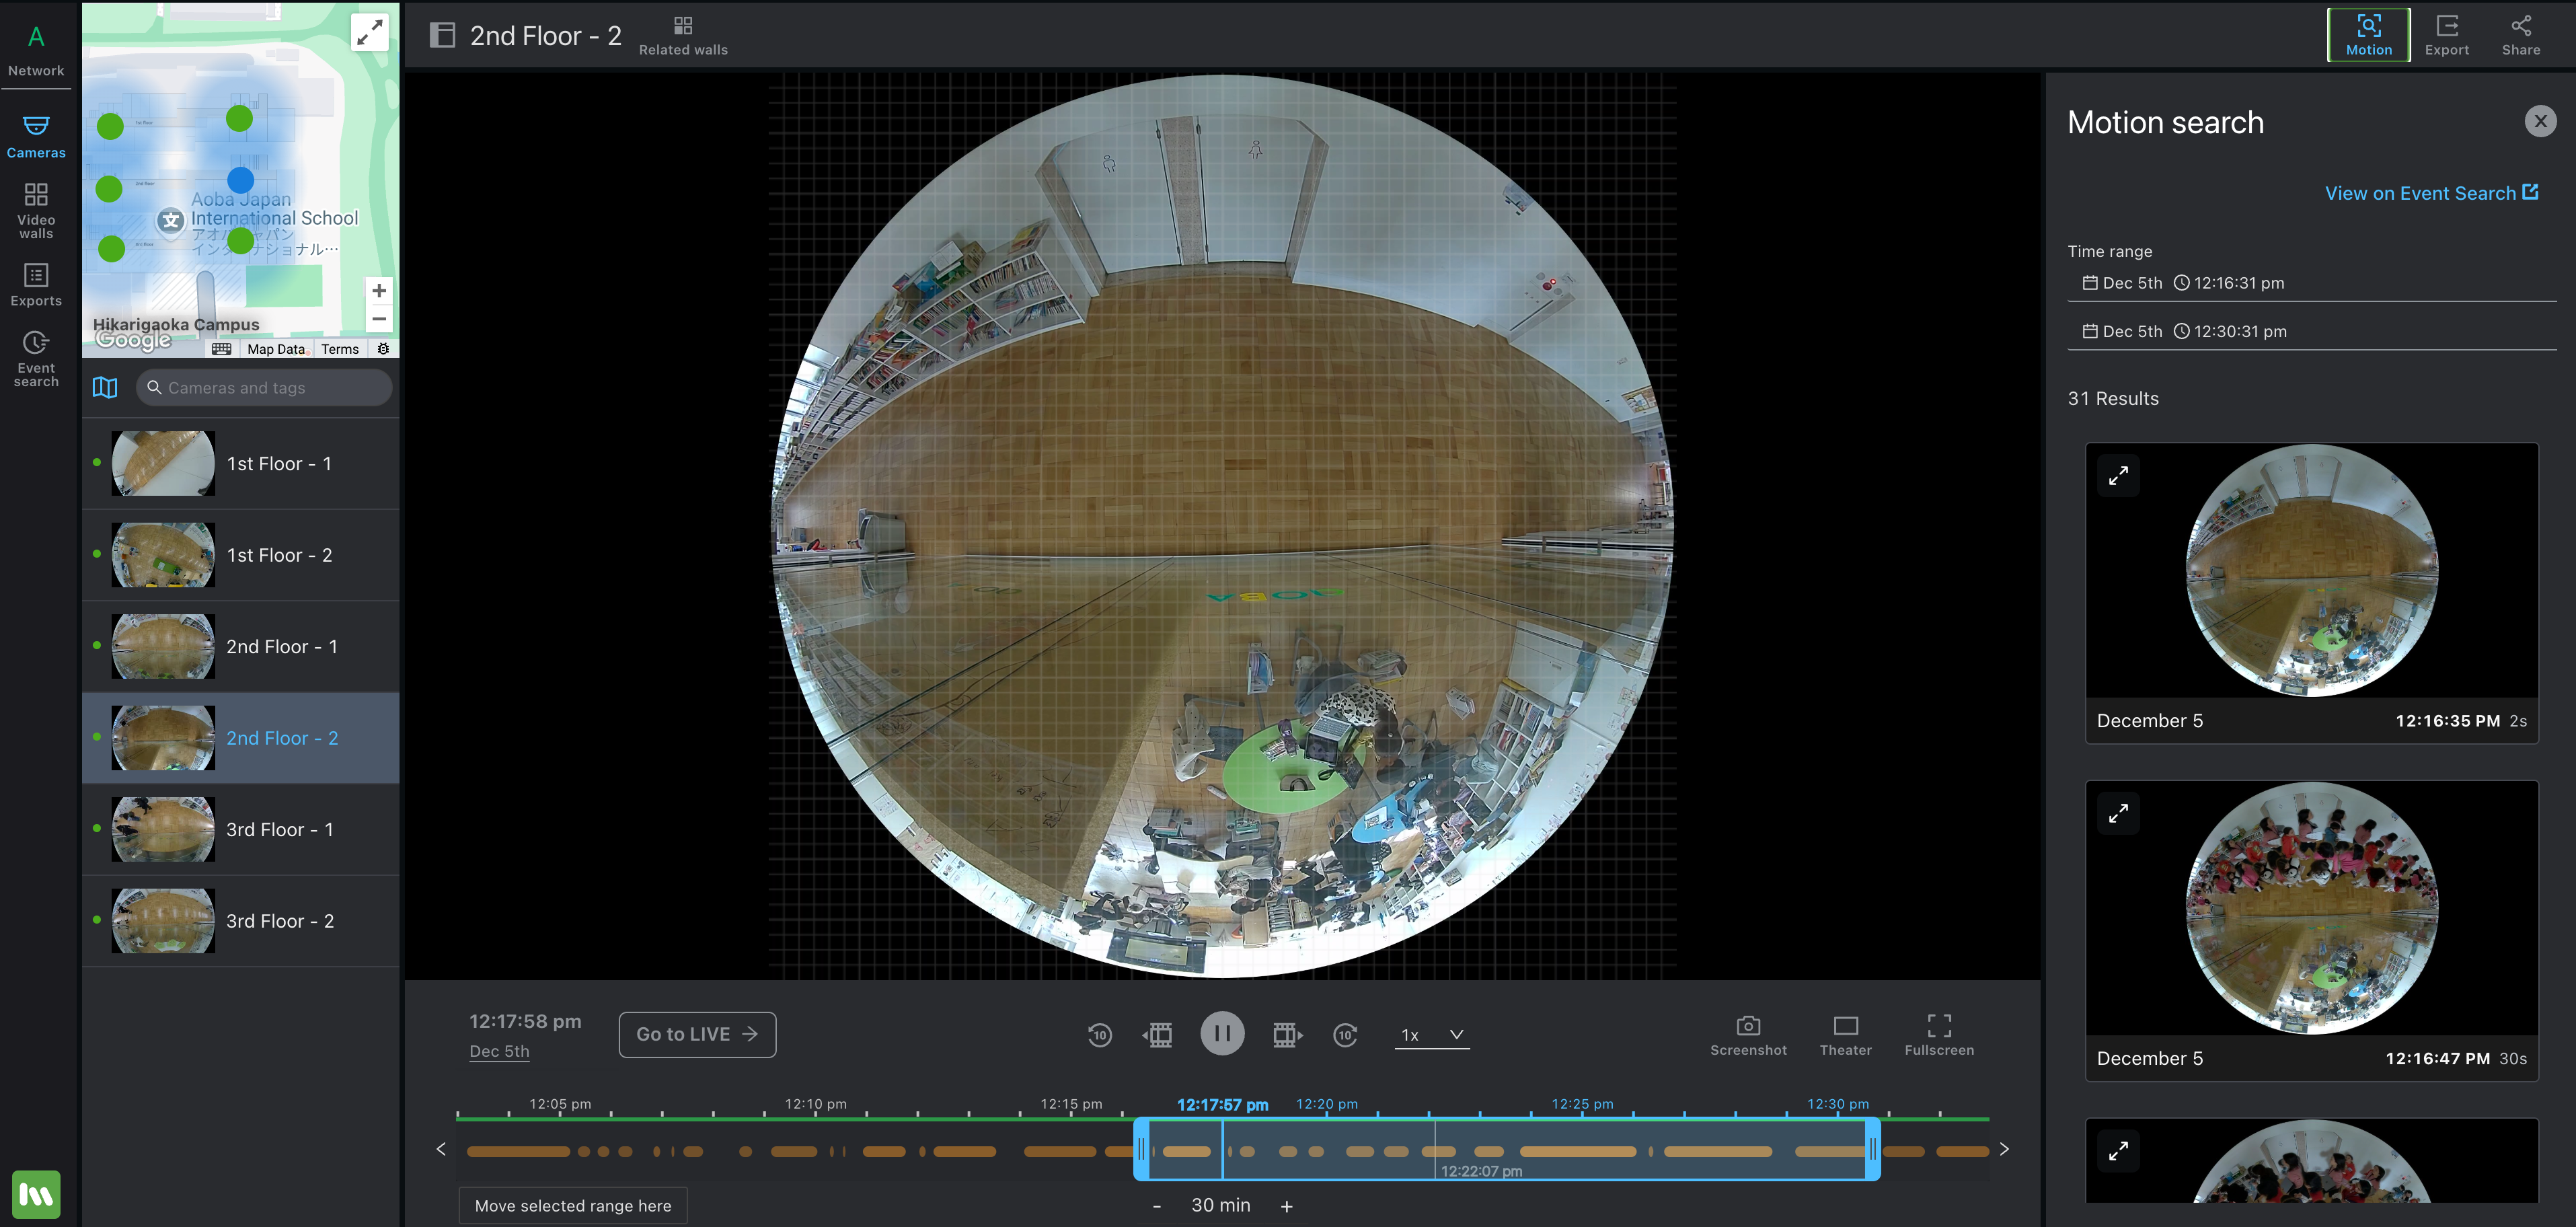
Cameras and video wall page → Motion search
Motion search on the video actions page can help you find historical video.
The drawer version by default will search the entire camera’s field of view for a default time period (based on your currently selected time period on the timeline)
For live, this is backwards 50% of the timeline zoom until current time
For historical, this is backwards and forwards by 50% of the timeline zoom
You can narrow down the search criteria by selecting a smaller region on the video player itself
Retrieve share footage
There are many options to retrieve footage
The screenshot button on the video timeline grabs a single frame from what you’re viewing
Export allows you to rename the export, select a duration, and save a video file to share later ◦
View and share these exports from that same drawer, or on the network-wide exports page
From the network-wide exports page, you can also combine exports into a single file
You can also delete exports, or get the checksum to verify integrity
Share allows you to share a link to the video you are watching with another Meraki Vision portal user
How to export, download, and share video recordings :
This section assume that you have read and understand the materials included in the previous section Introduction to the Meraki Video Dashboard.
Video clips
If you have export privileges, you can share video clips using the Export feature.
Export Video
Navigate to video wall page - https://vision.meraki.com/login.
On Network Pages, select Video walls > Select the Wall > Export
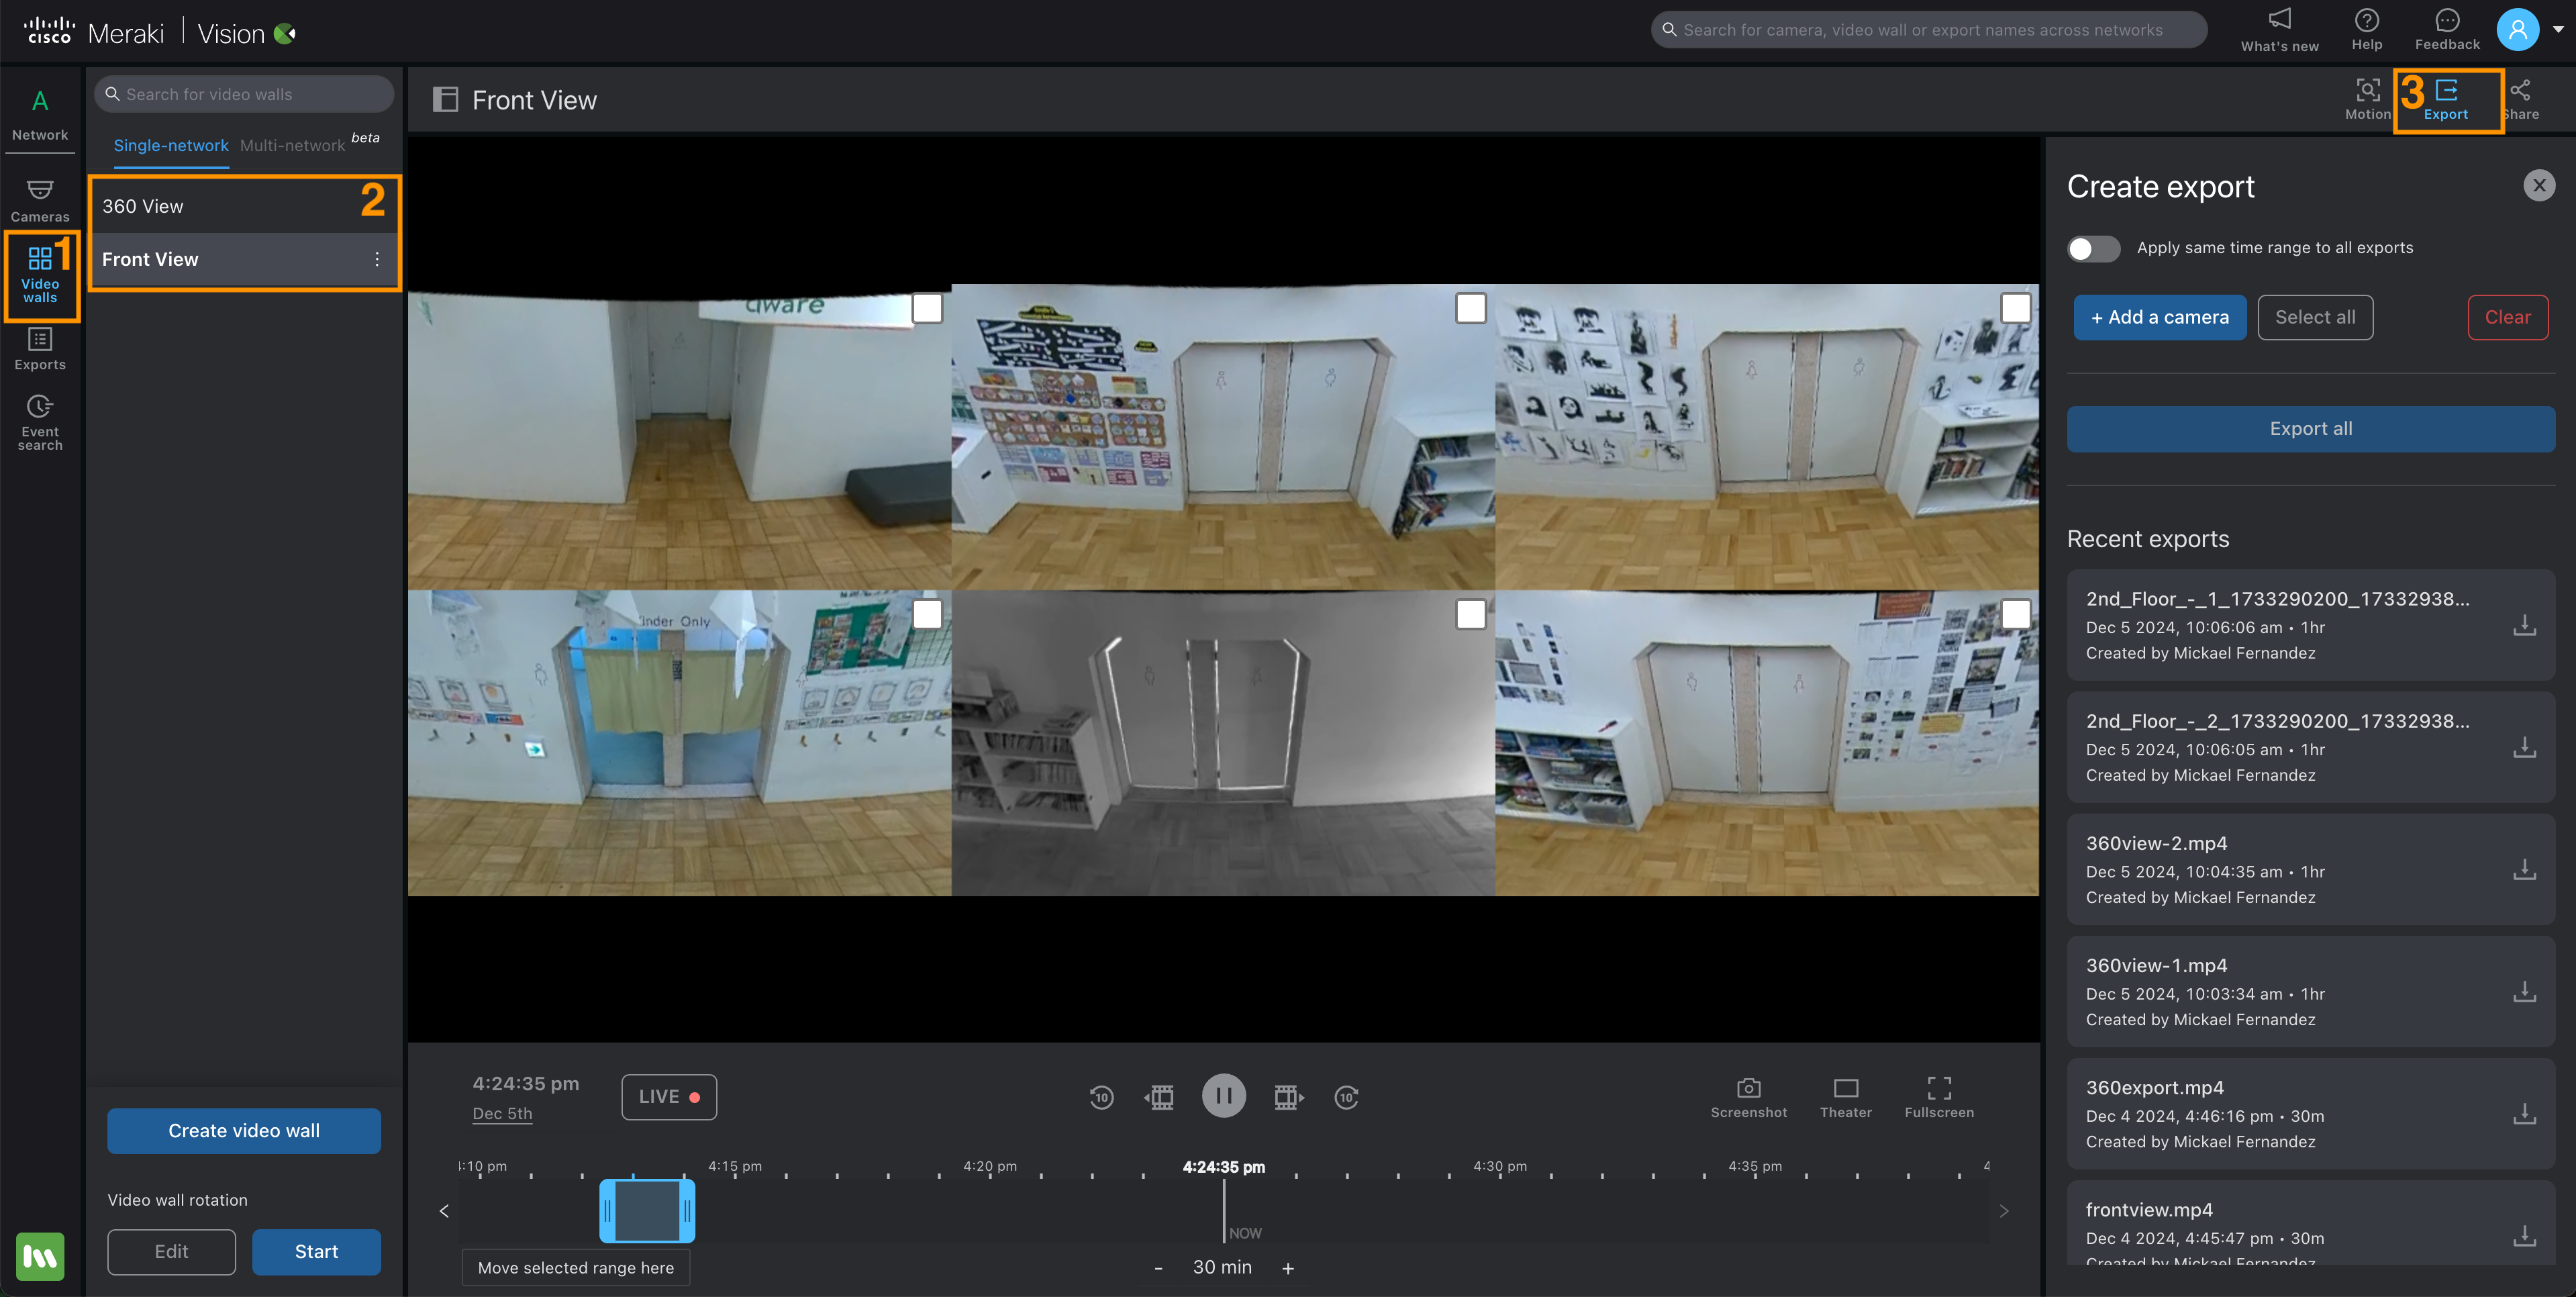
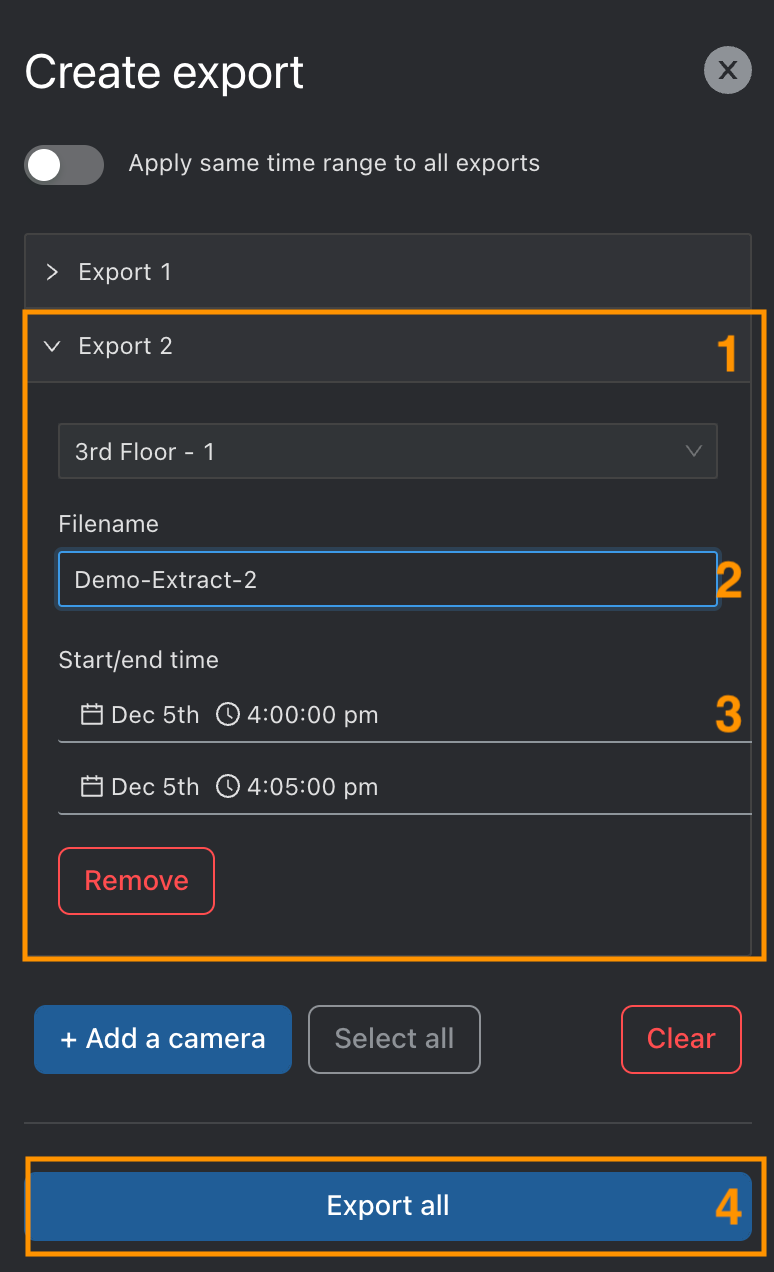
Click on “Add a camera”
Select the camera you want to export the video from
Provide a Filename
Select a Start/end time
option : you can add another camera if you need.
Then click Export all
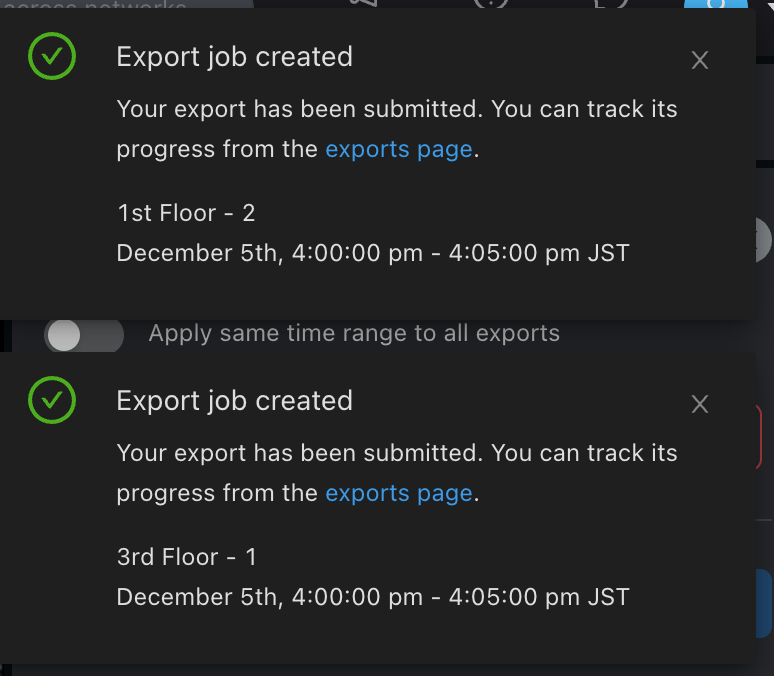
Notification message appear on the right top
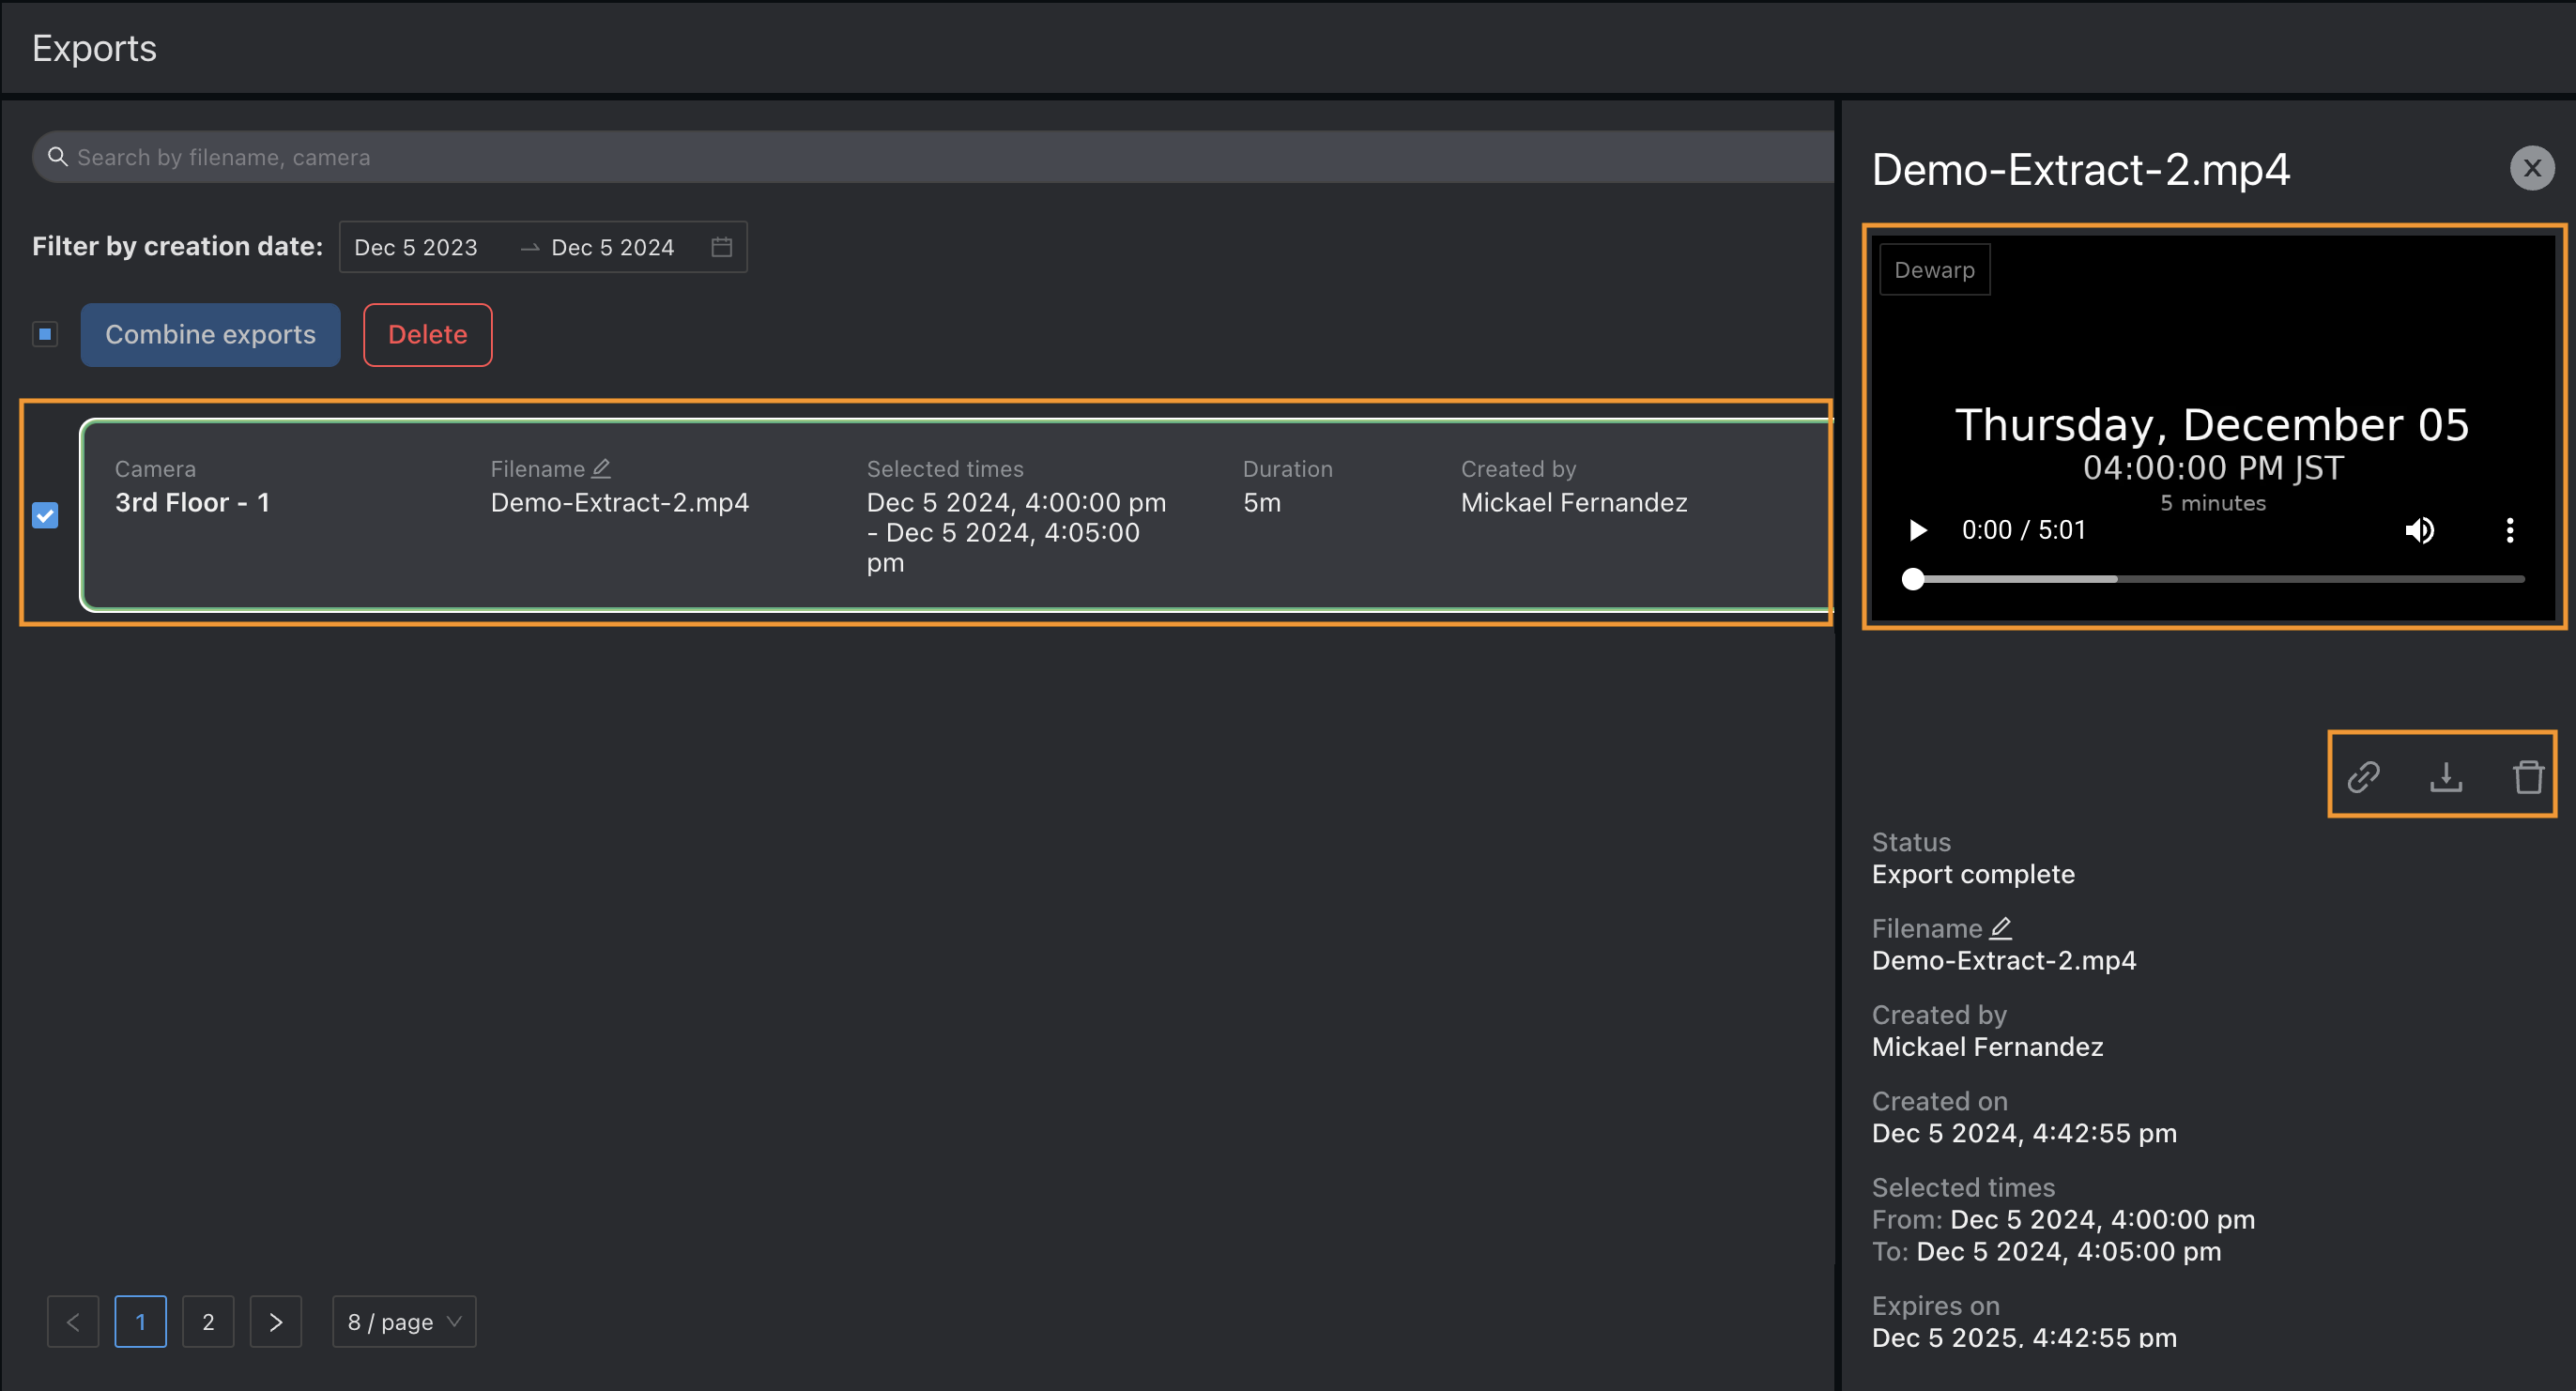
Check your exports status :
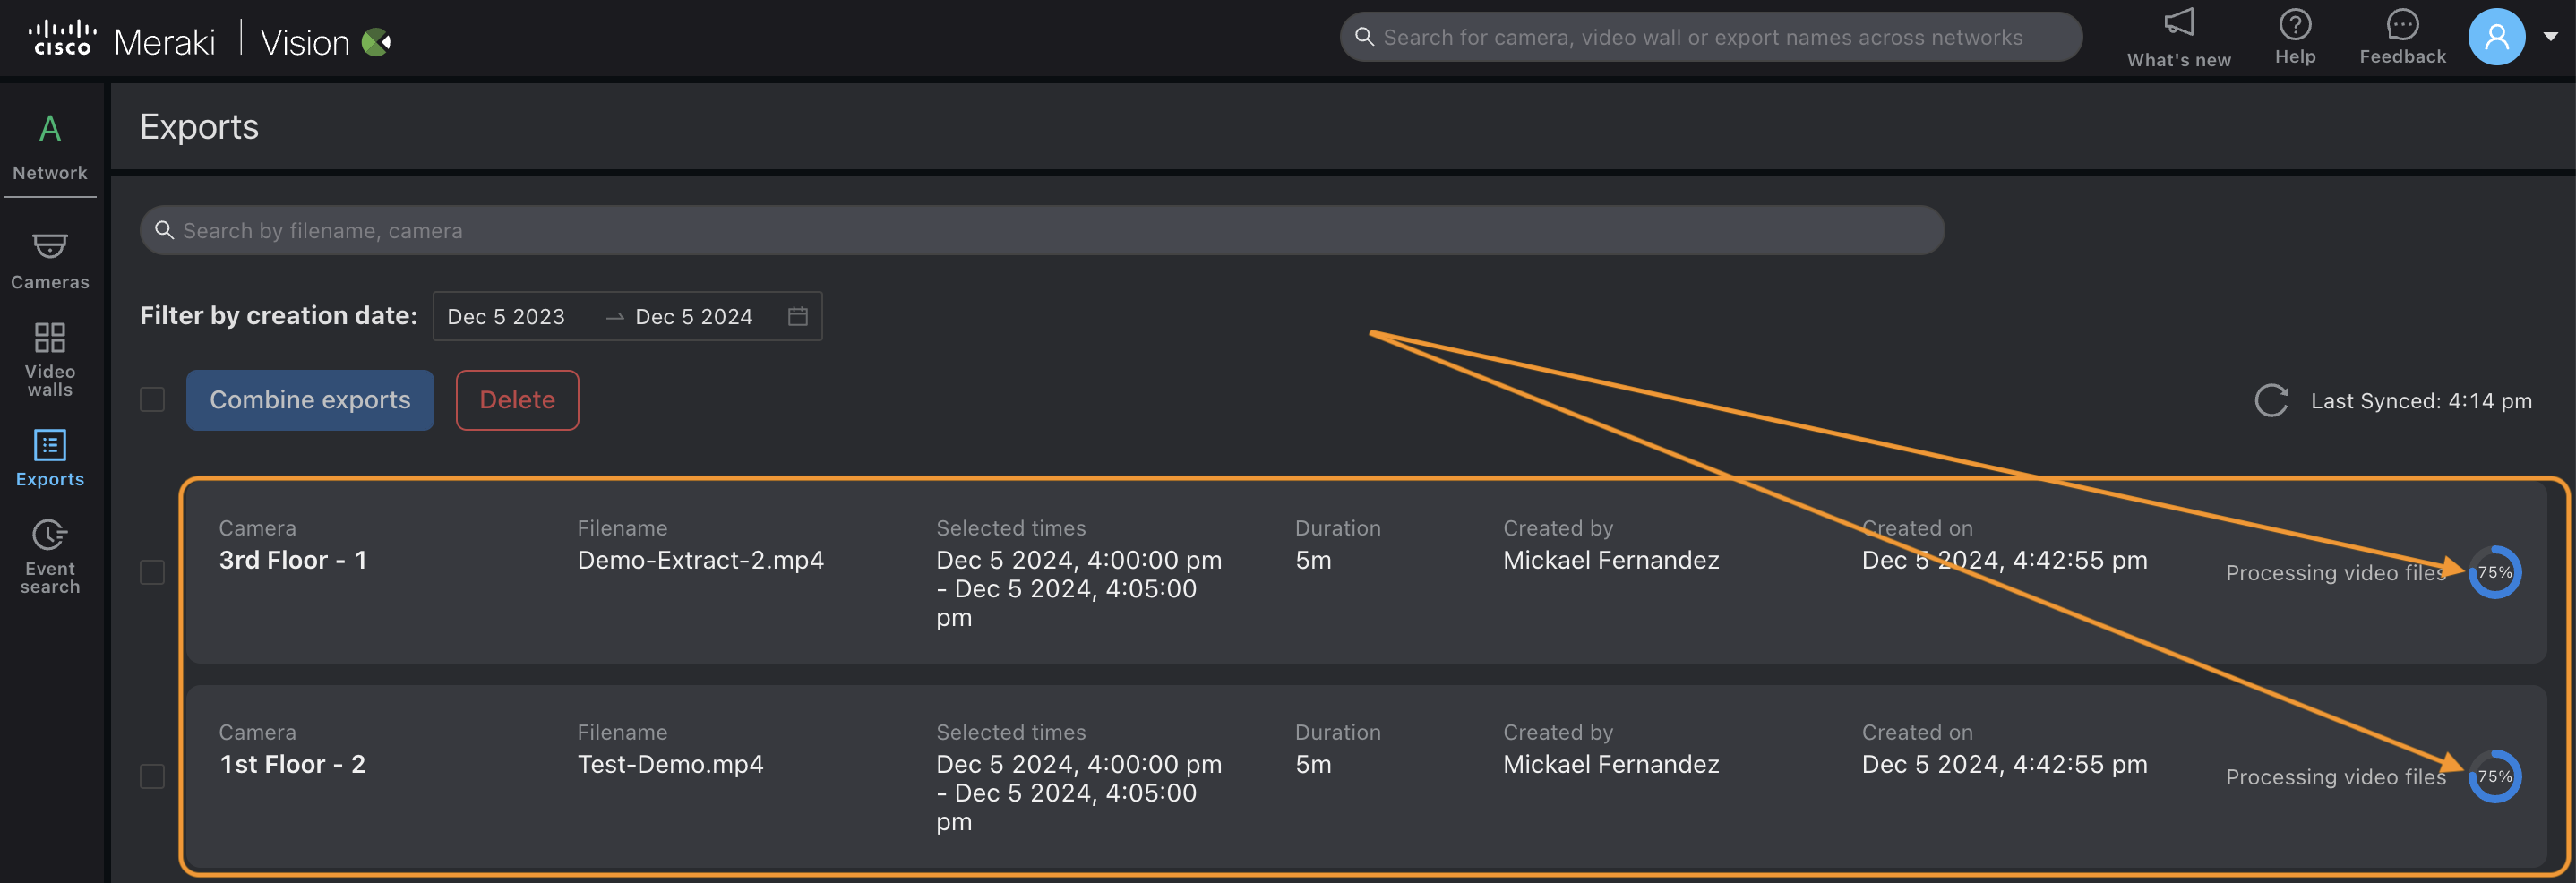
On Network Pages, select Exports >
You can see a resume about your settings for exports video you did, and their status.

When process is completed you can download the video by clicking on the logo :

More options if you click on the Export video :
Sharing :
 → generate and copy a link you can share by email
Download :
→ on your deviceDelete :
 → delete the record
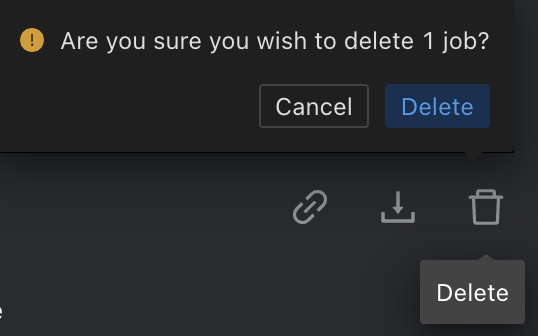
🔗 Additional Links
Introduction / Navigation : https://documentation.meraki.com/MV/Viewing_Video/Vision_Portal%3A_Introduction - Vision Portal_ Introduction.pdf
Videos navigation : https://documentation.meraki.com/MV/Viewing_Video/Best_Practices_in_Viewing_MV_Video - Best Practices in Viewing MV Video.pdf
Export Video - advanced actions : https://documentation.meraki.com/MV/Processing_Video/Exports_Page_and_Combining_Exports - Exports Page and Combining Exports.pdf
Two-Factor Authentication : https://documentation.meraki.com/General_Administration/Other_Topics/Two-Factor_Authentication - Two-Factor Authentication.pdf