
How to Print Using PaperCut's Web Print feature
Web Print is a service to enable printing for laptop, wireless and unauthenticated users without the need to install print drivers. You can upload a PDF document in the PaperCut interface to print out. Then follow the instructions here.
📘 Instructions
1. Accessing the Web Print feature.
To begin using the Web Print feature, you must login to PaperCut.
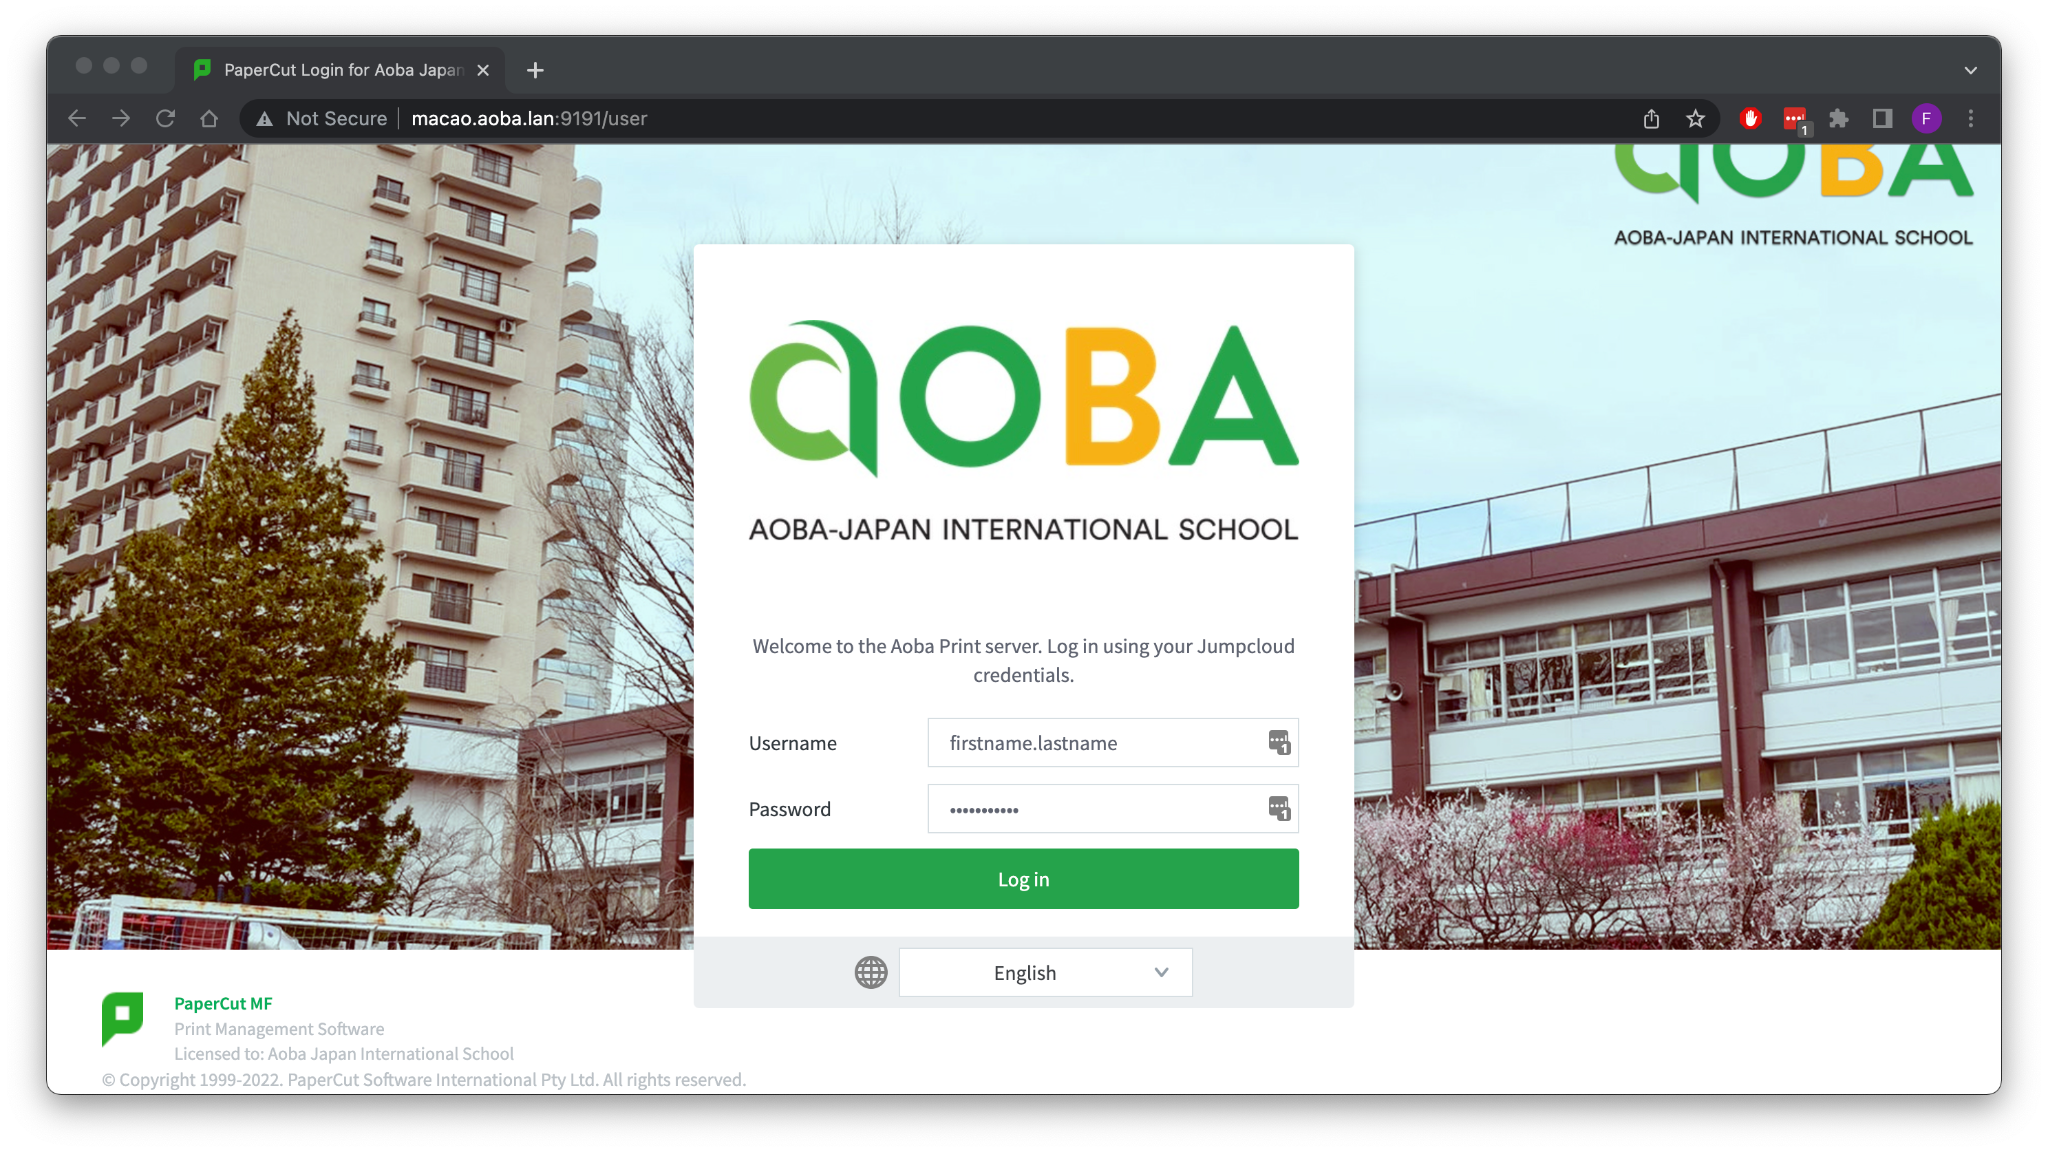
2. Log in to PaperCut
In order to log in to the application and starting using the Web Print feature, point your browser to http://print.aoba.lan:9191.
Hint: You may want to bookmark this link for future reference.
Important: This is not accessible from outside the school network! You will need to be connected to the A-JIS Teacher network in order to print.
Your Aoba username and password (JumpCloud) are used to login to both the A-JIS Teacher wifi network as well as the Papercut printing service.
After logging in, you will be directed to the main screen, which will give you an overview of your printing activities.
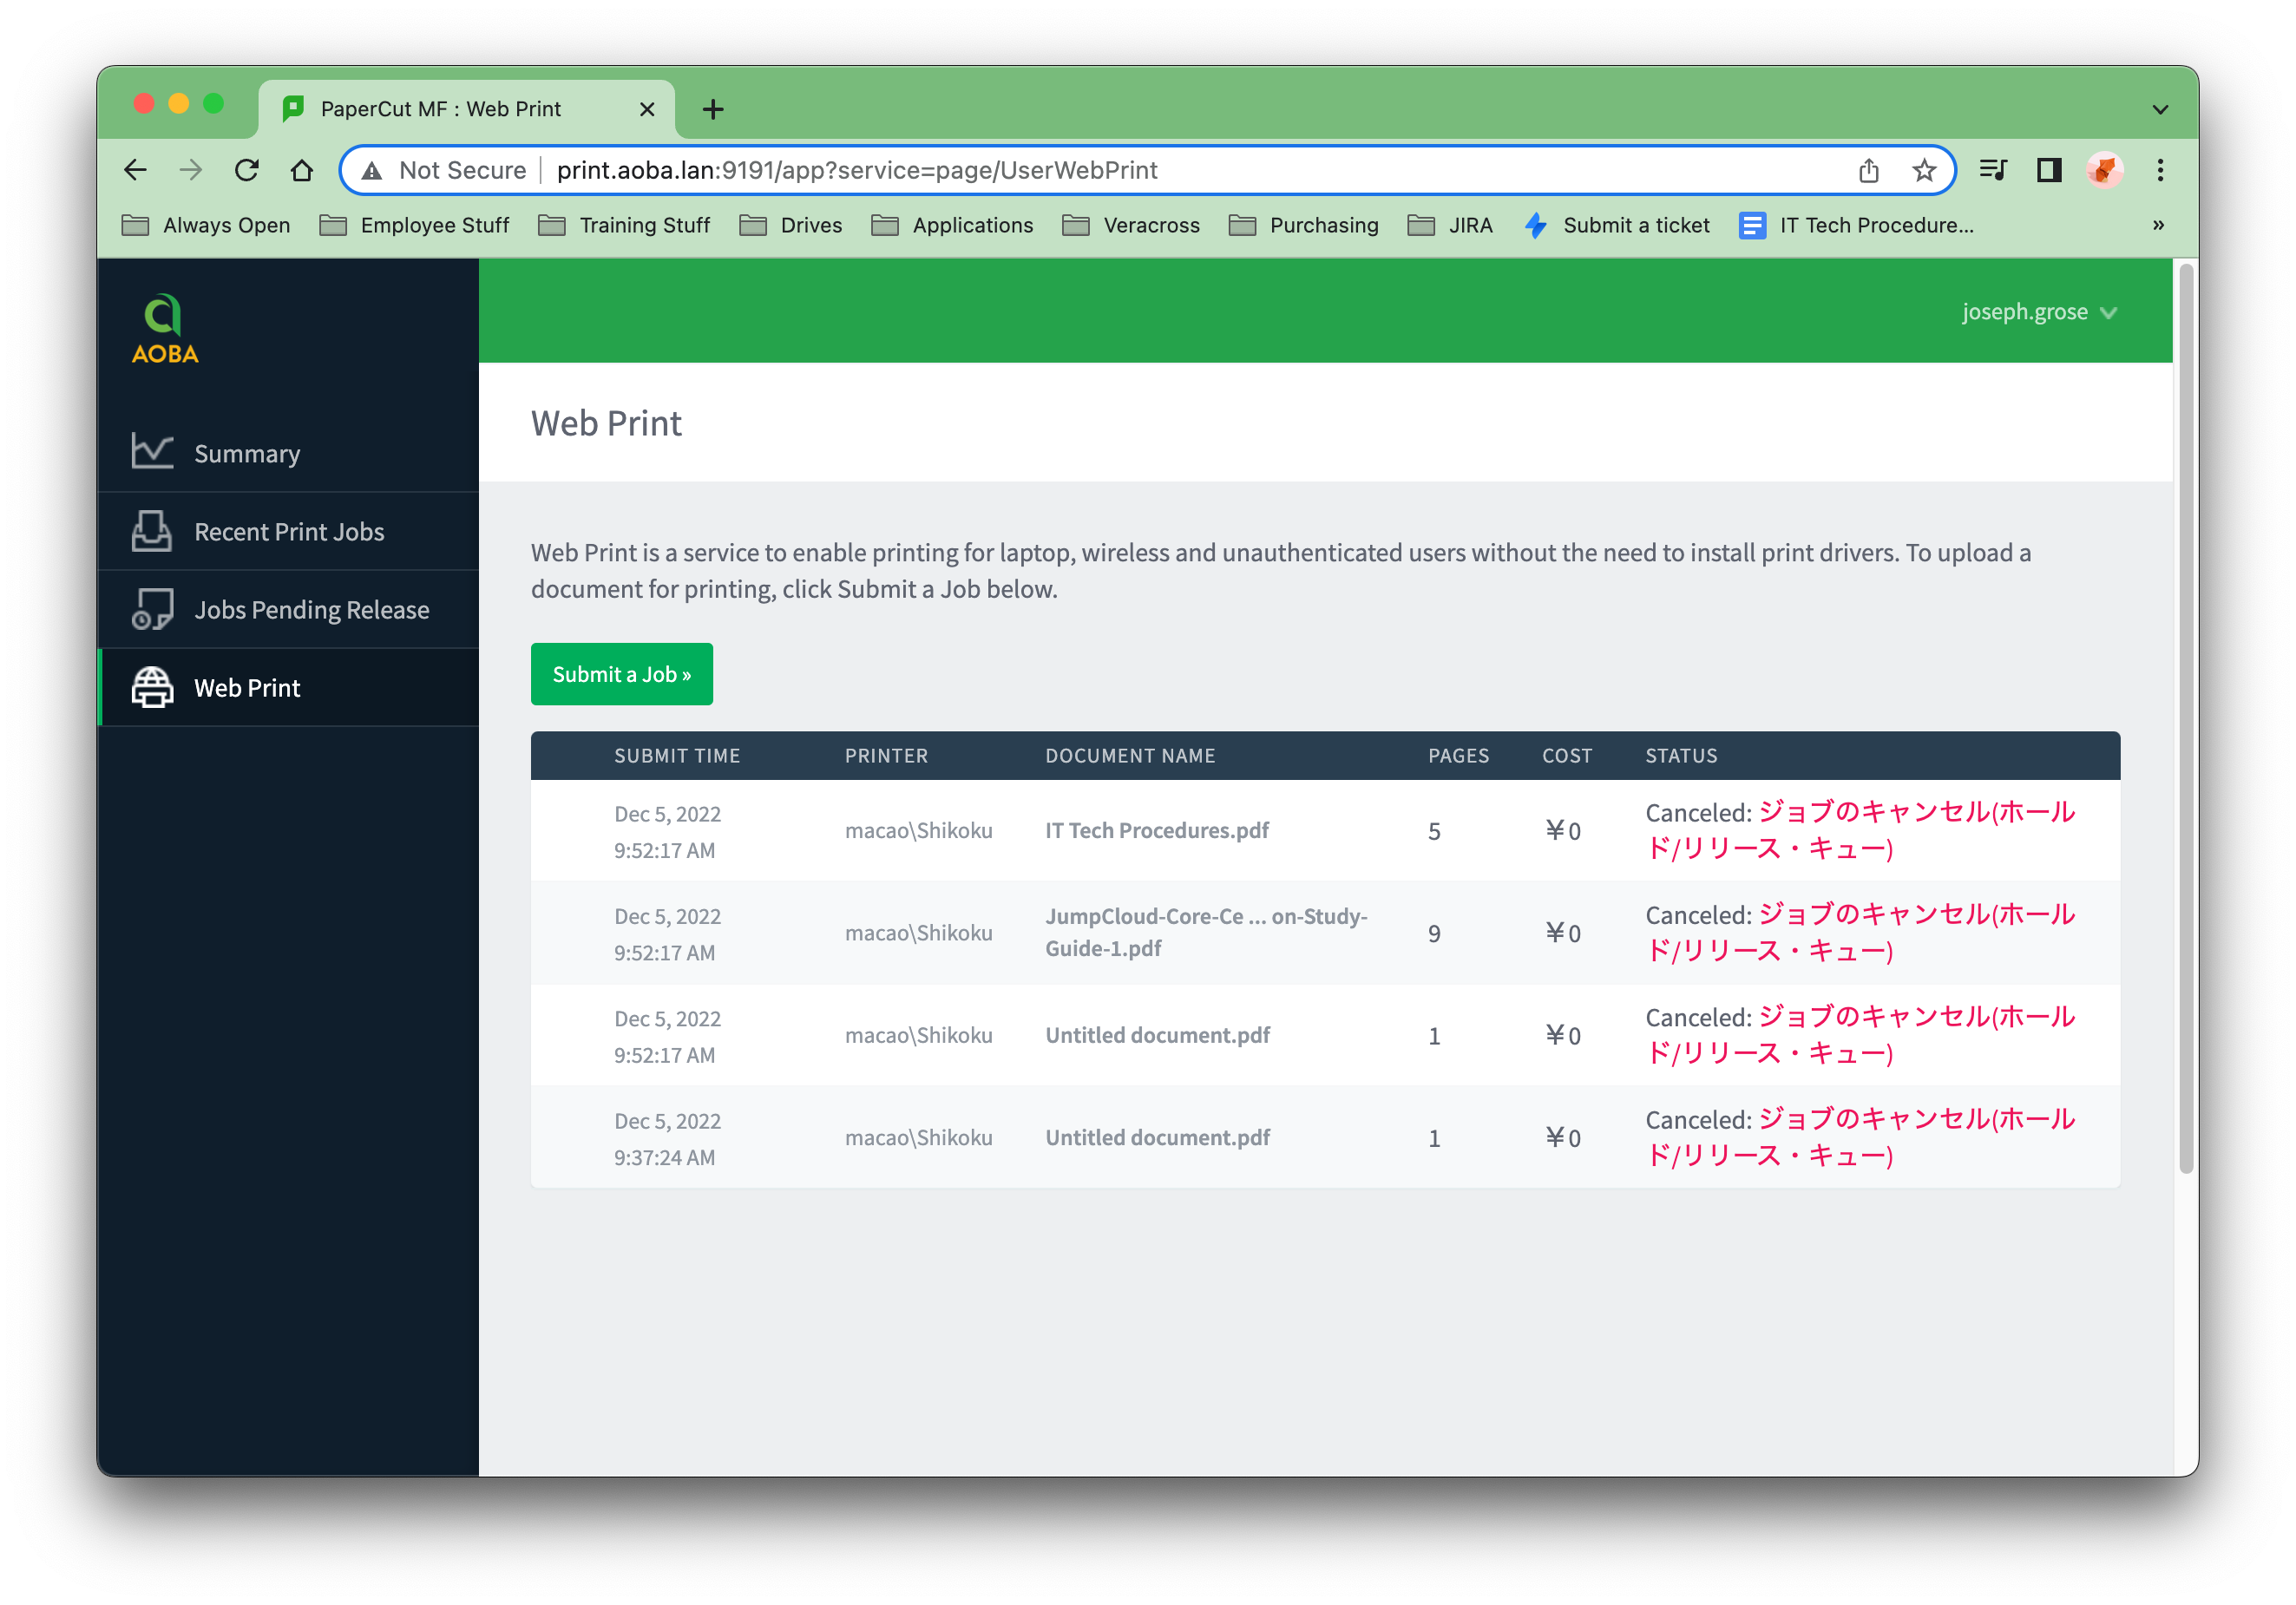
To get started, click the Web Print tab in the Navigation Pane and then click the Submit a Job button.
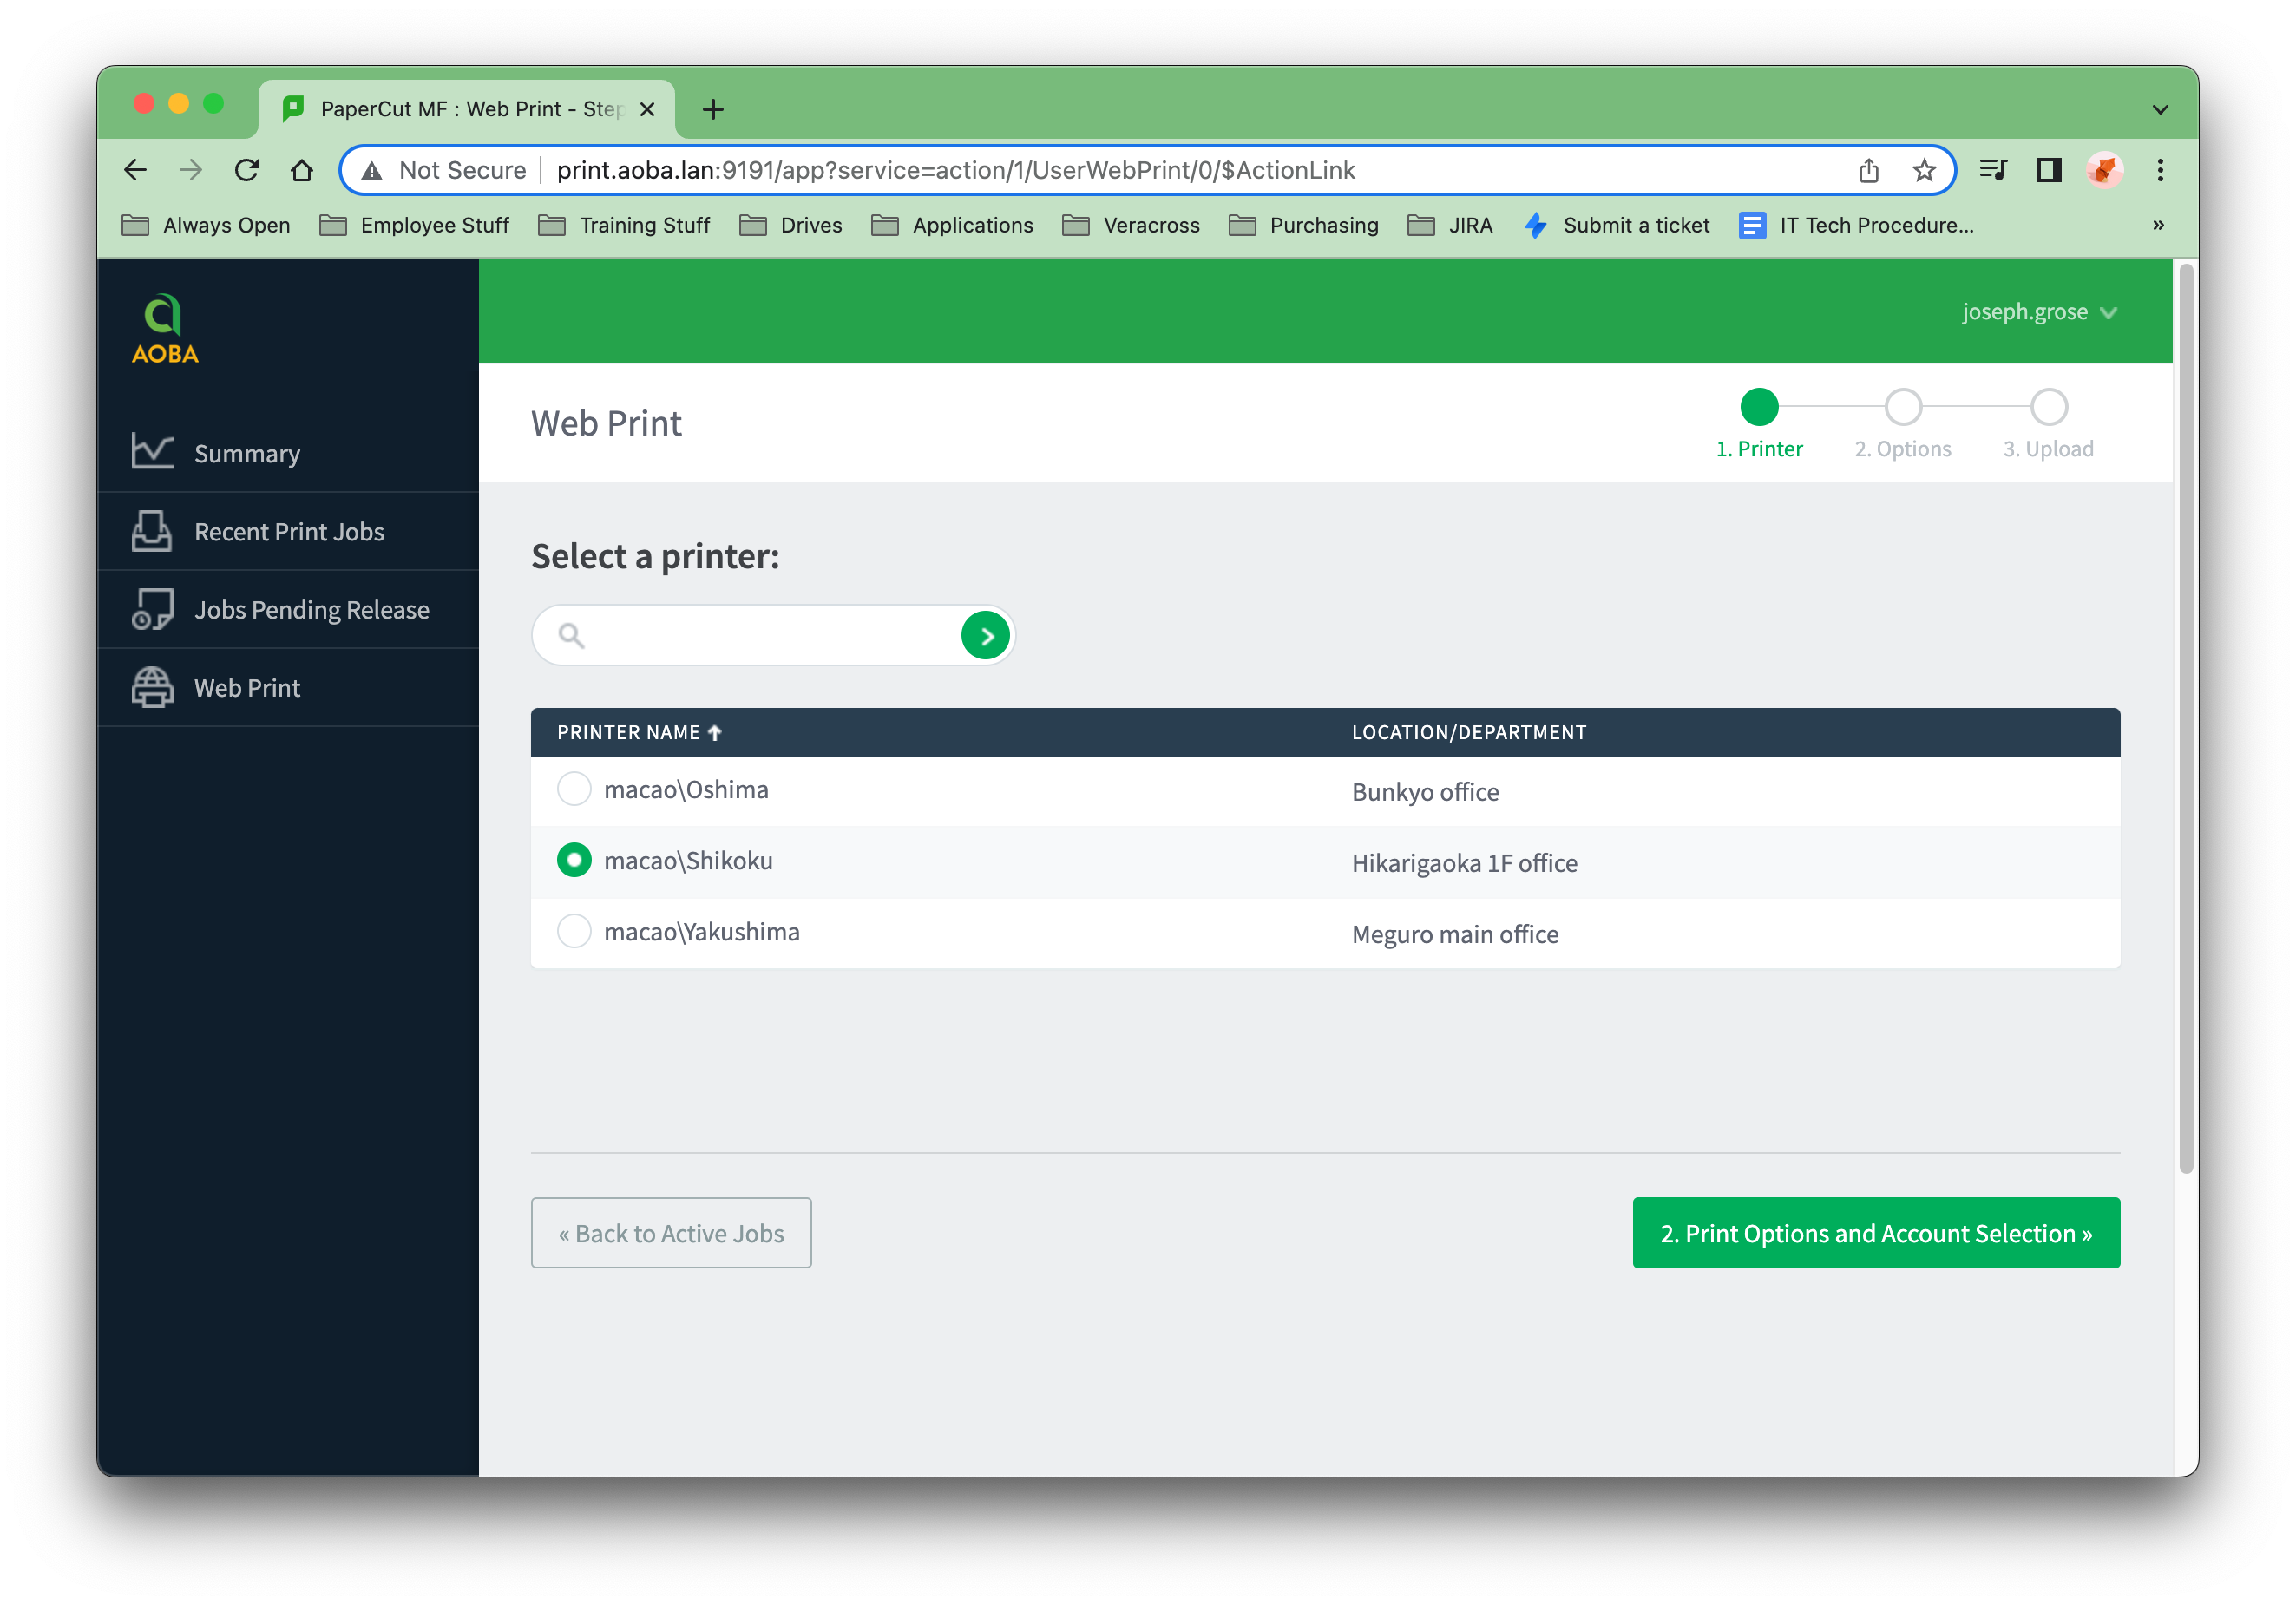
2. Choose your Printer
Then select the printer you would like to print at by clicking the radio button on the left side under PRINTER NAME and then the Print Options and Account Selection button.
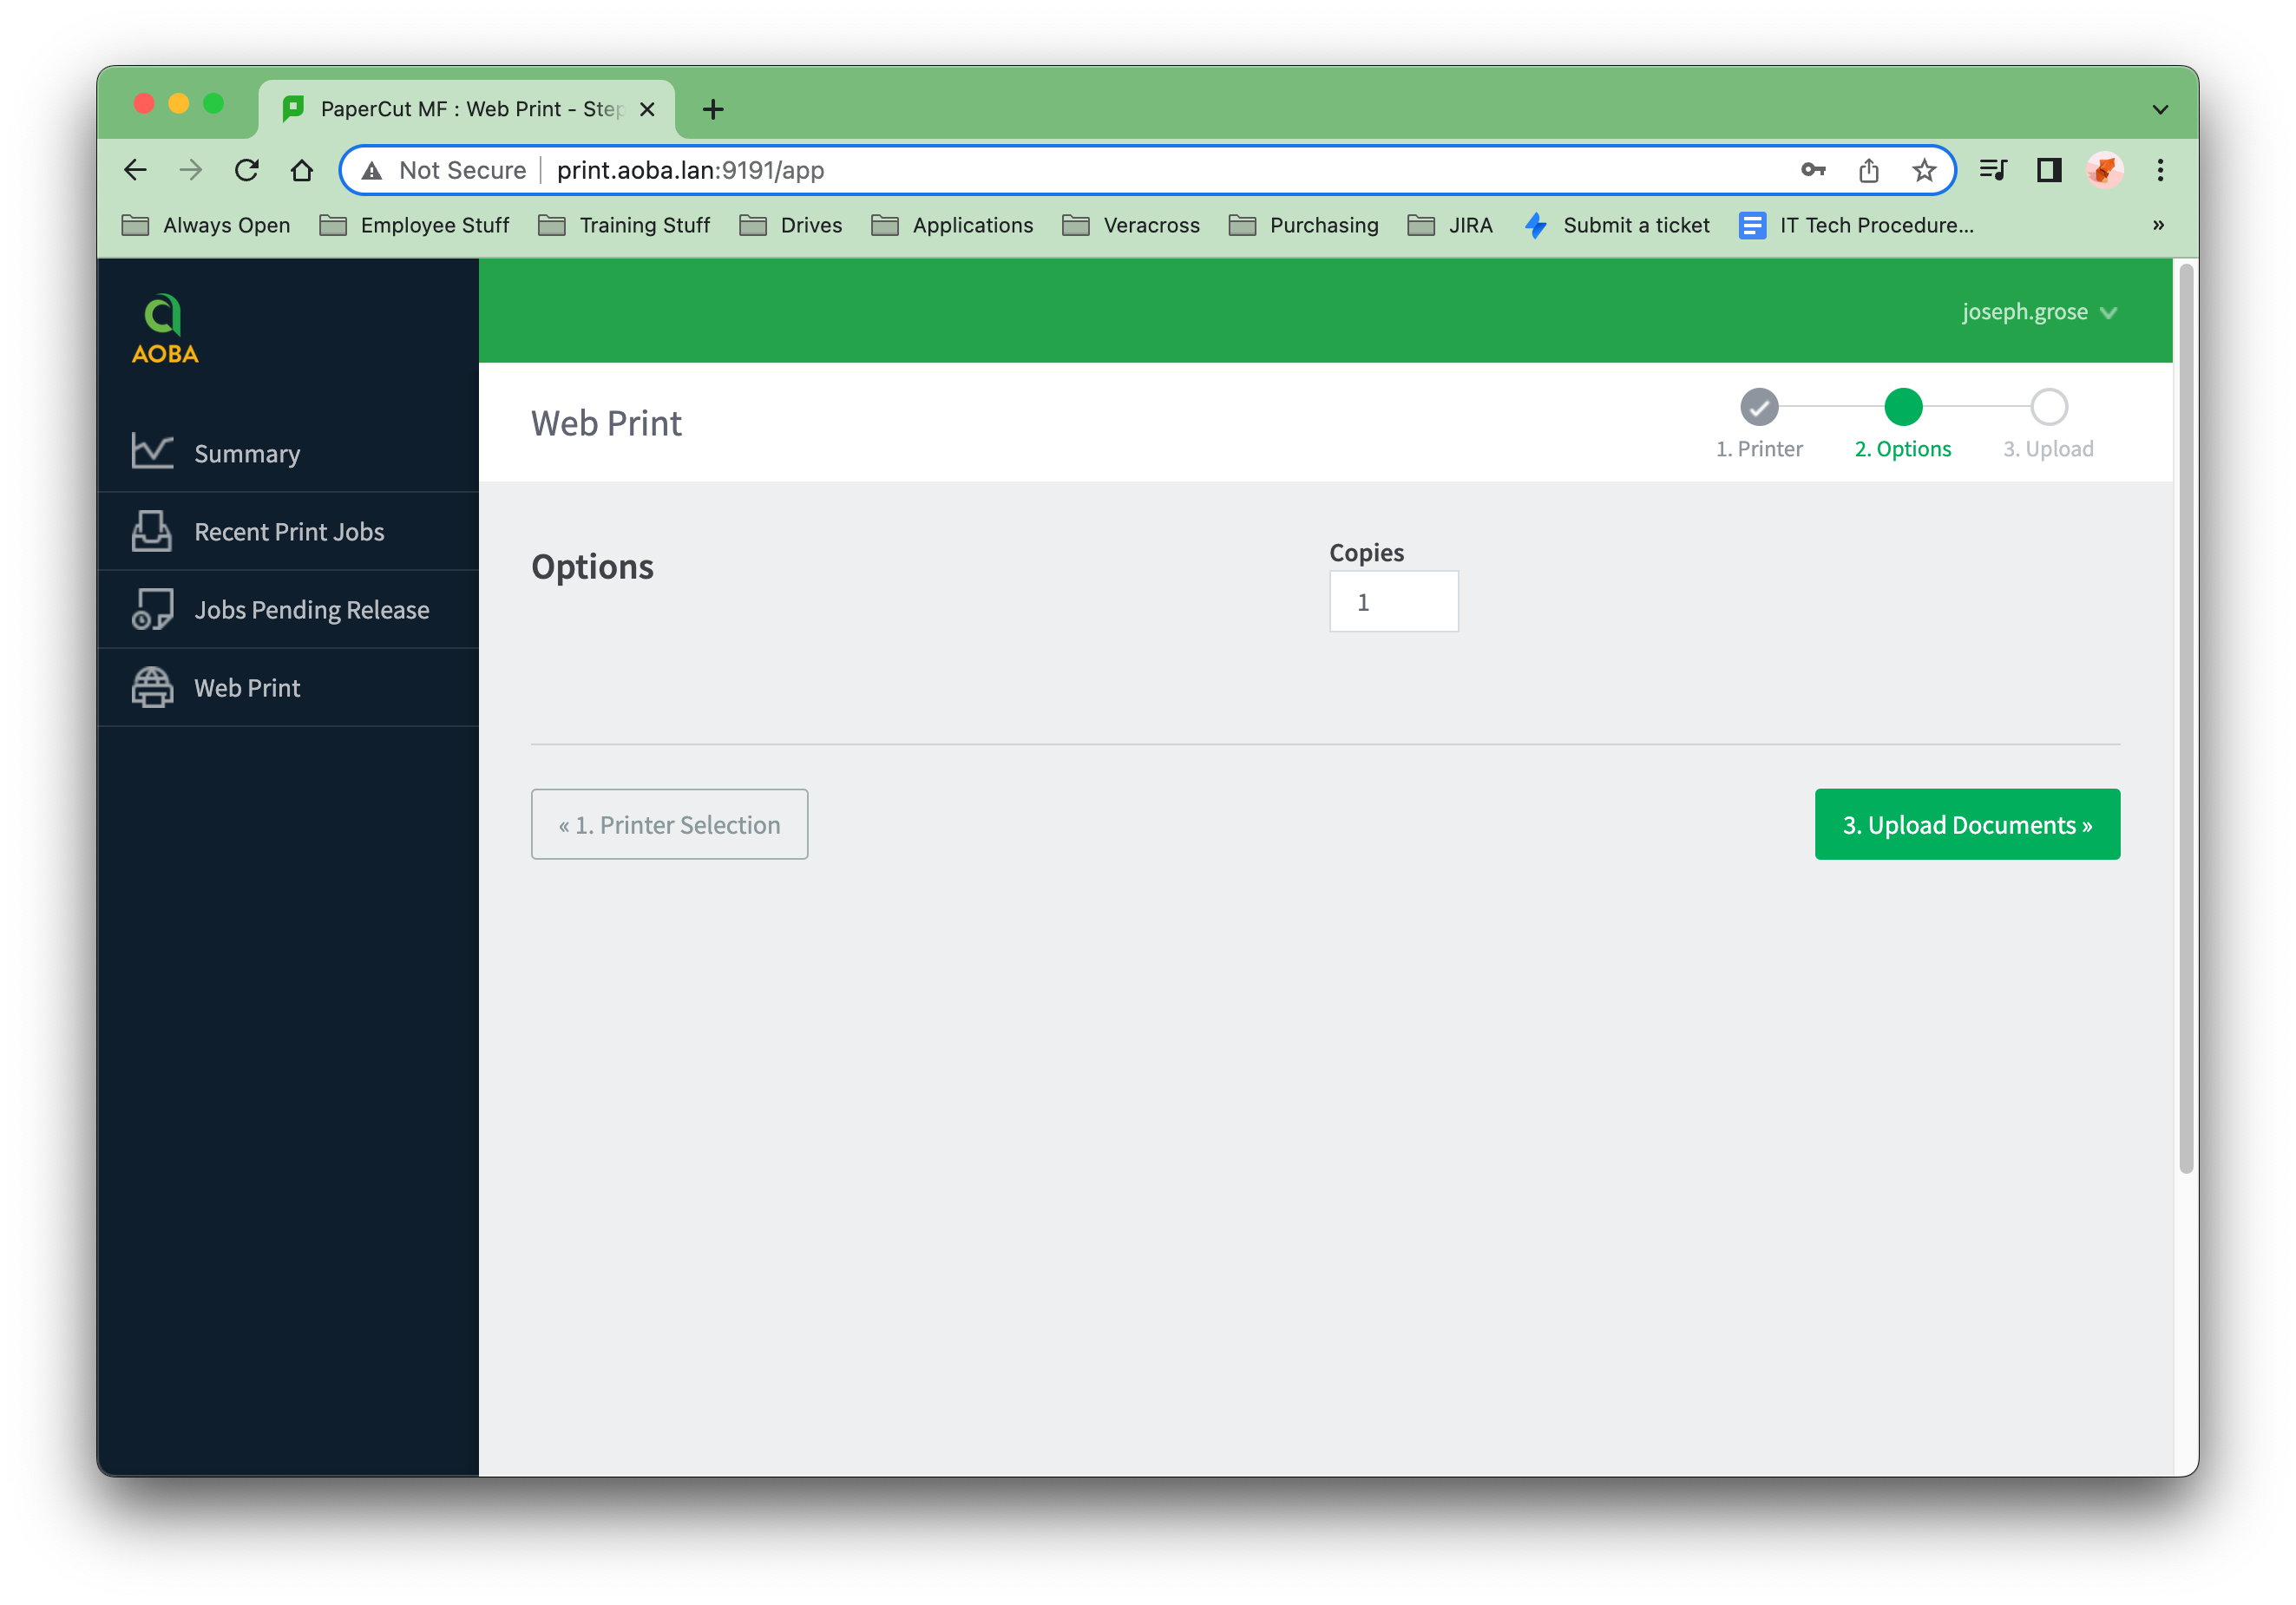
3. Choose how many copies you want
Type in the number of copies you would like to print and then click the Upload Documents button.
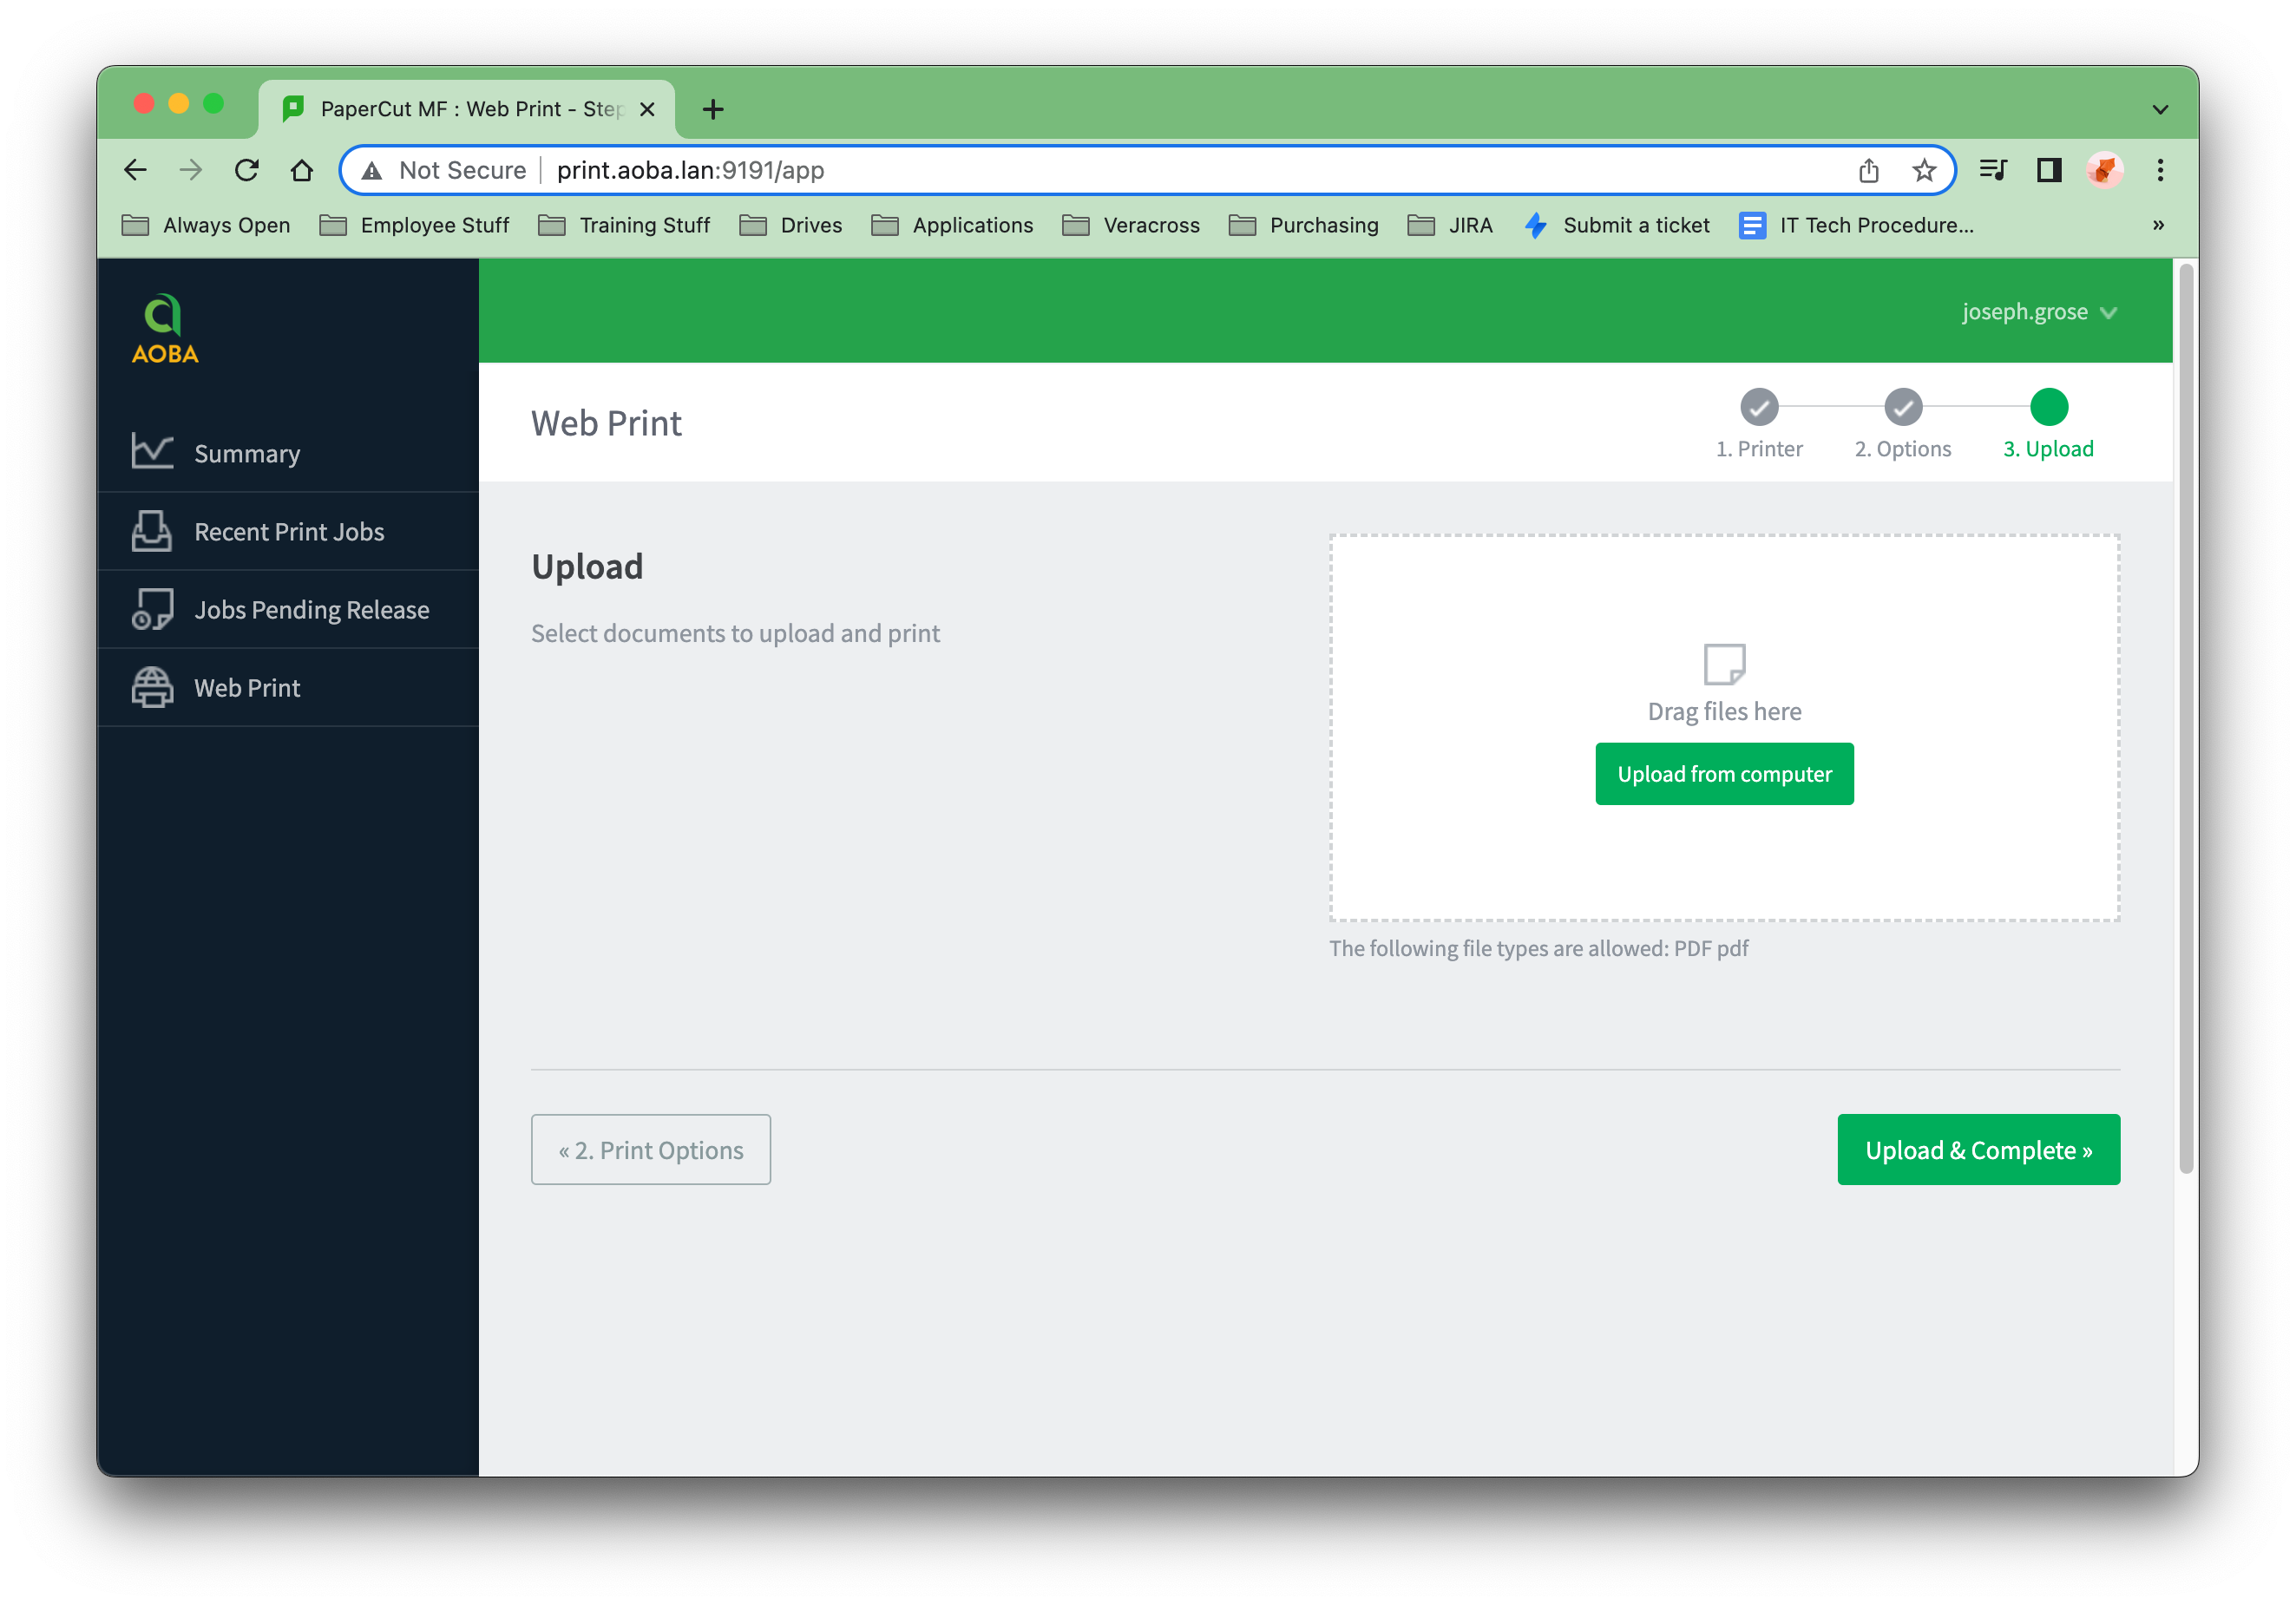
4. Uploading your documents
You can either drag files onto the Upload area or push the Upload from computer button.
Note - You can only upload PDF (.pdf) files when using Web Print.
If you are using the Upload from computer button, browse to the location of the files you want to upload, select the file(s) and then click Open.
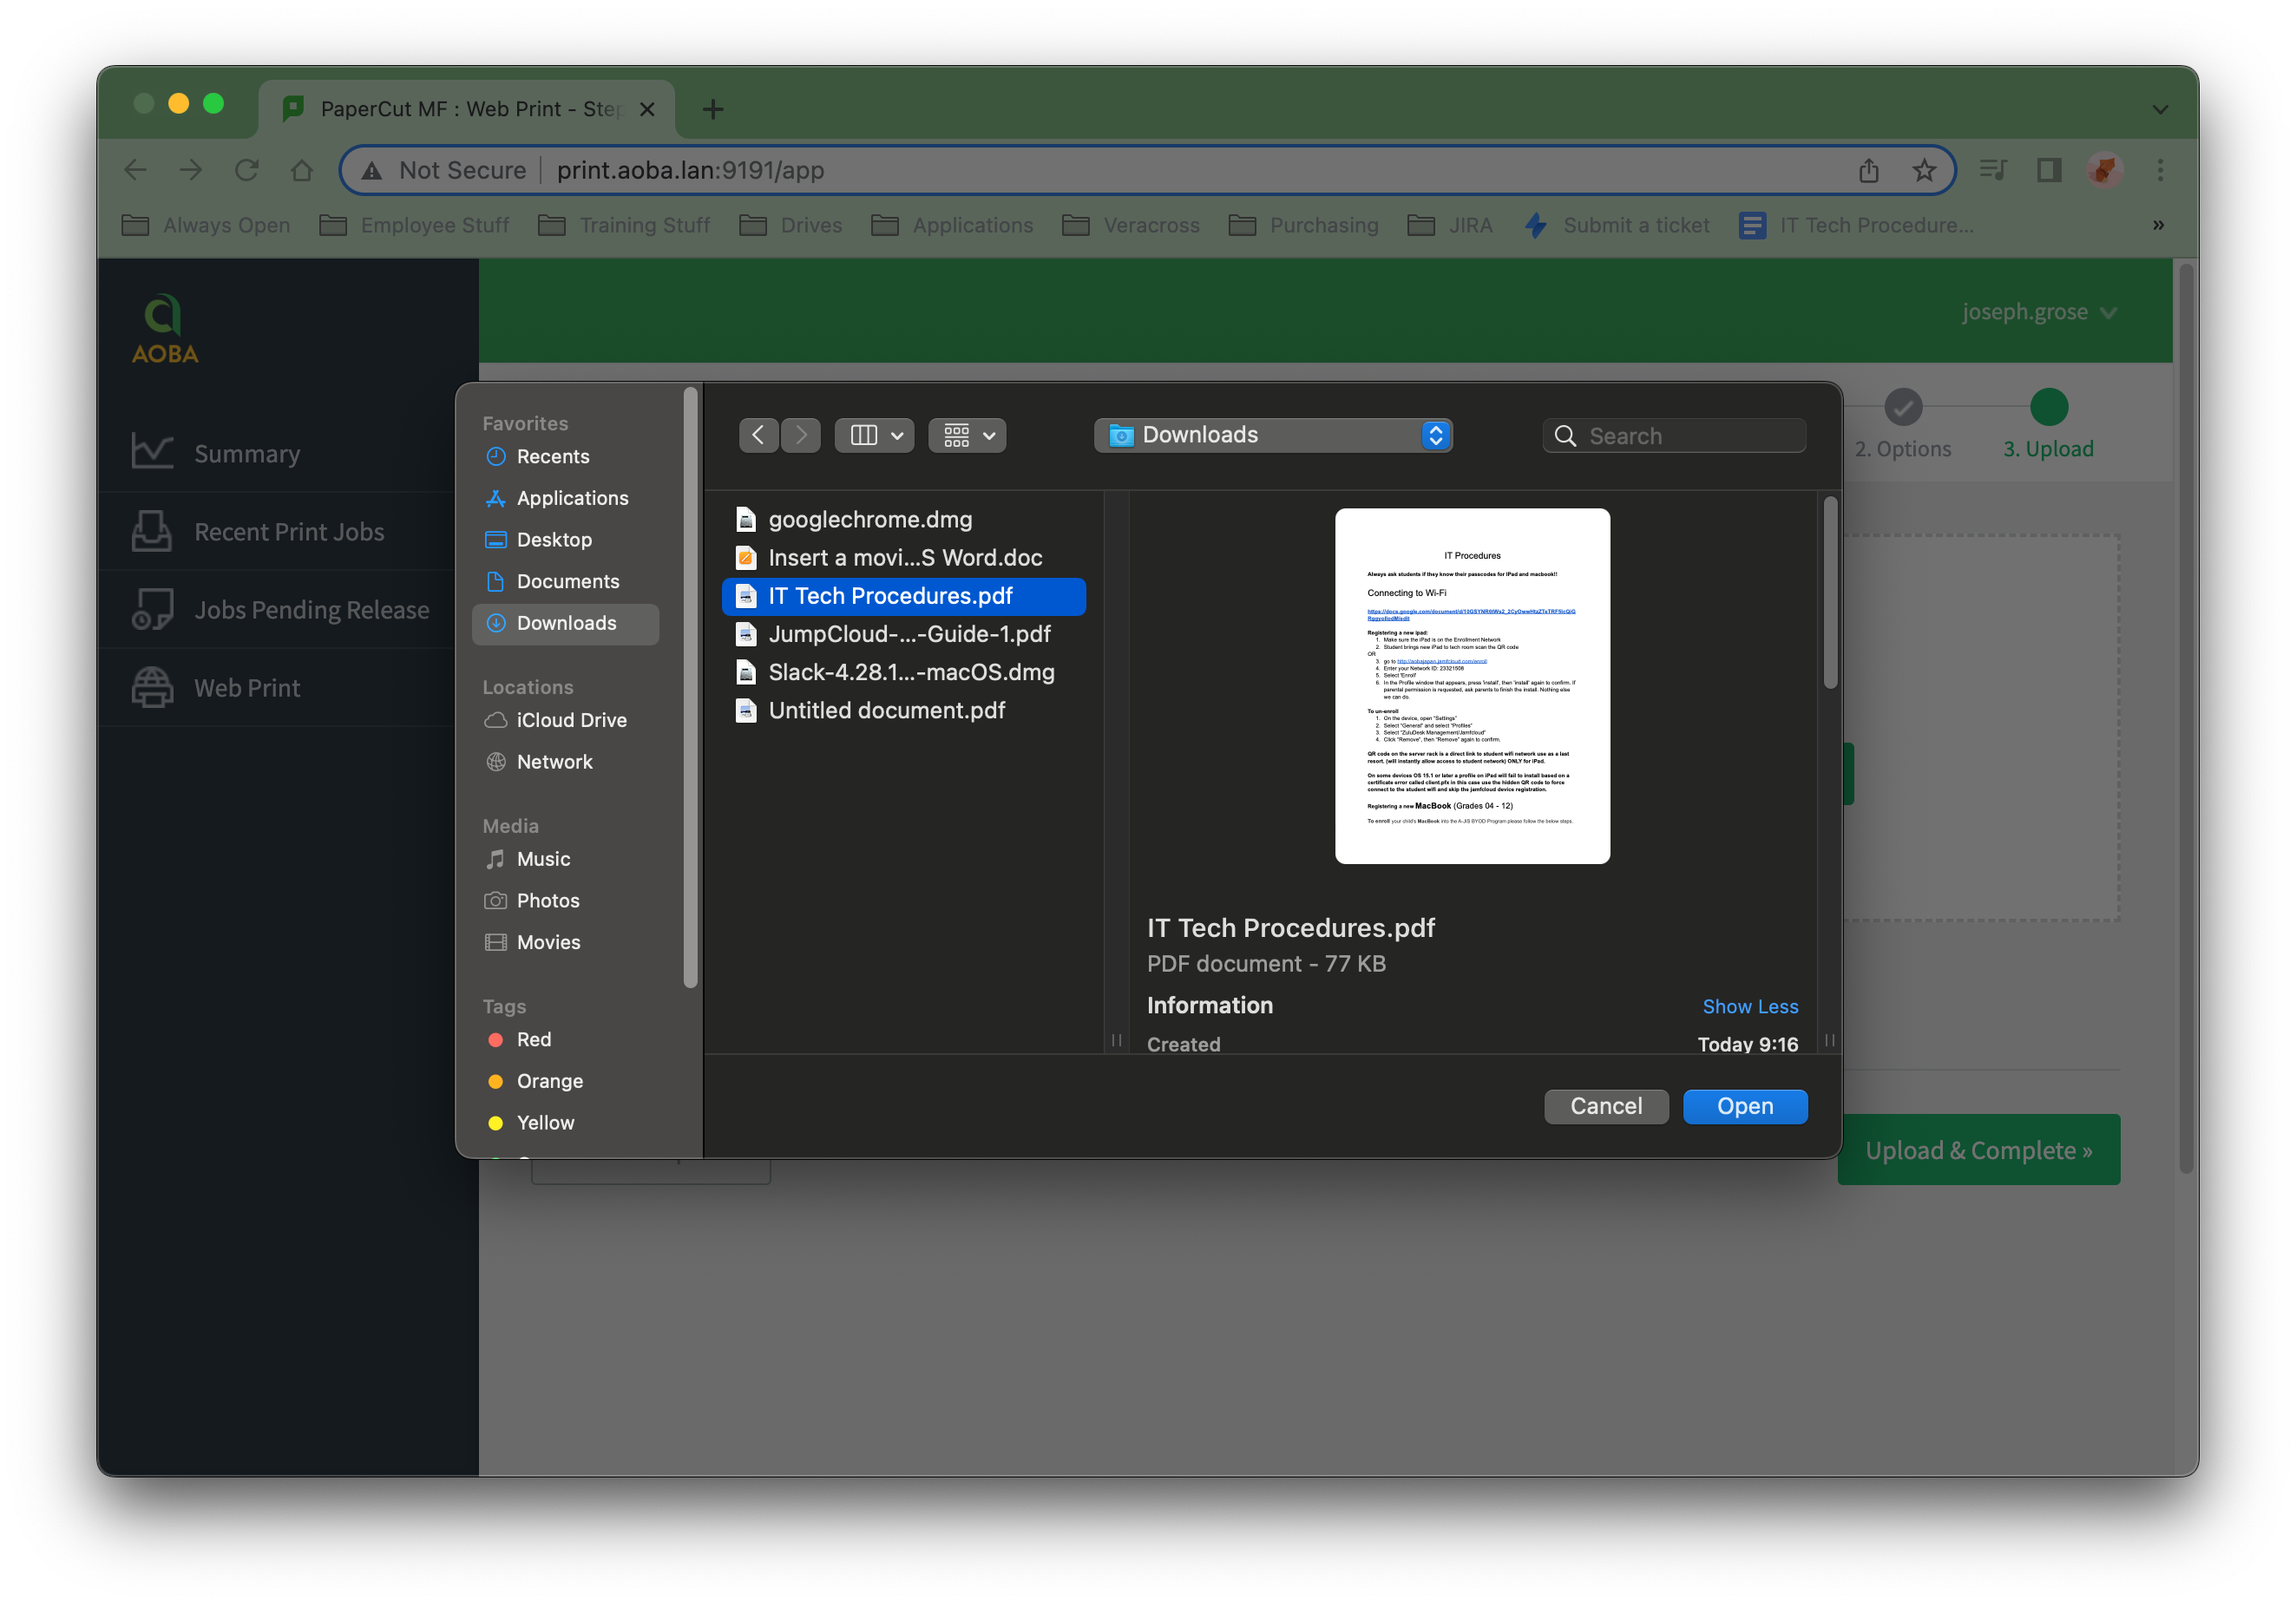
Hint - You can upload more than one file at once! Hold the Command key + click the files you want to upload then click the Open button. All of the files will be uploaded at the same time.
Your uploaded files will now be displayed above the upload area.
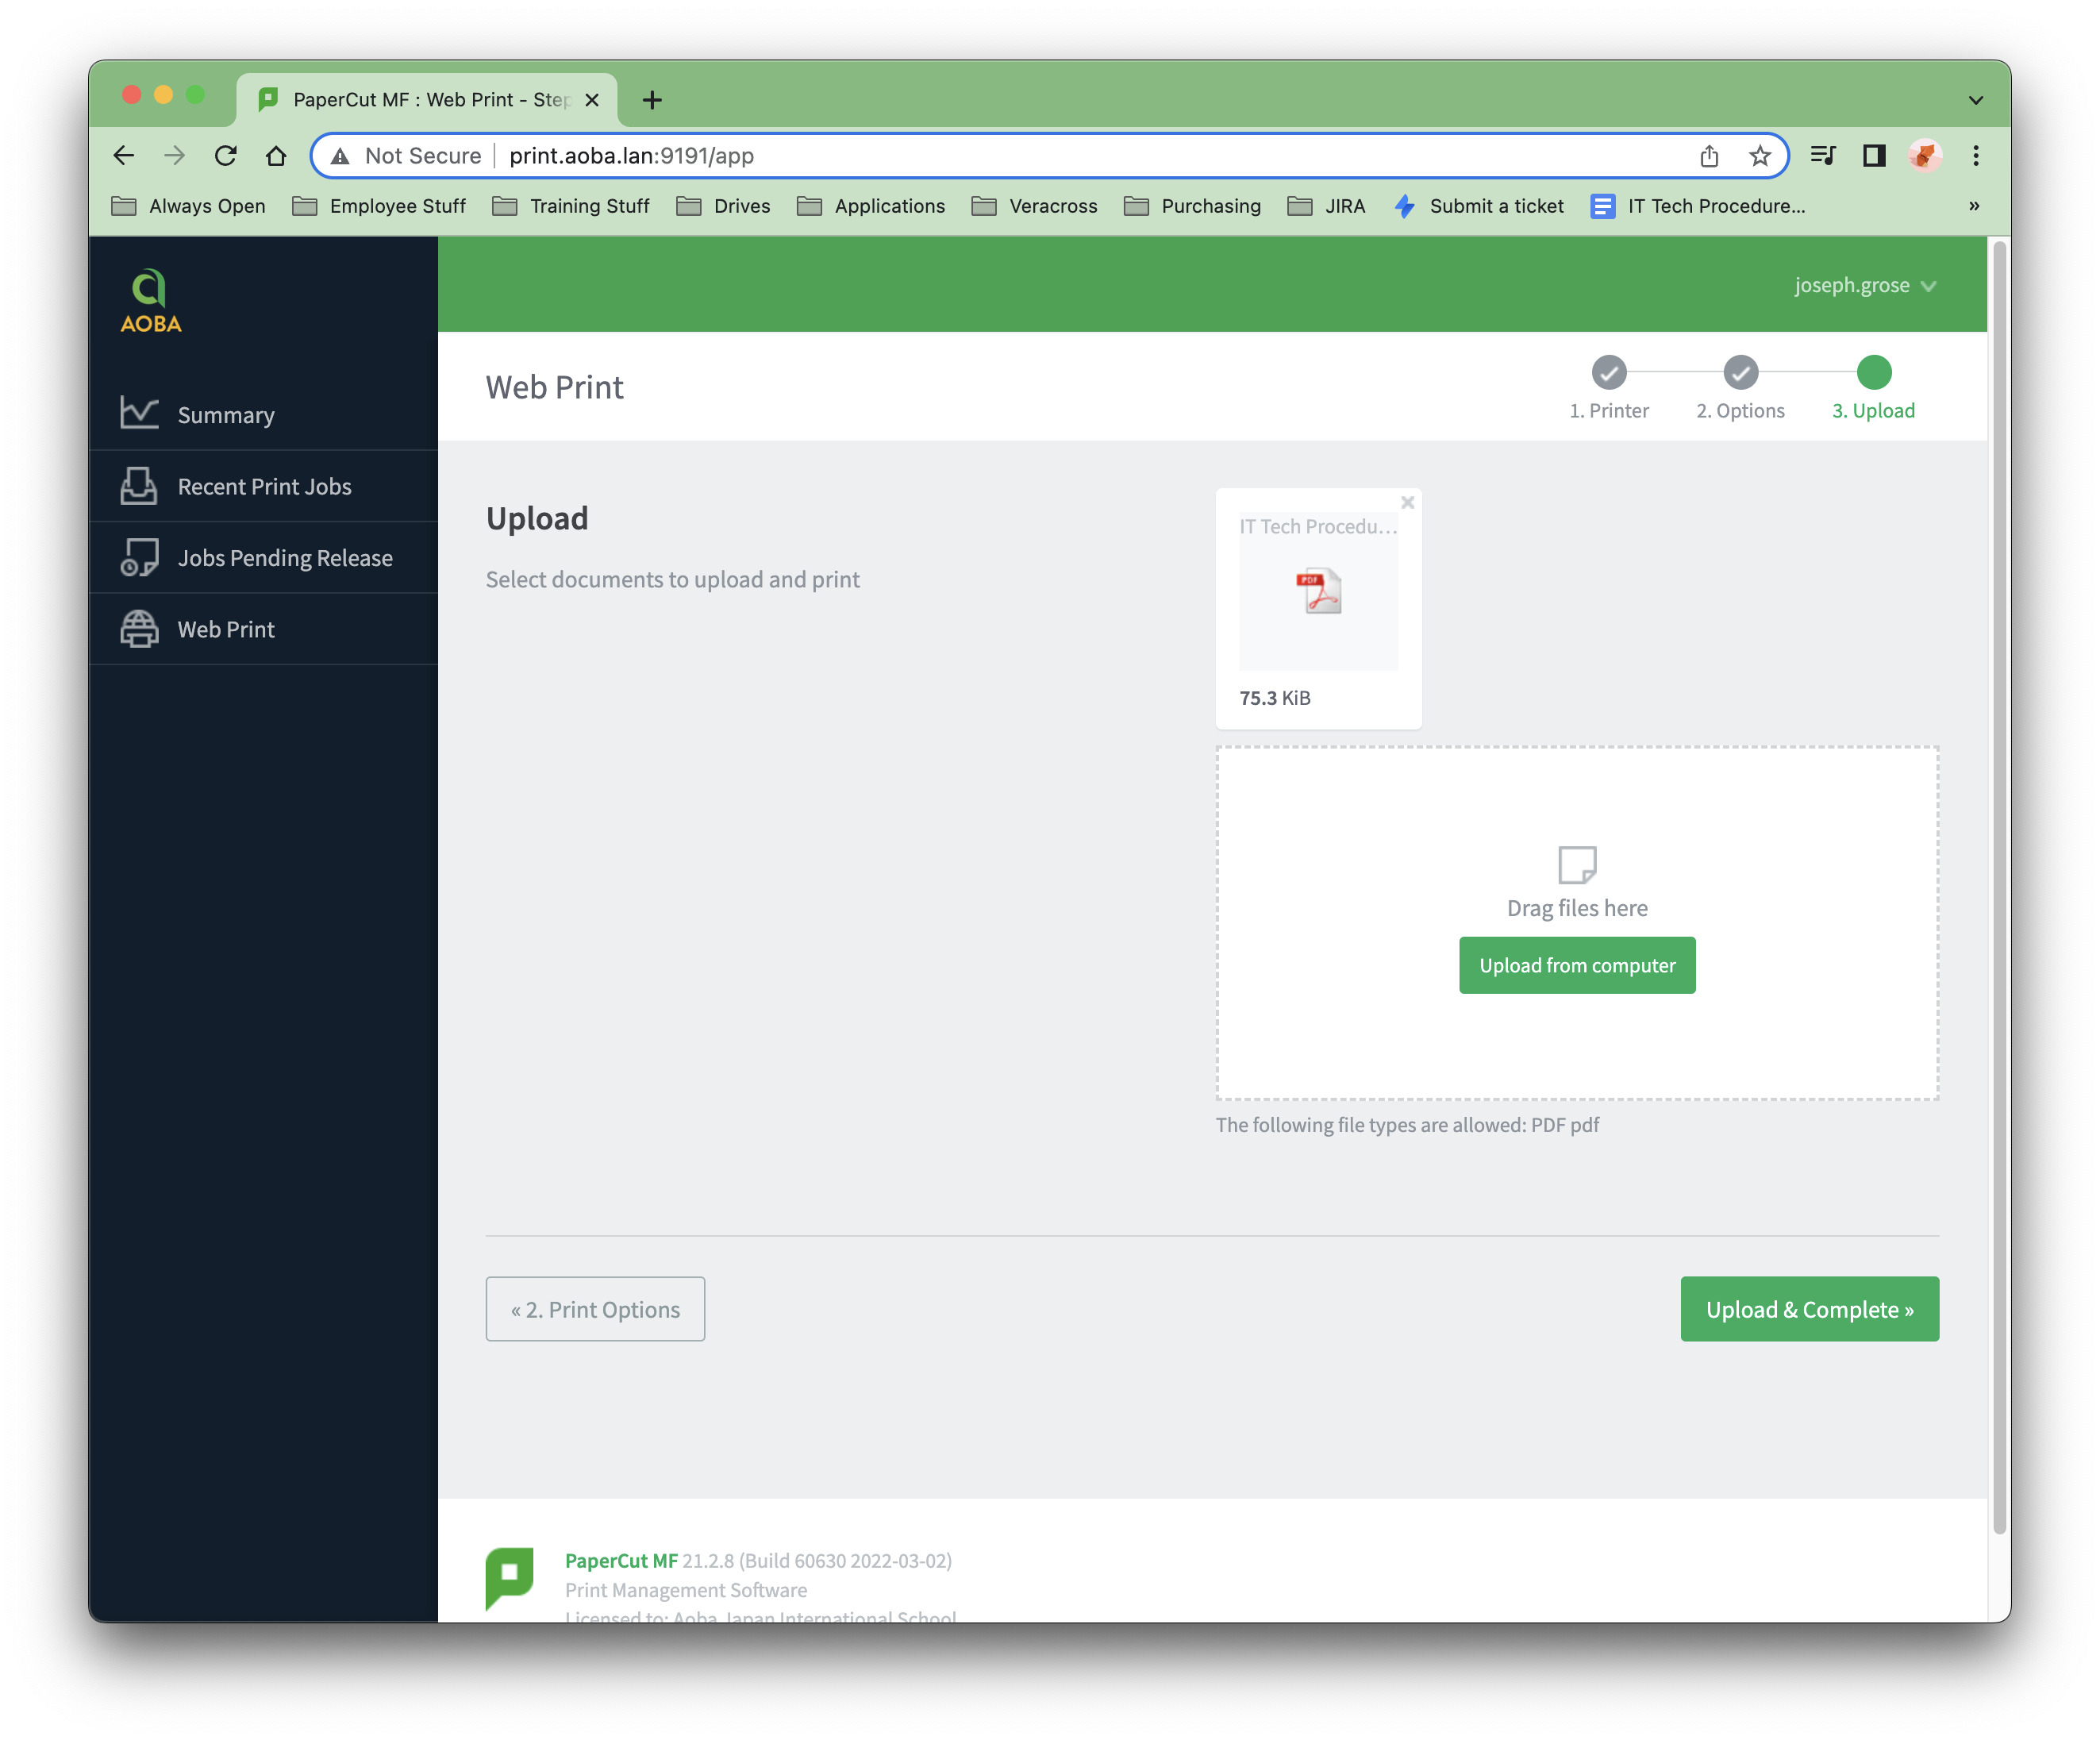
Once you are finished uploading files, click the Upload & Complete button.
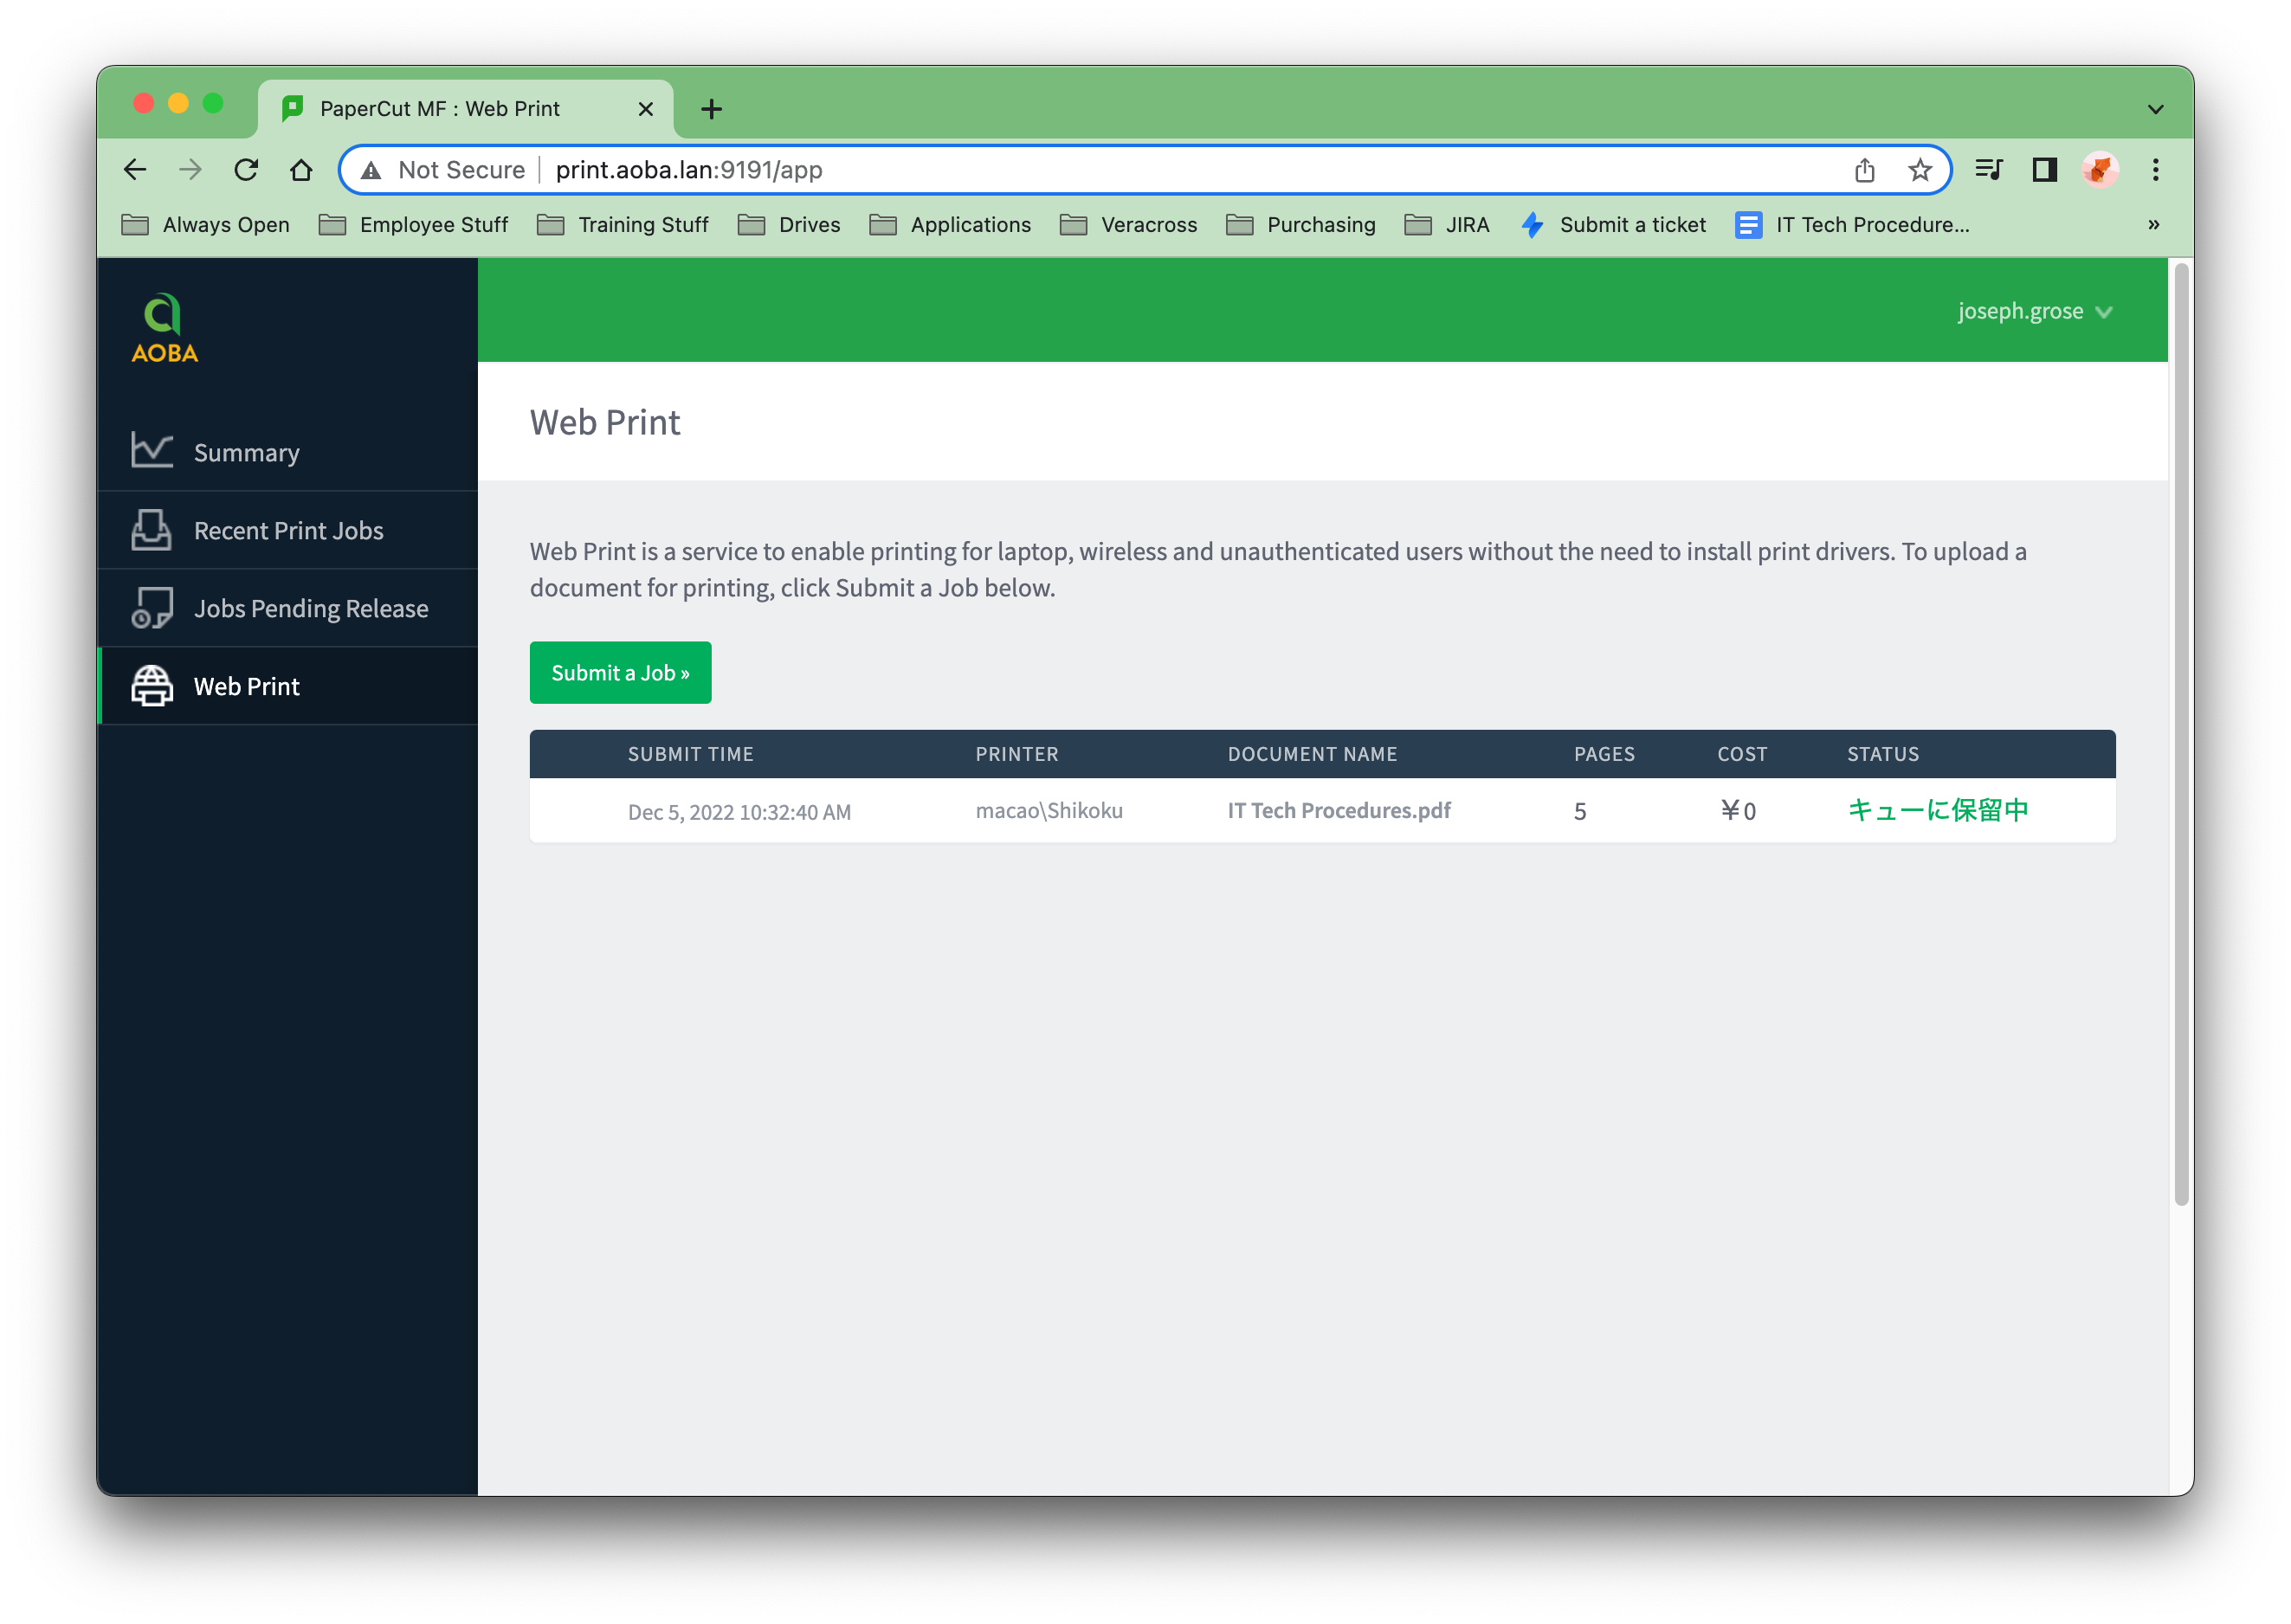
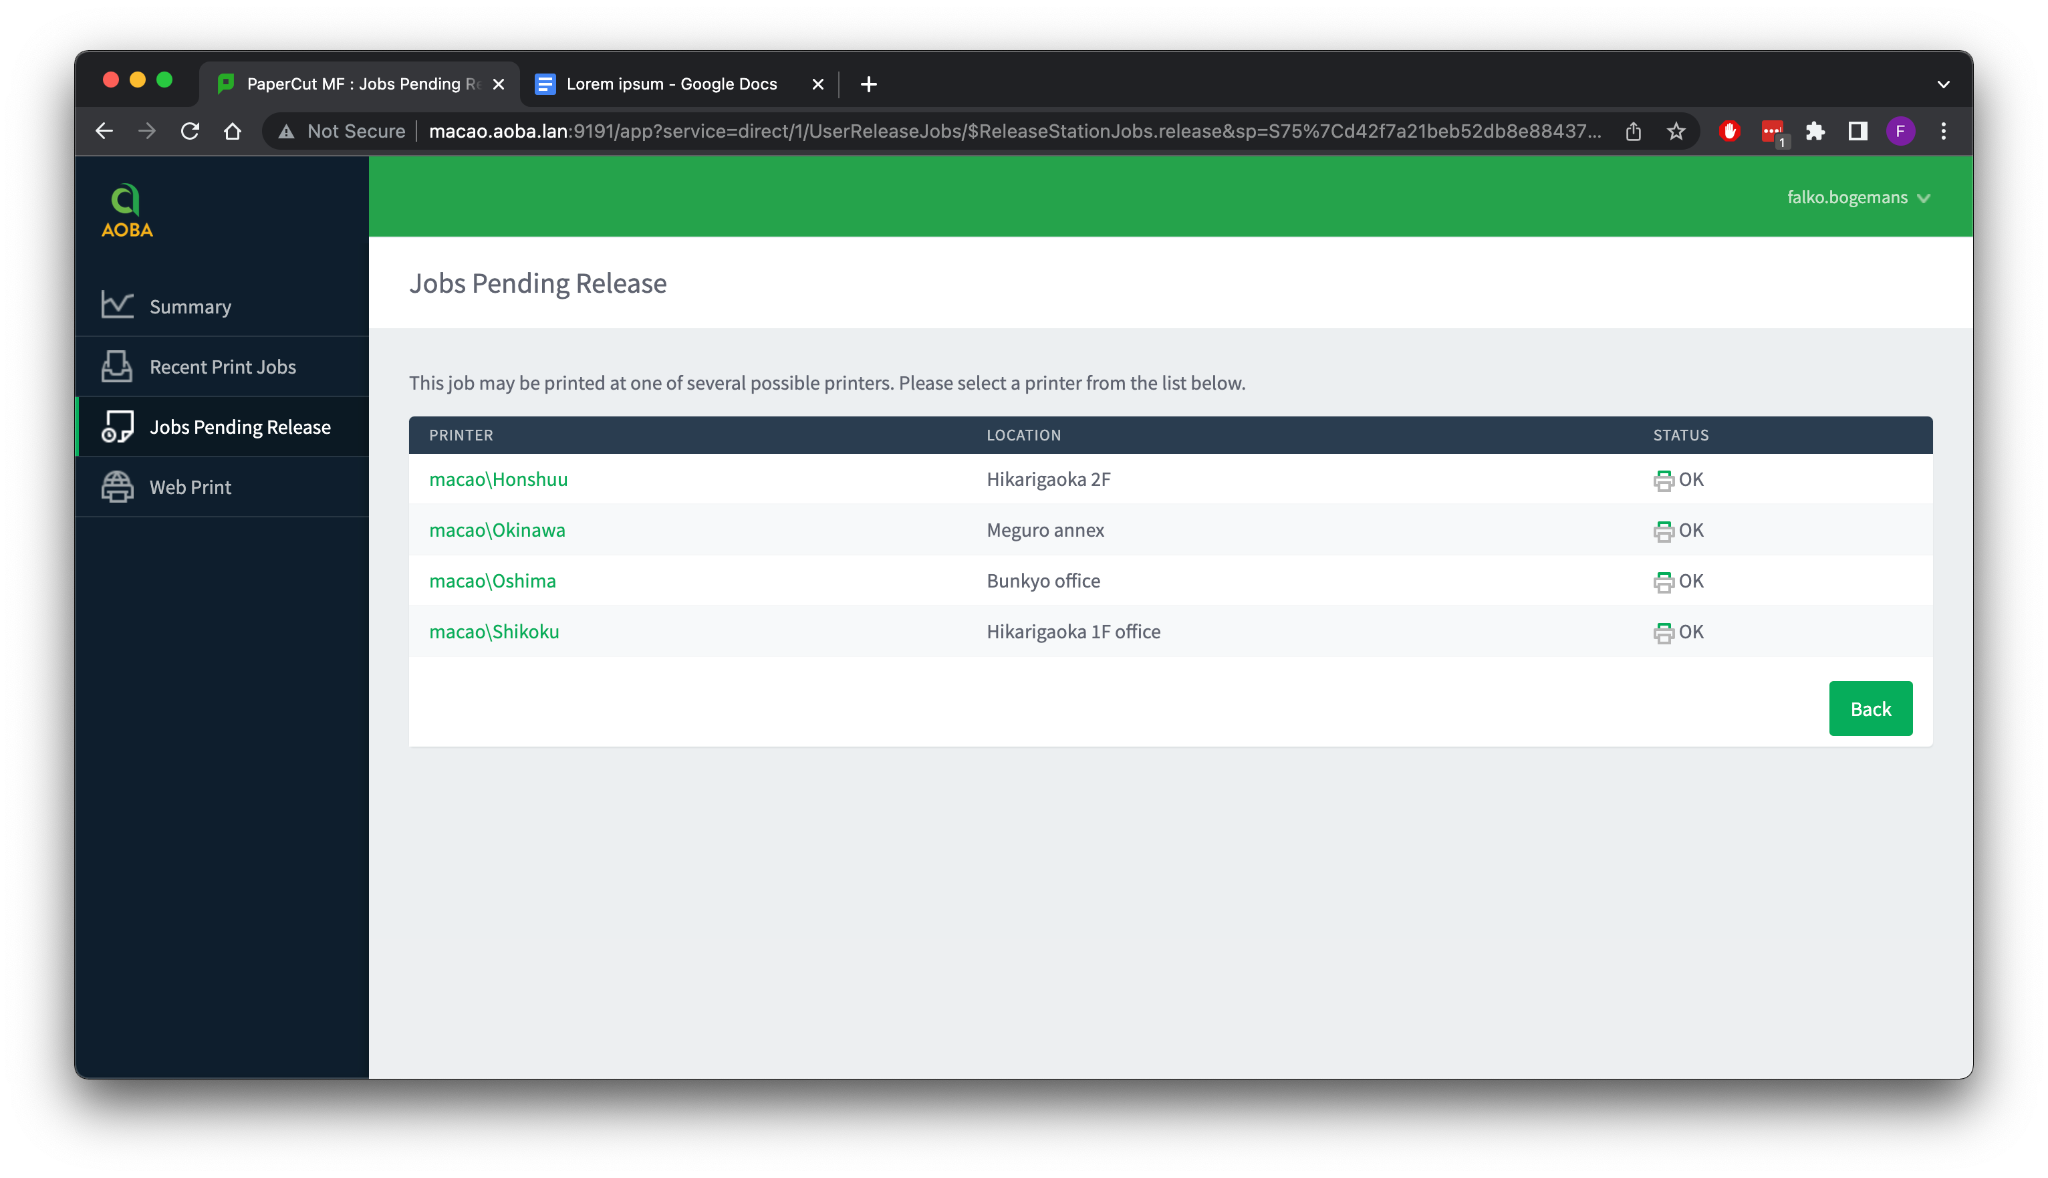
5. Release the print job
Select the “Jobs Pending Release” tab in the left hand navigation menu. You will get an overview of all your pending print jobs. This page automatically refreshes every 60 seconds. If you want it to refresh sooner, you can click the “Refresh Now” link.
Note: you can ignore the cost field. This will always be ¥0.

On the right hand side you can either select to [print] or [cancel] the job. After selecting [print], you will be taken to the printer selection screen. Depending on your job role and/or location, the available printers you see here will differ. Simply click on the printer you want to print to, and that's it! You can go pick up your document at the selected printer.
Hint: Your documents will being printing immediately once you select [print]: not before (unless someone else’s documents are already printing in which case they will print in first-come-first-served order). You can take advantage of this to perfectly time your prints to avoid losing them, or avoid confidential documents being seen by others.