
How to Use BenQ X-Sign Express
BenQ X-Sign is a suite of software tools which work together to allow for the design of dynamic multimedia content and the scheduled, dynamic broadcasting of that content to compatible (and licensed!) digital signage devices. For example, many business use X-Sign software combined with BenQ digital signage displays for restaurant menus, hotel lobbies, and many other use cases.
This page will guide you through using the more limited but more accessible version of X-Sign express available completely online.
Please keep in mind that the Bunkyo-Stand is currently reserved for displaying the Guest Wifi information at Bunkyo and should not be adjusted without confirming with ICT and school leadership first.
In addition, Bunkyo-lobby-2 is currently being used to display the "school day rotation" schedule at Bunkyo campus for quick reference by the students and faculty. It should also not be adjusted without first confirming with ICT and school leadership.
📘 Instructions
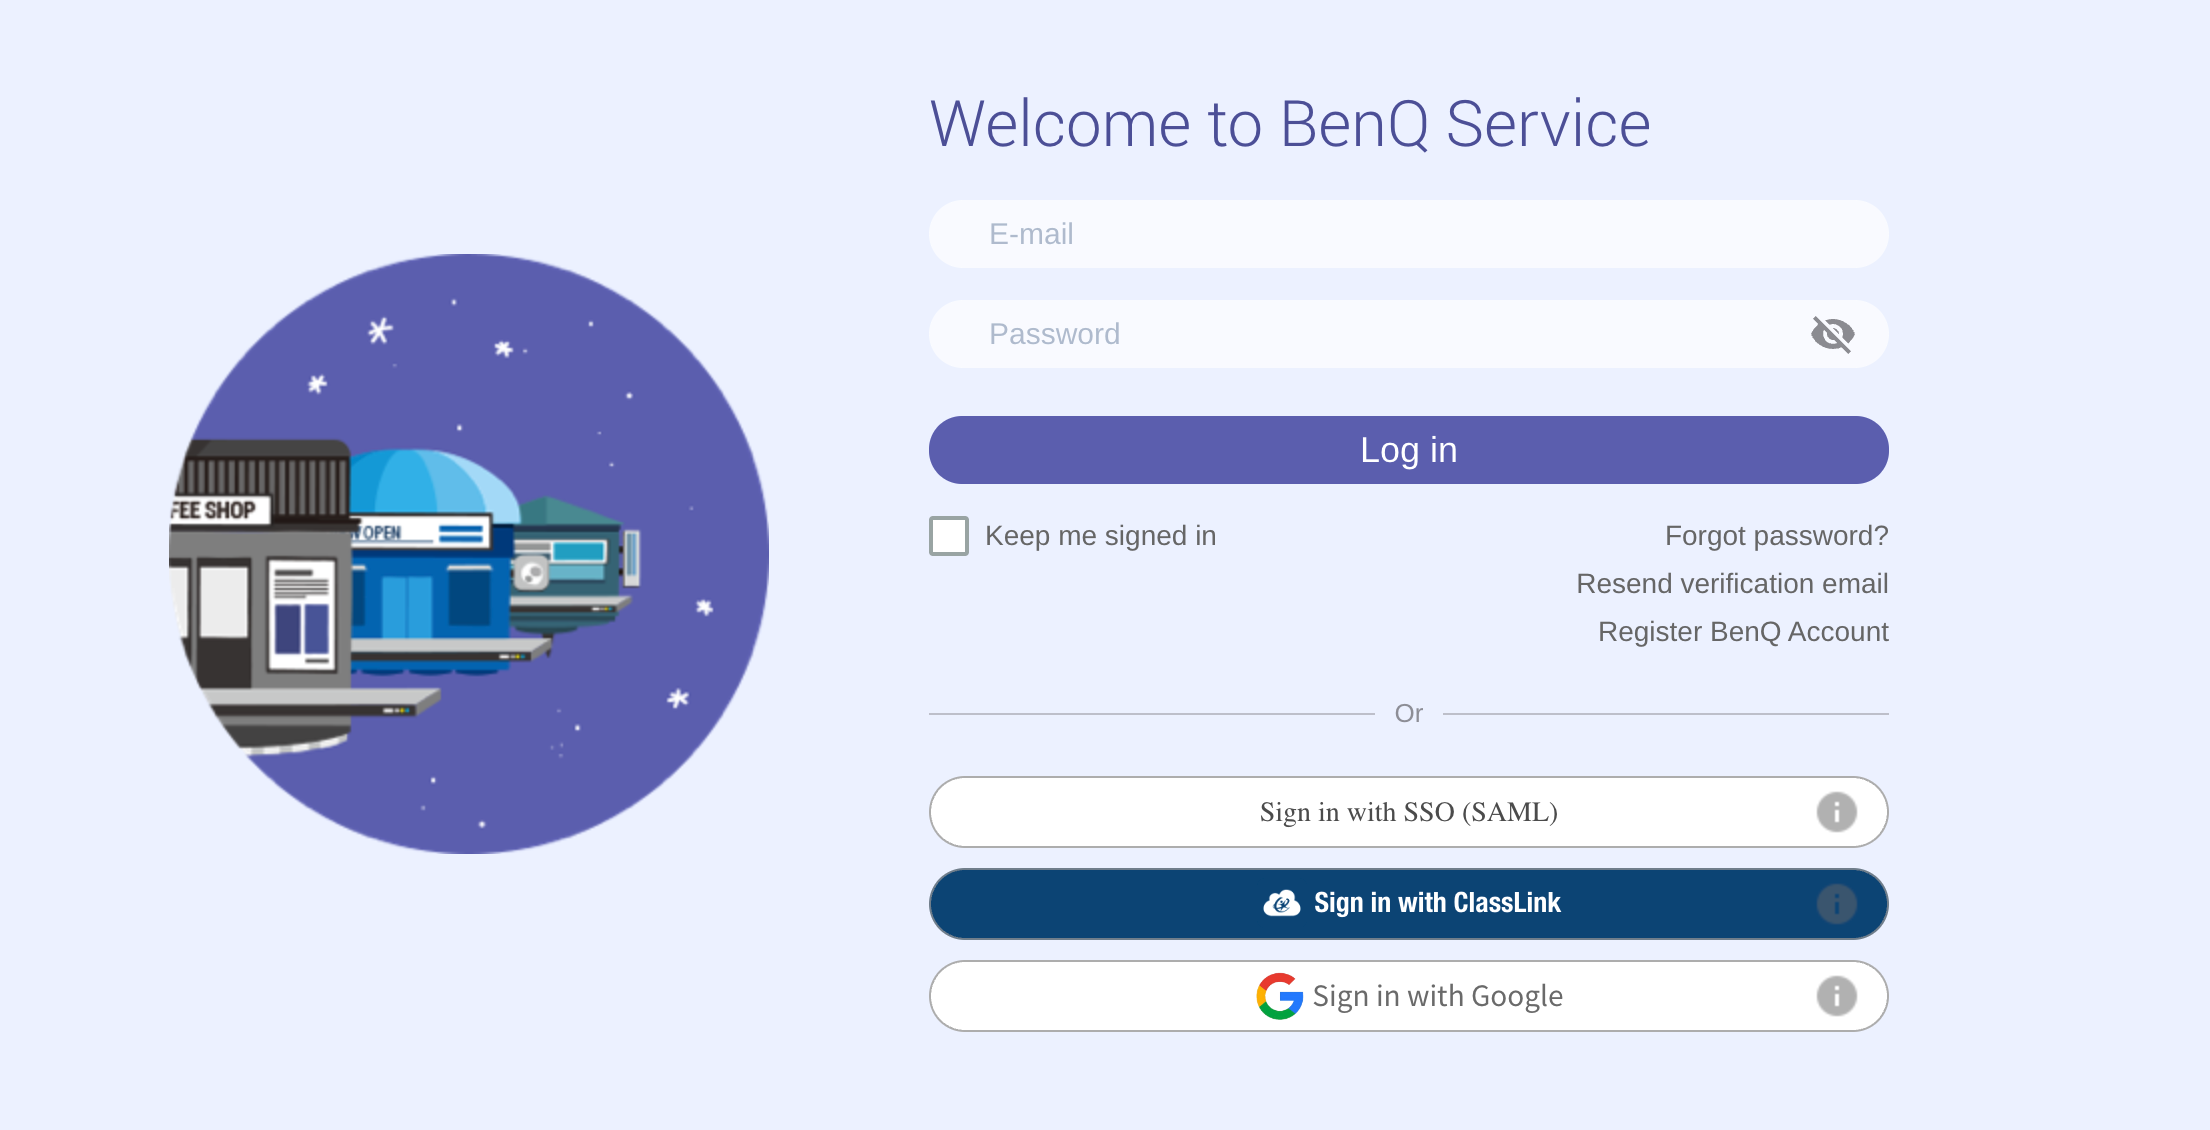
Log in
Navigate and log in to the BenQ X-Sign Service Portal in your web browser. (SSO/Sign in with Google are currently not enabled please use email and password fields)
https://x-sign.benq.com/equipment
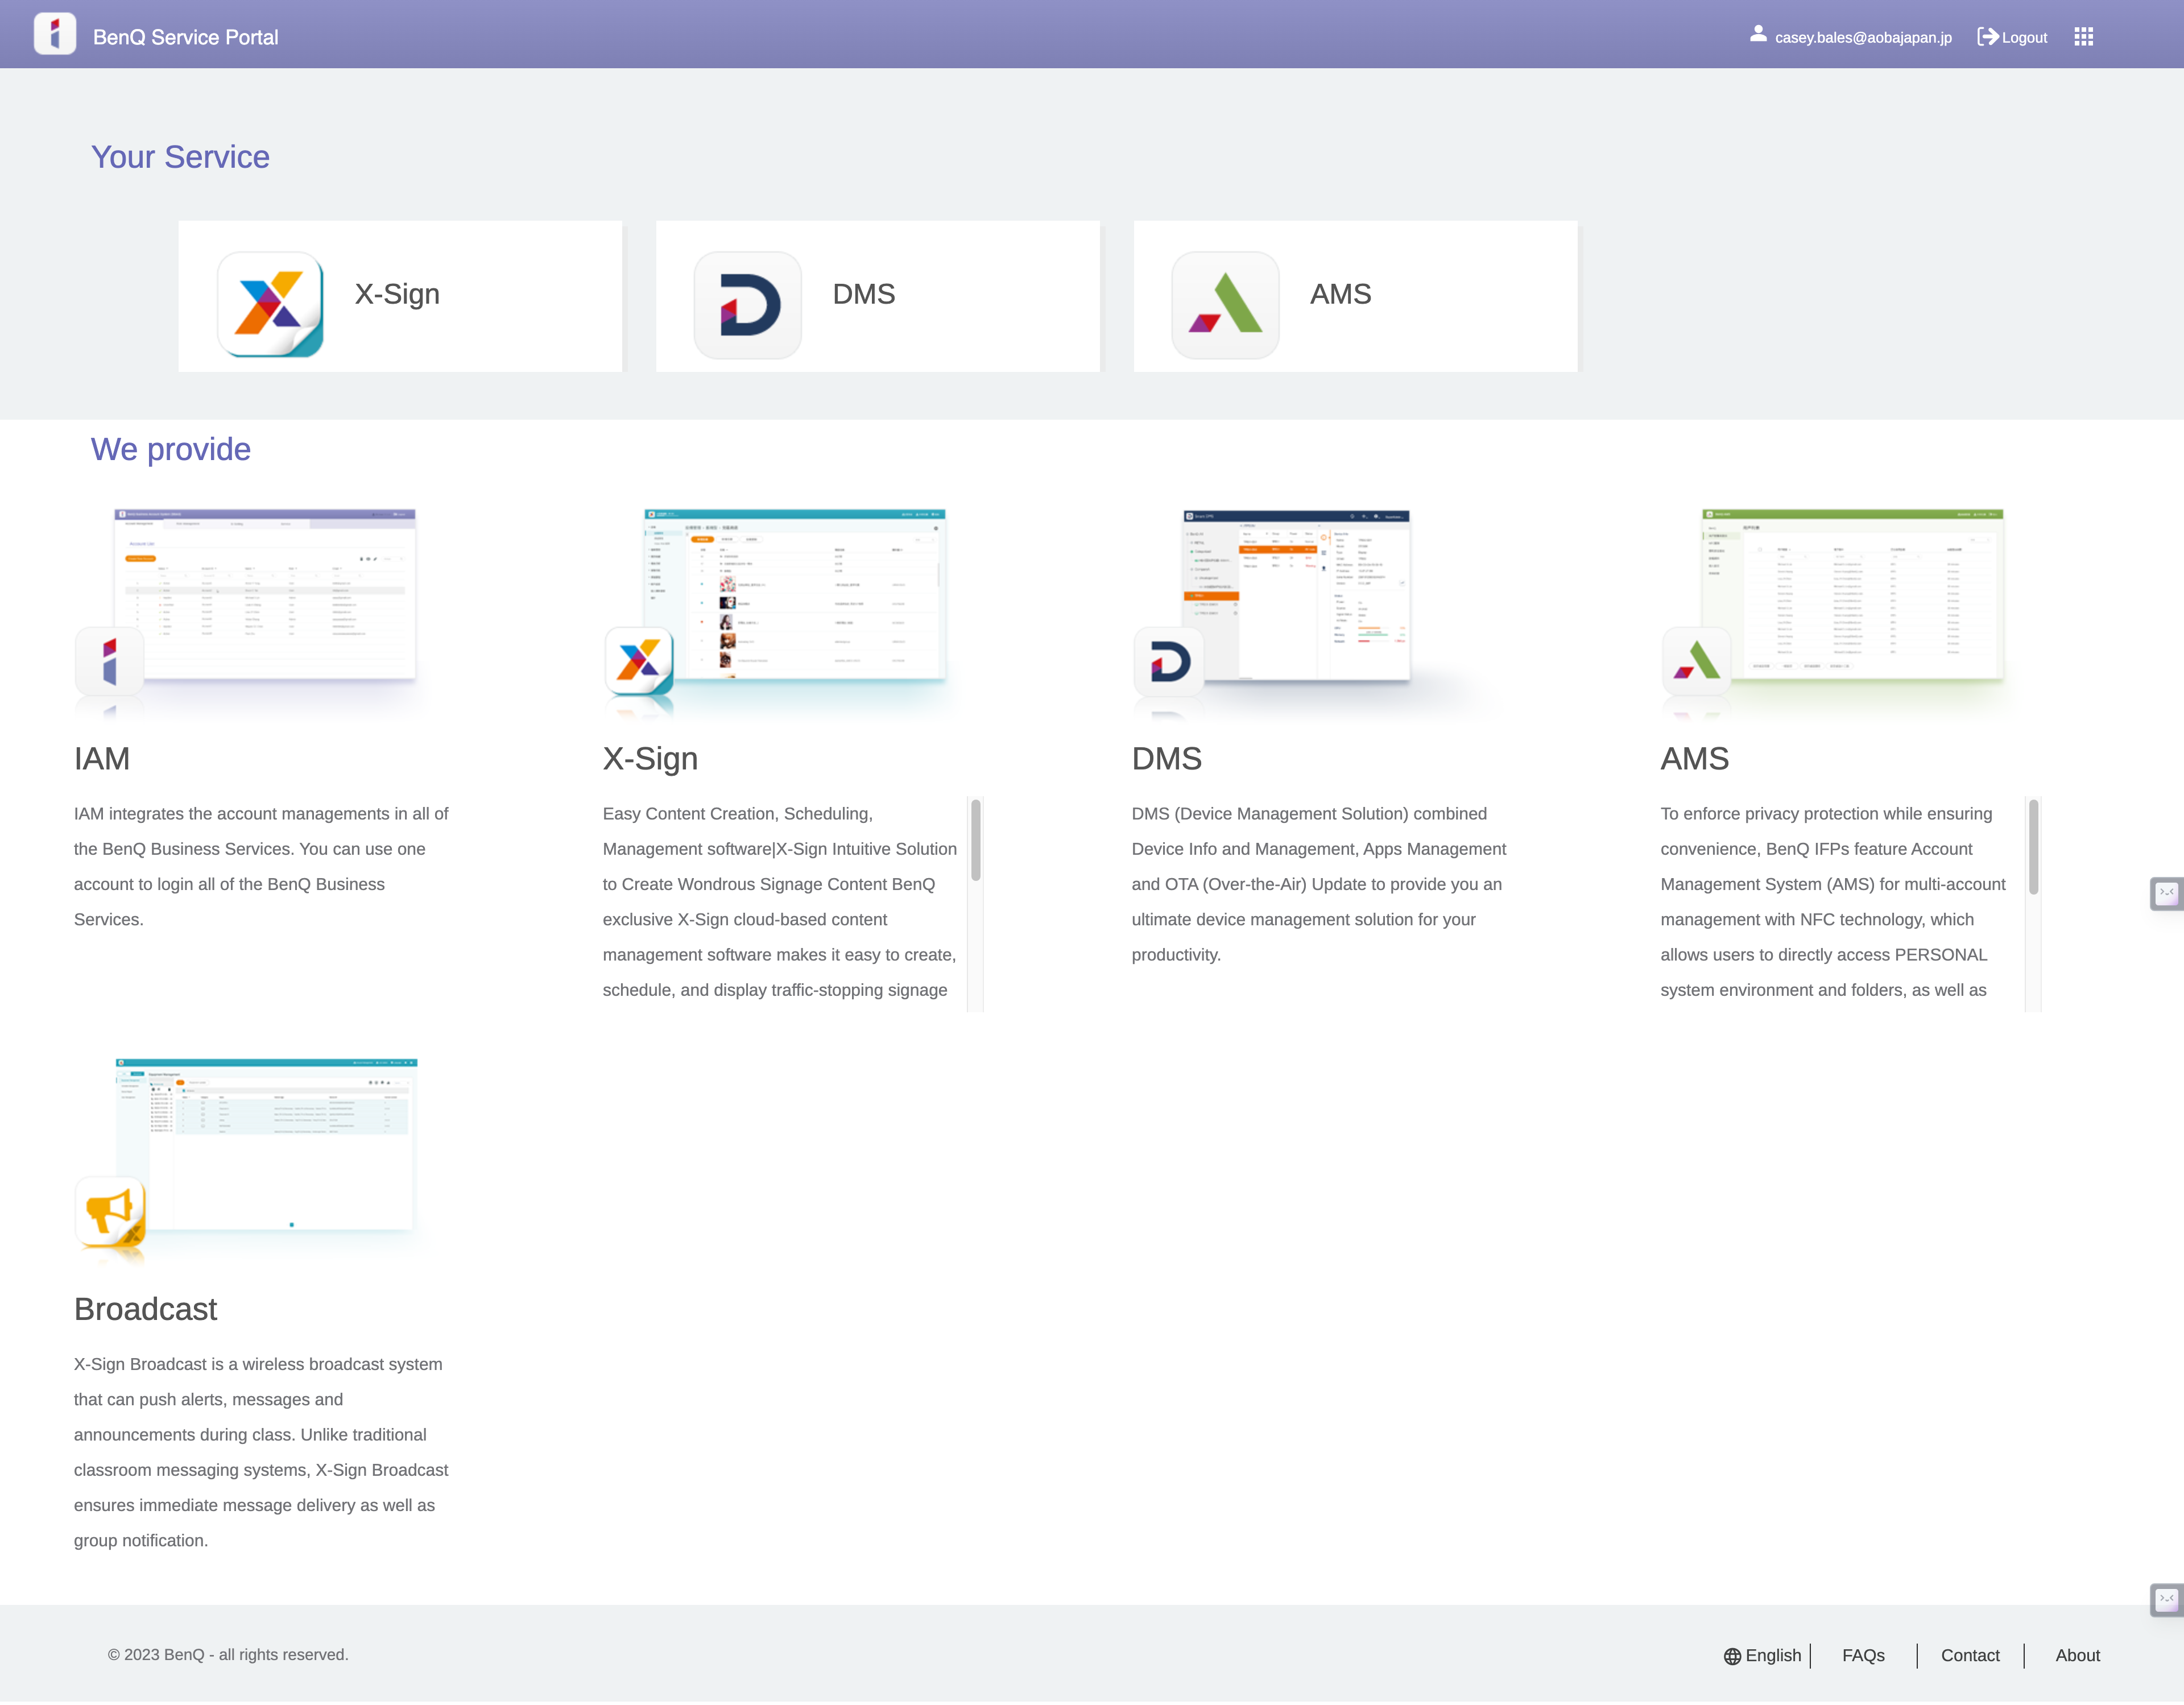
After logging in click X-Sign.
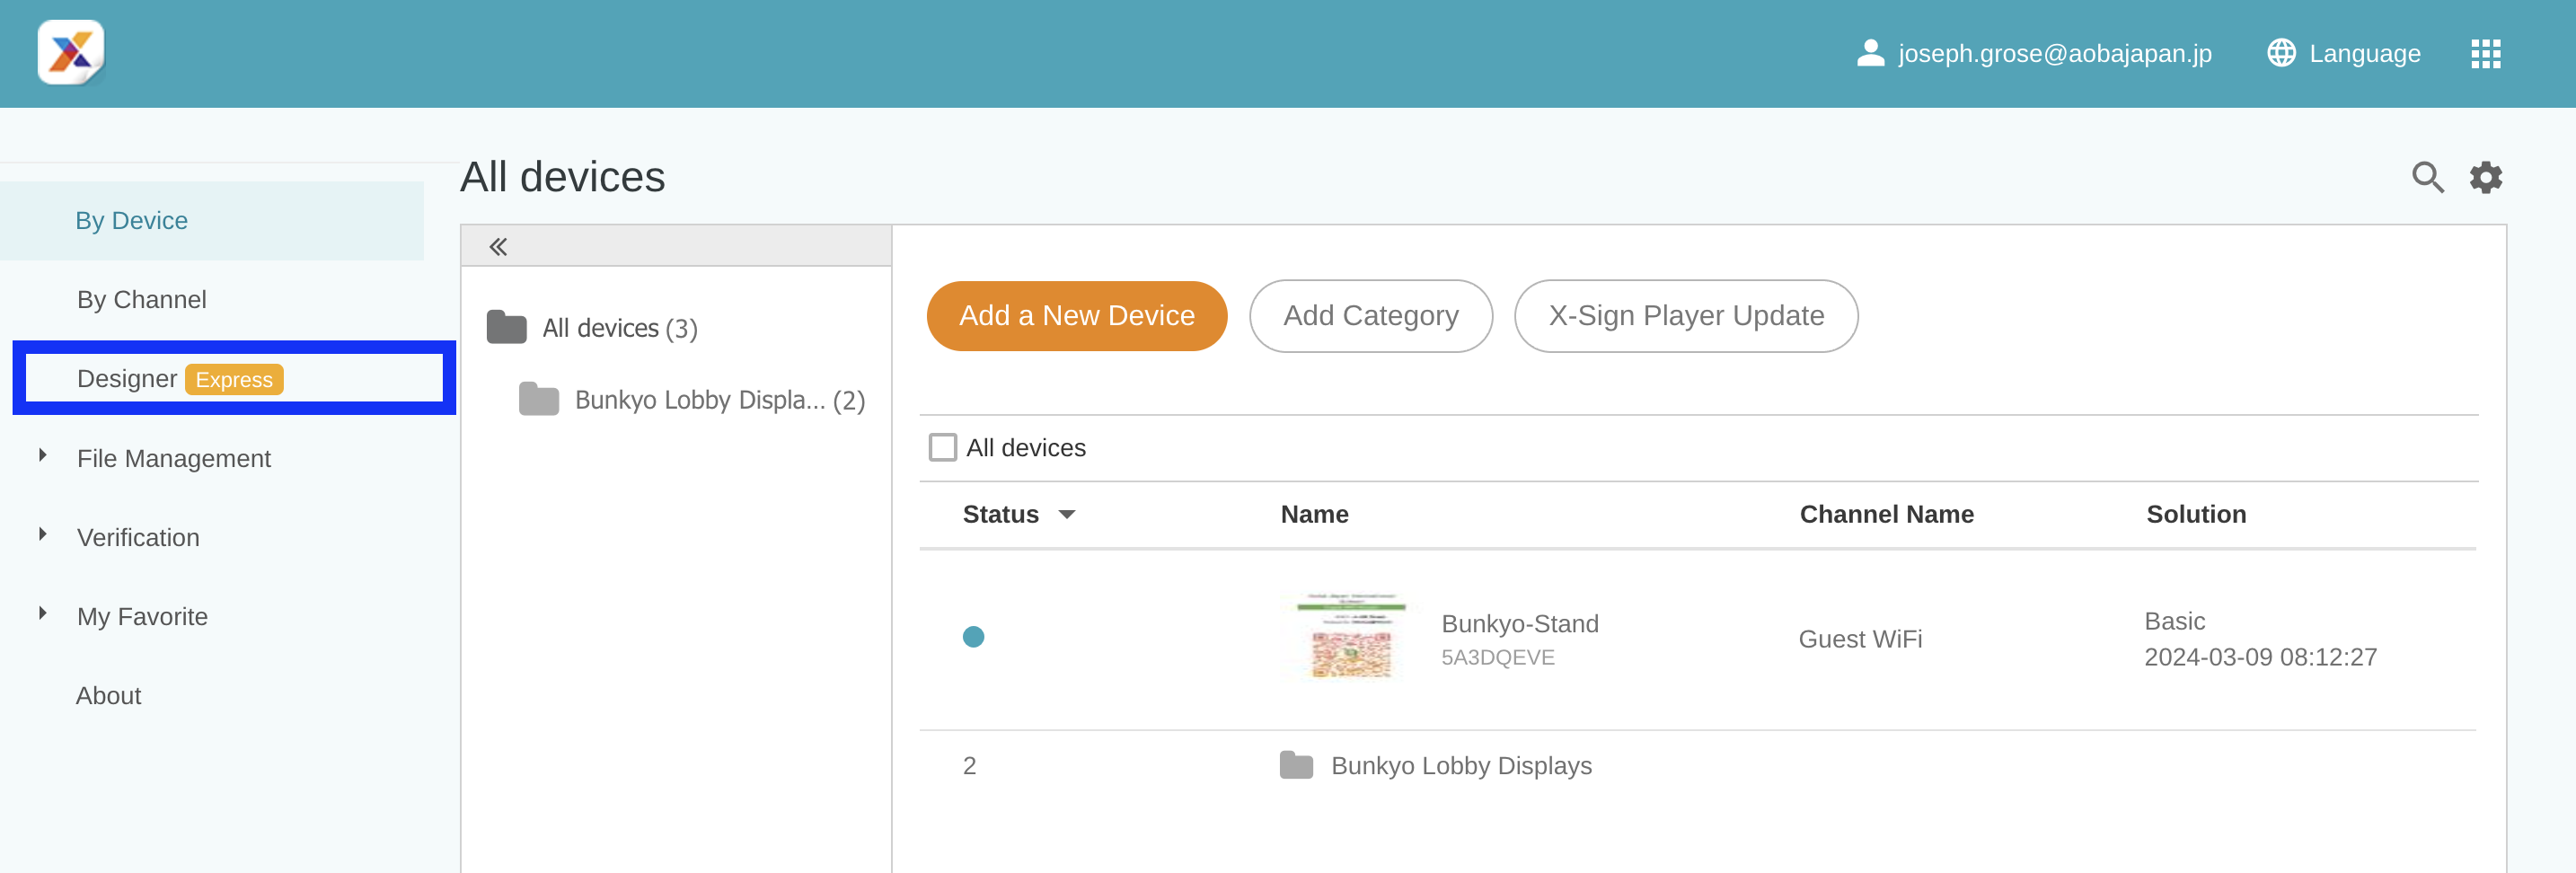
Click the Designer Express button on the left menubar.
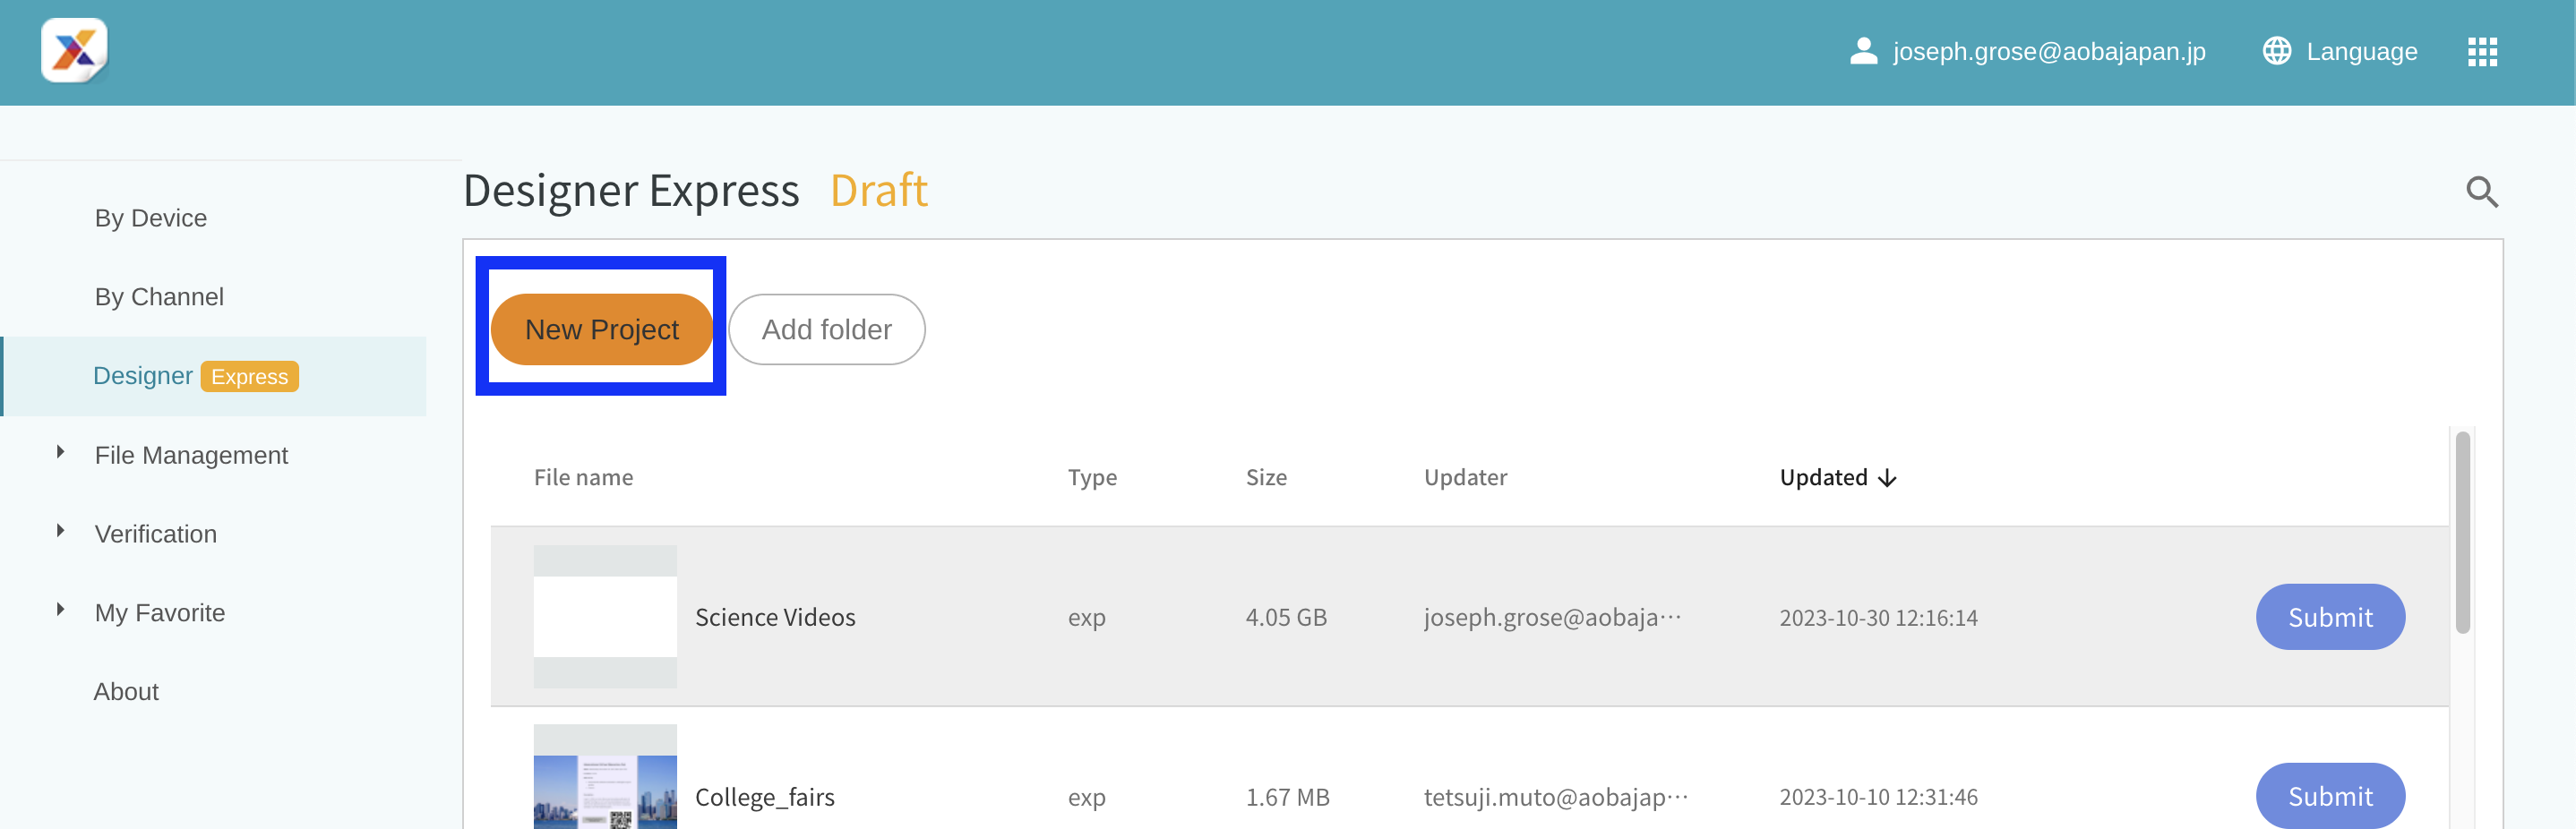
Select the New Project button. In the new tab that displays, name your project something related to the videos/images you will be uploading. Then hit confirm.
Design
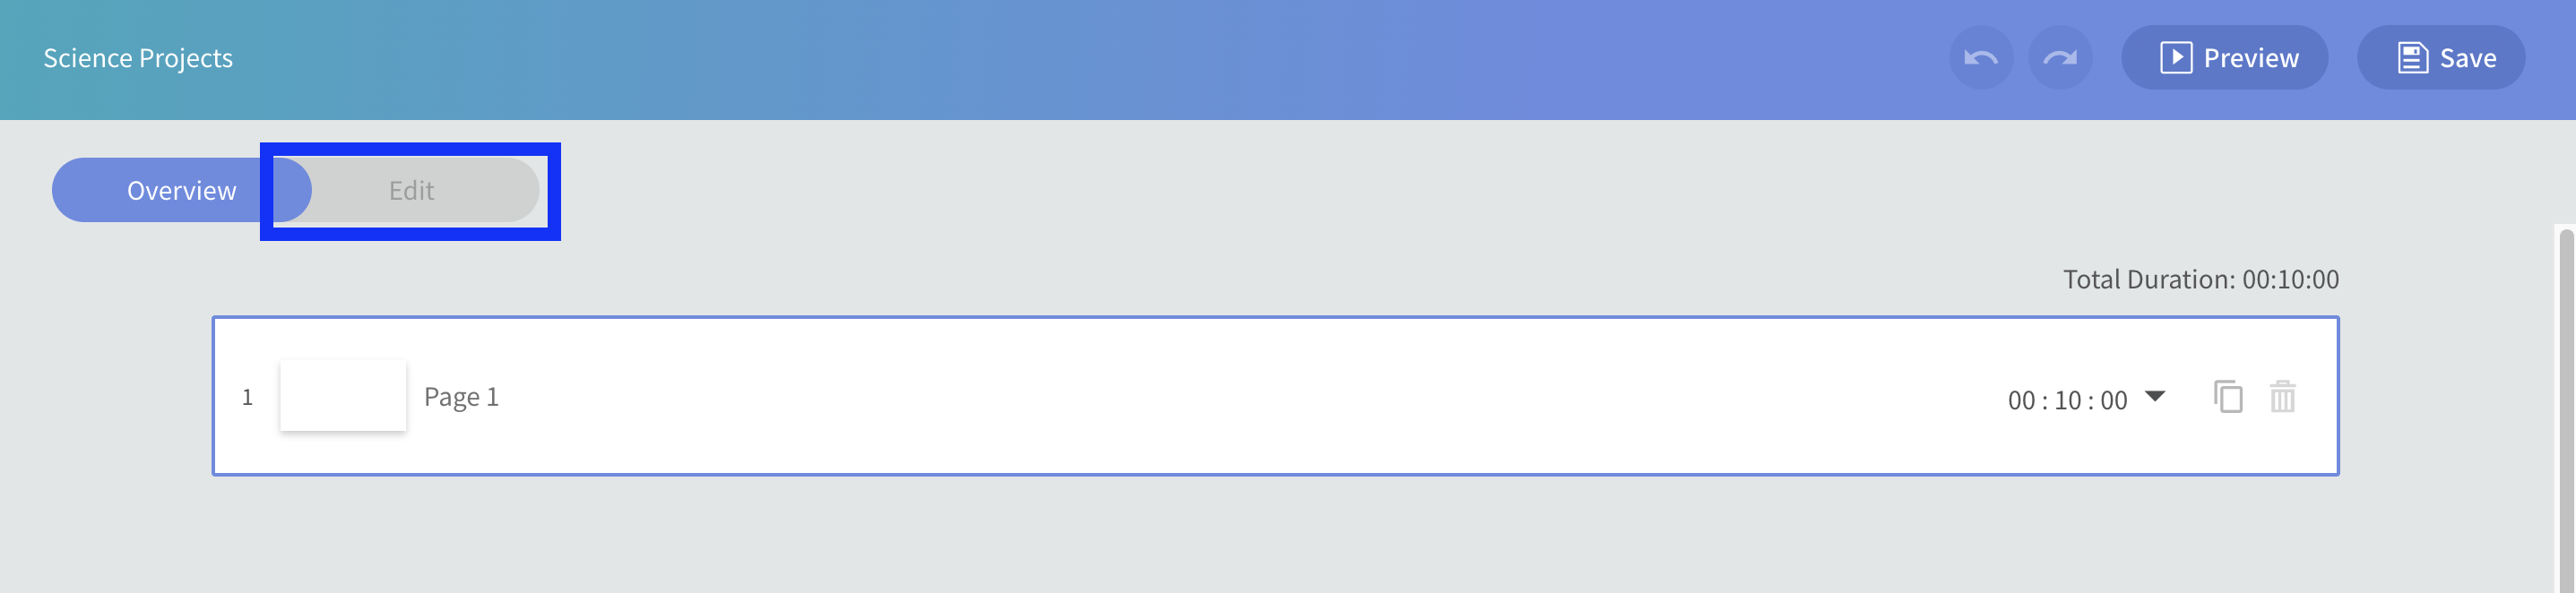
In your new project click the Edit button.
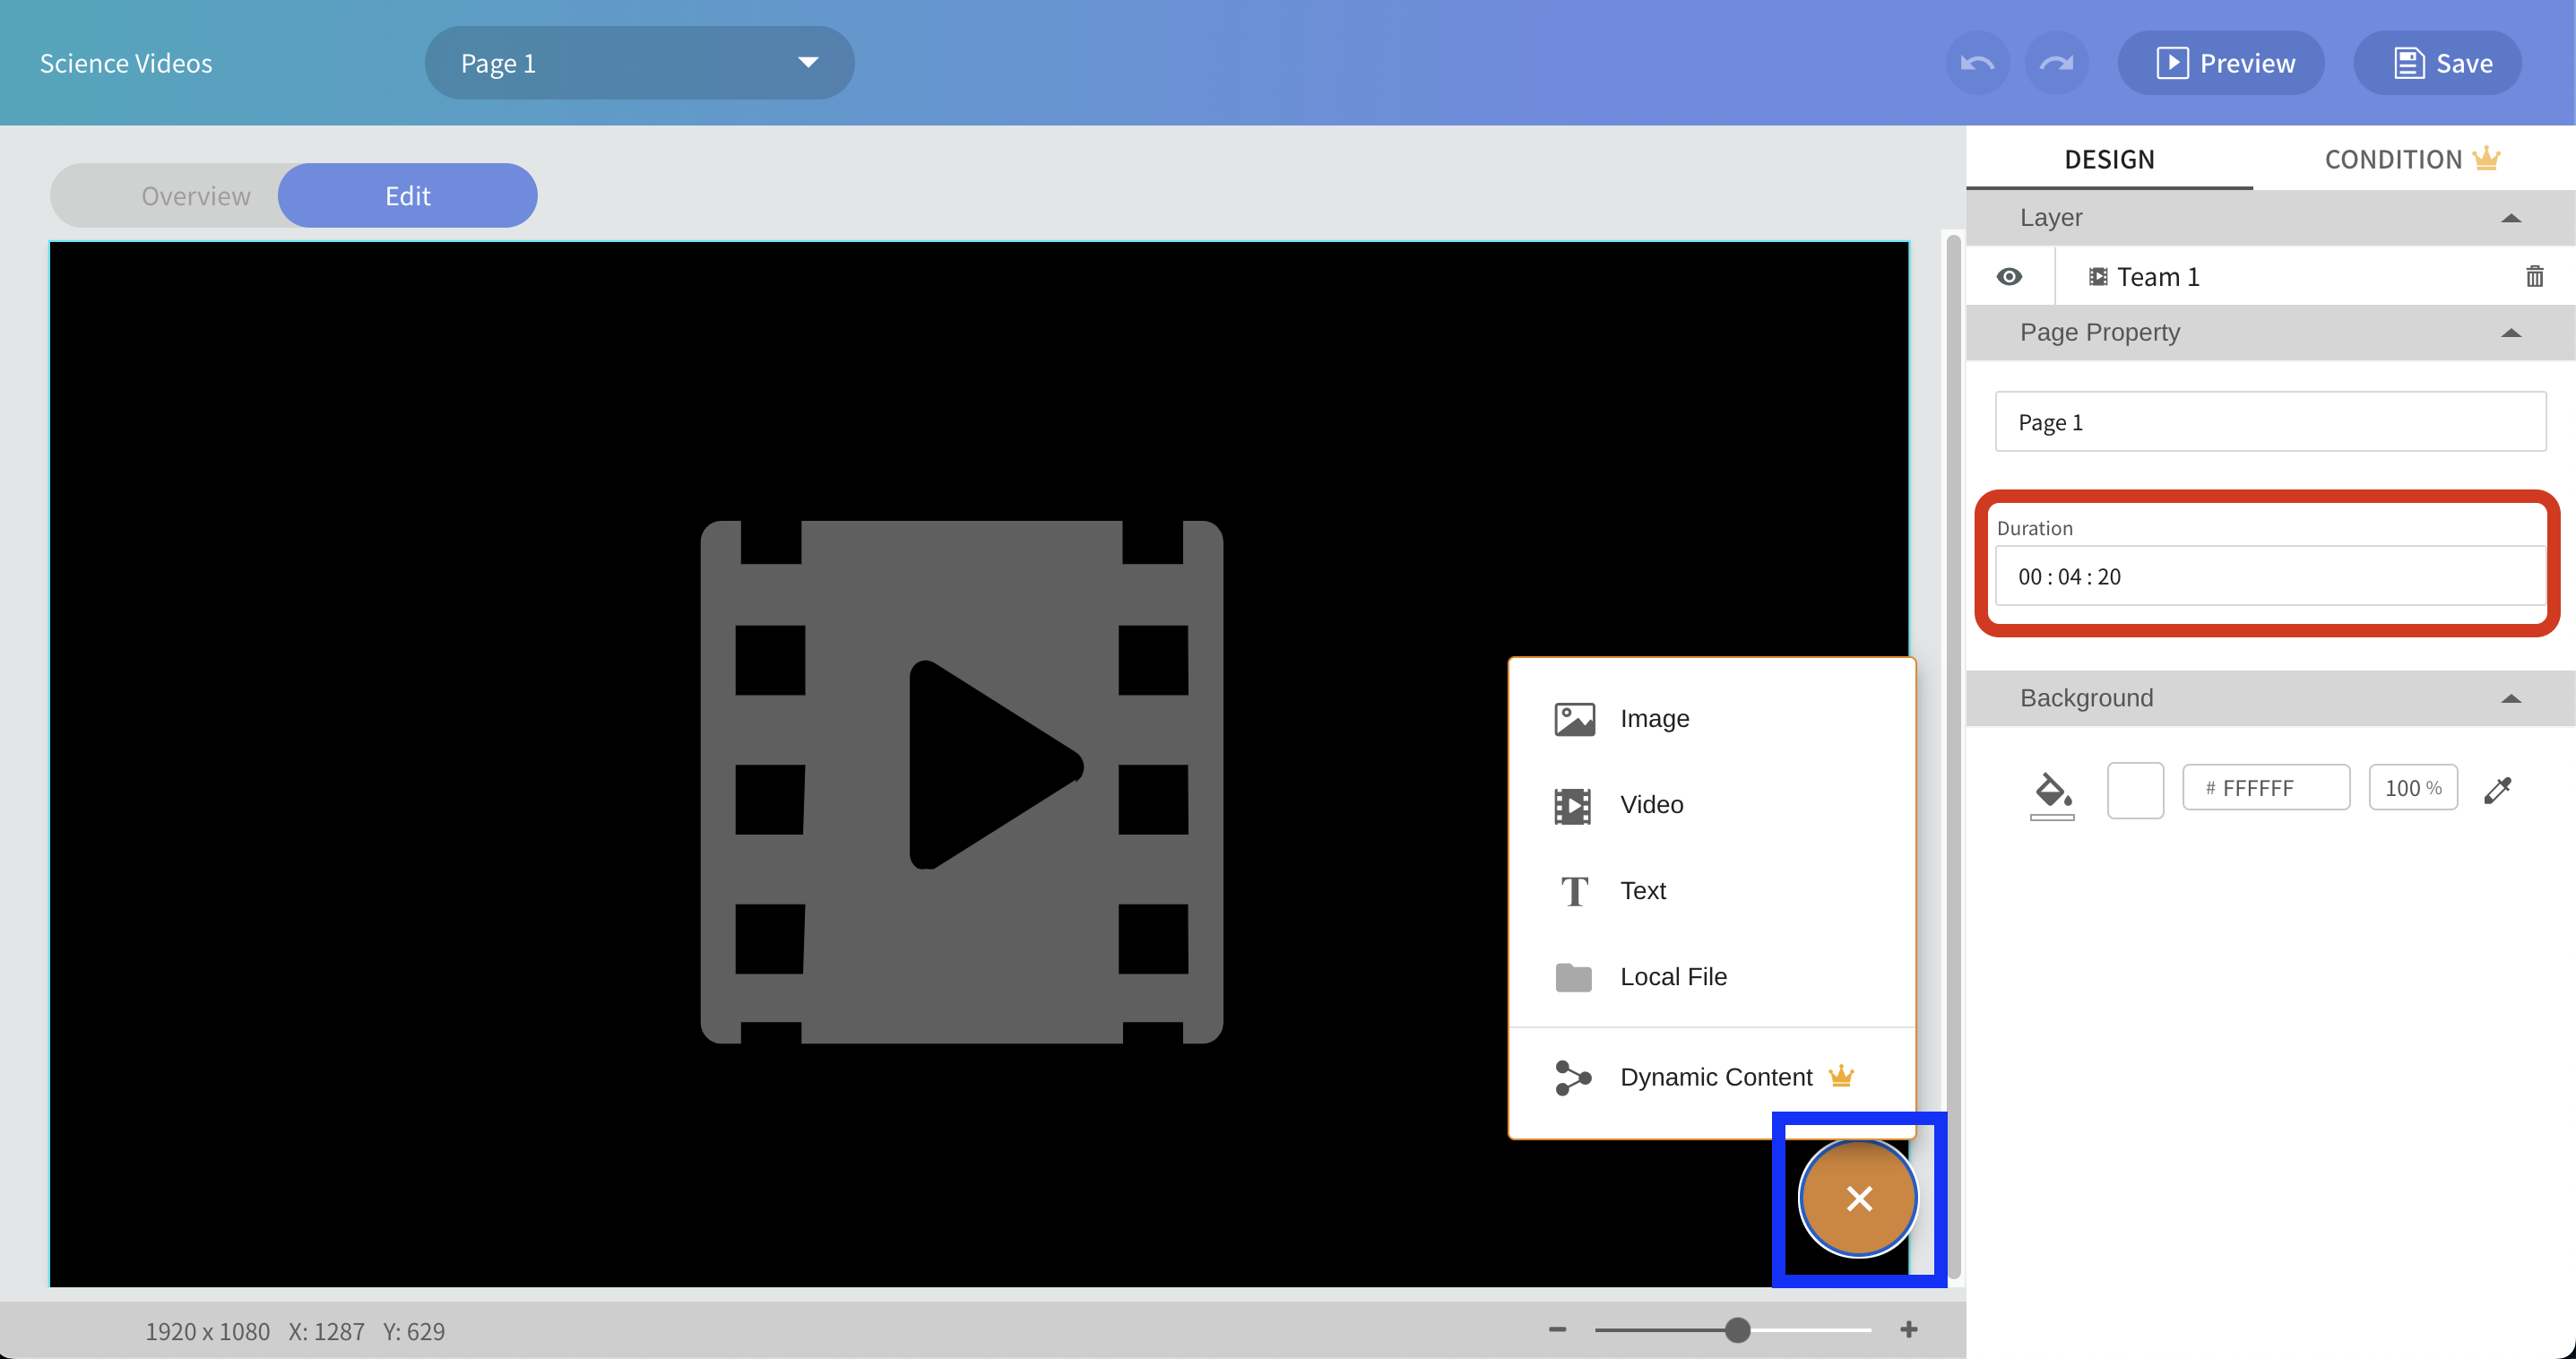
From here you can upload images, videos or text via the + button. Keep in mind the duration of the pages when displaying videos needs to match the length of the video or the video will be cut short. You can set the durations for images to the number of seconds you would like it to be displayed before moving to the next page.
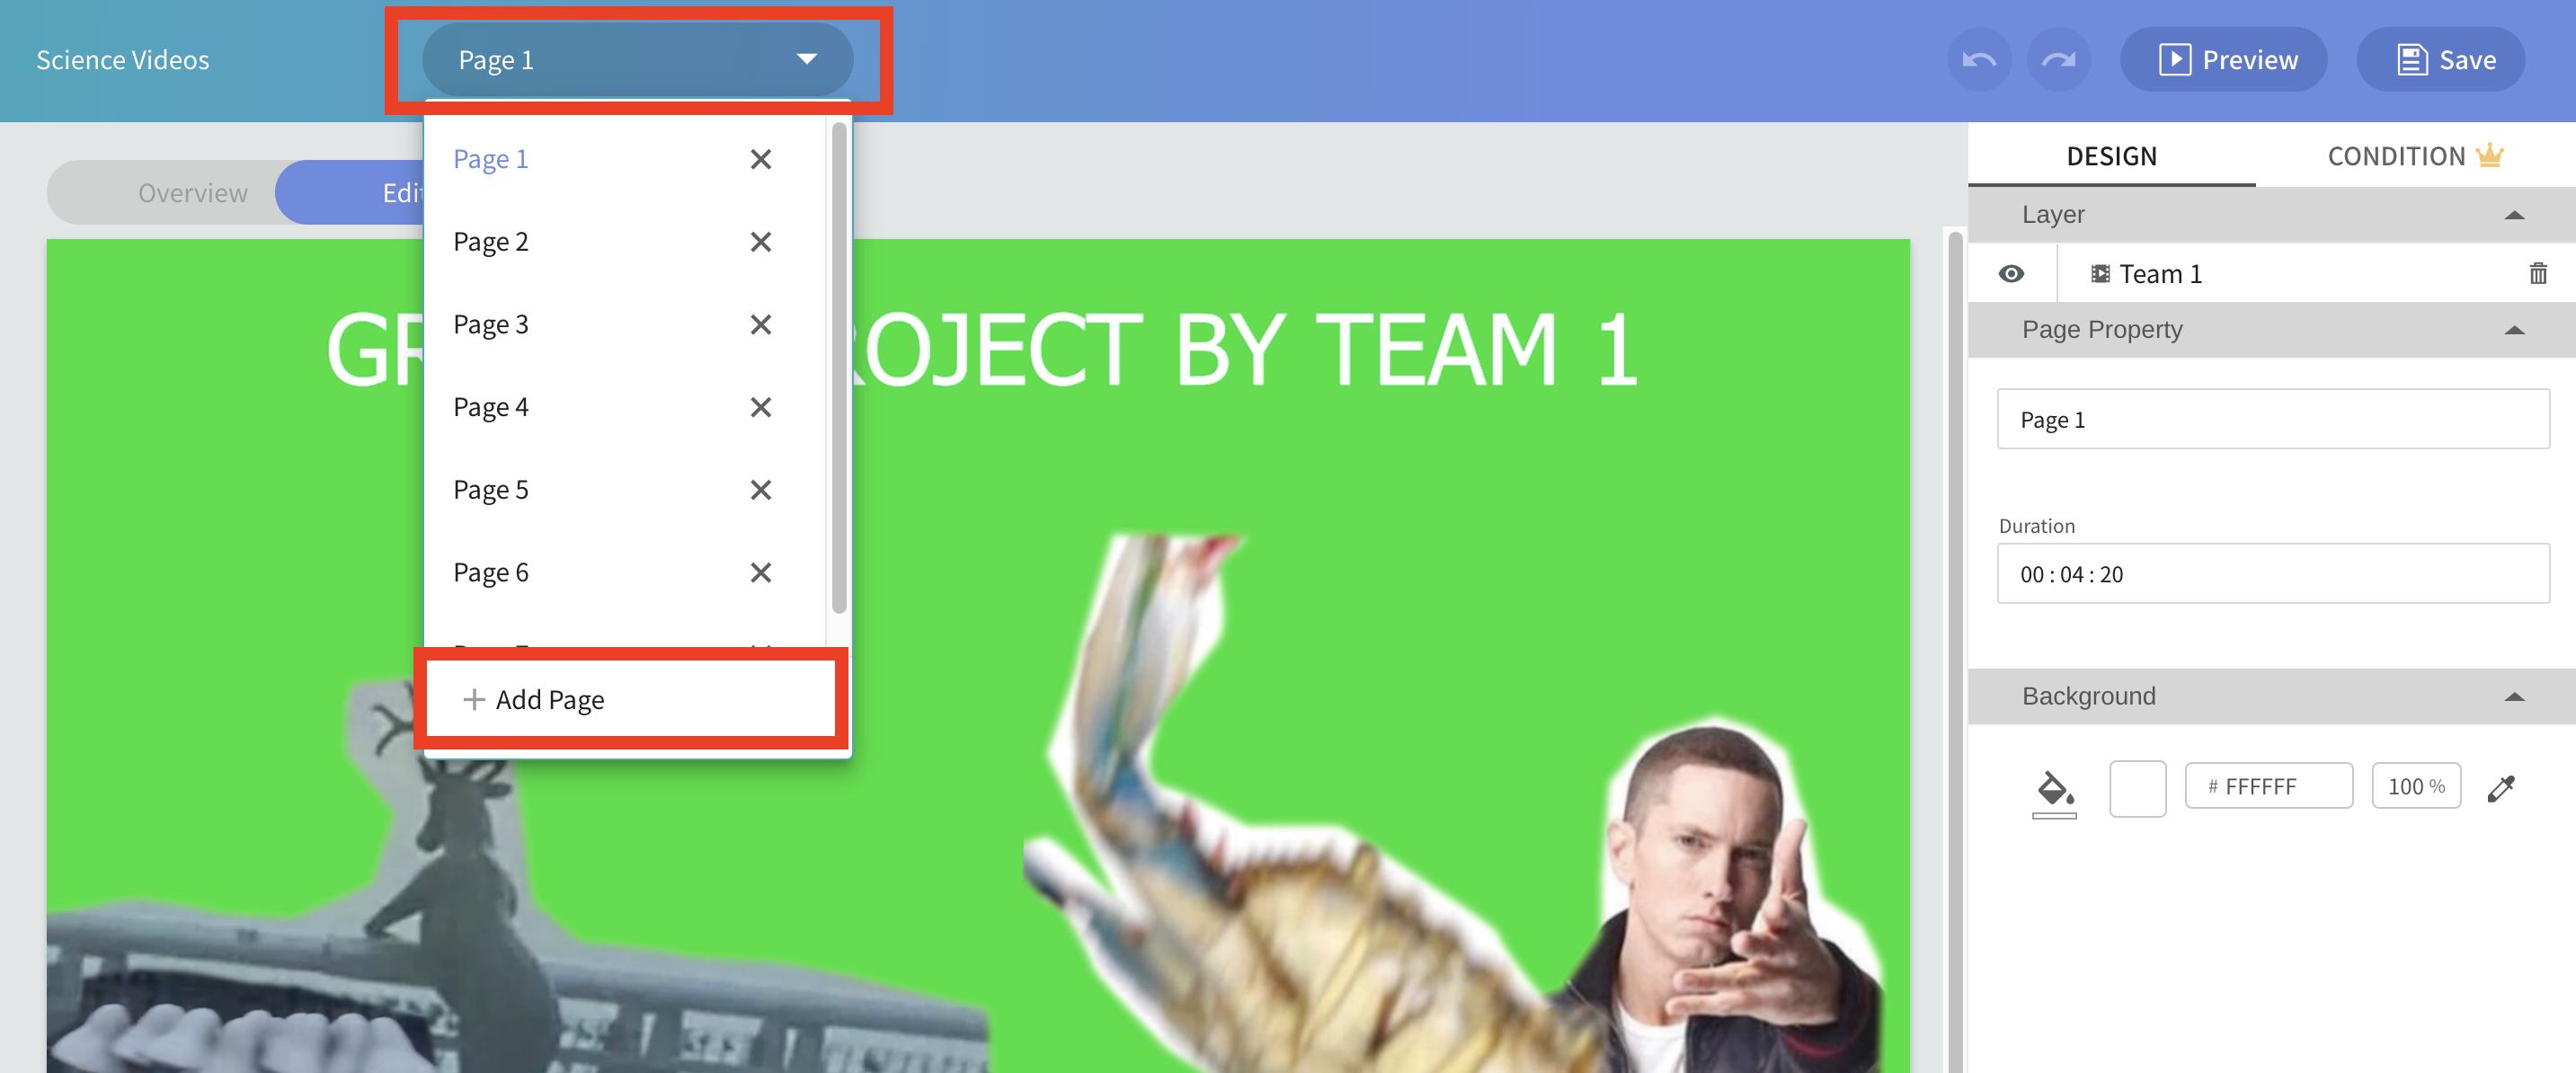
Each unique video or image should be its own Page in your project. This will allow you to control the duration for each page. Click the Page bar at the top of the screen, then select Add Page. You can then upload your next image or video just like before.
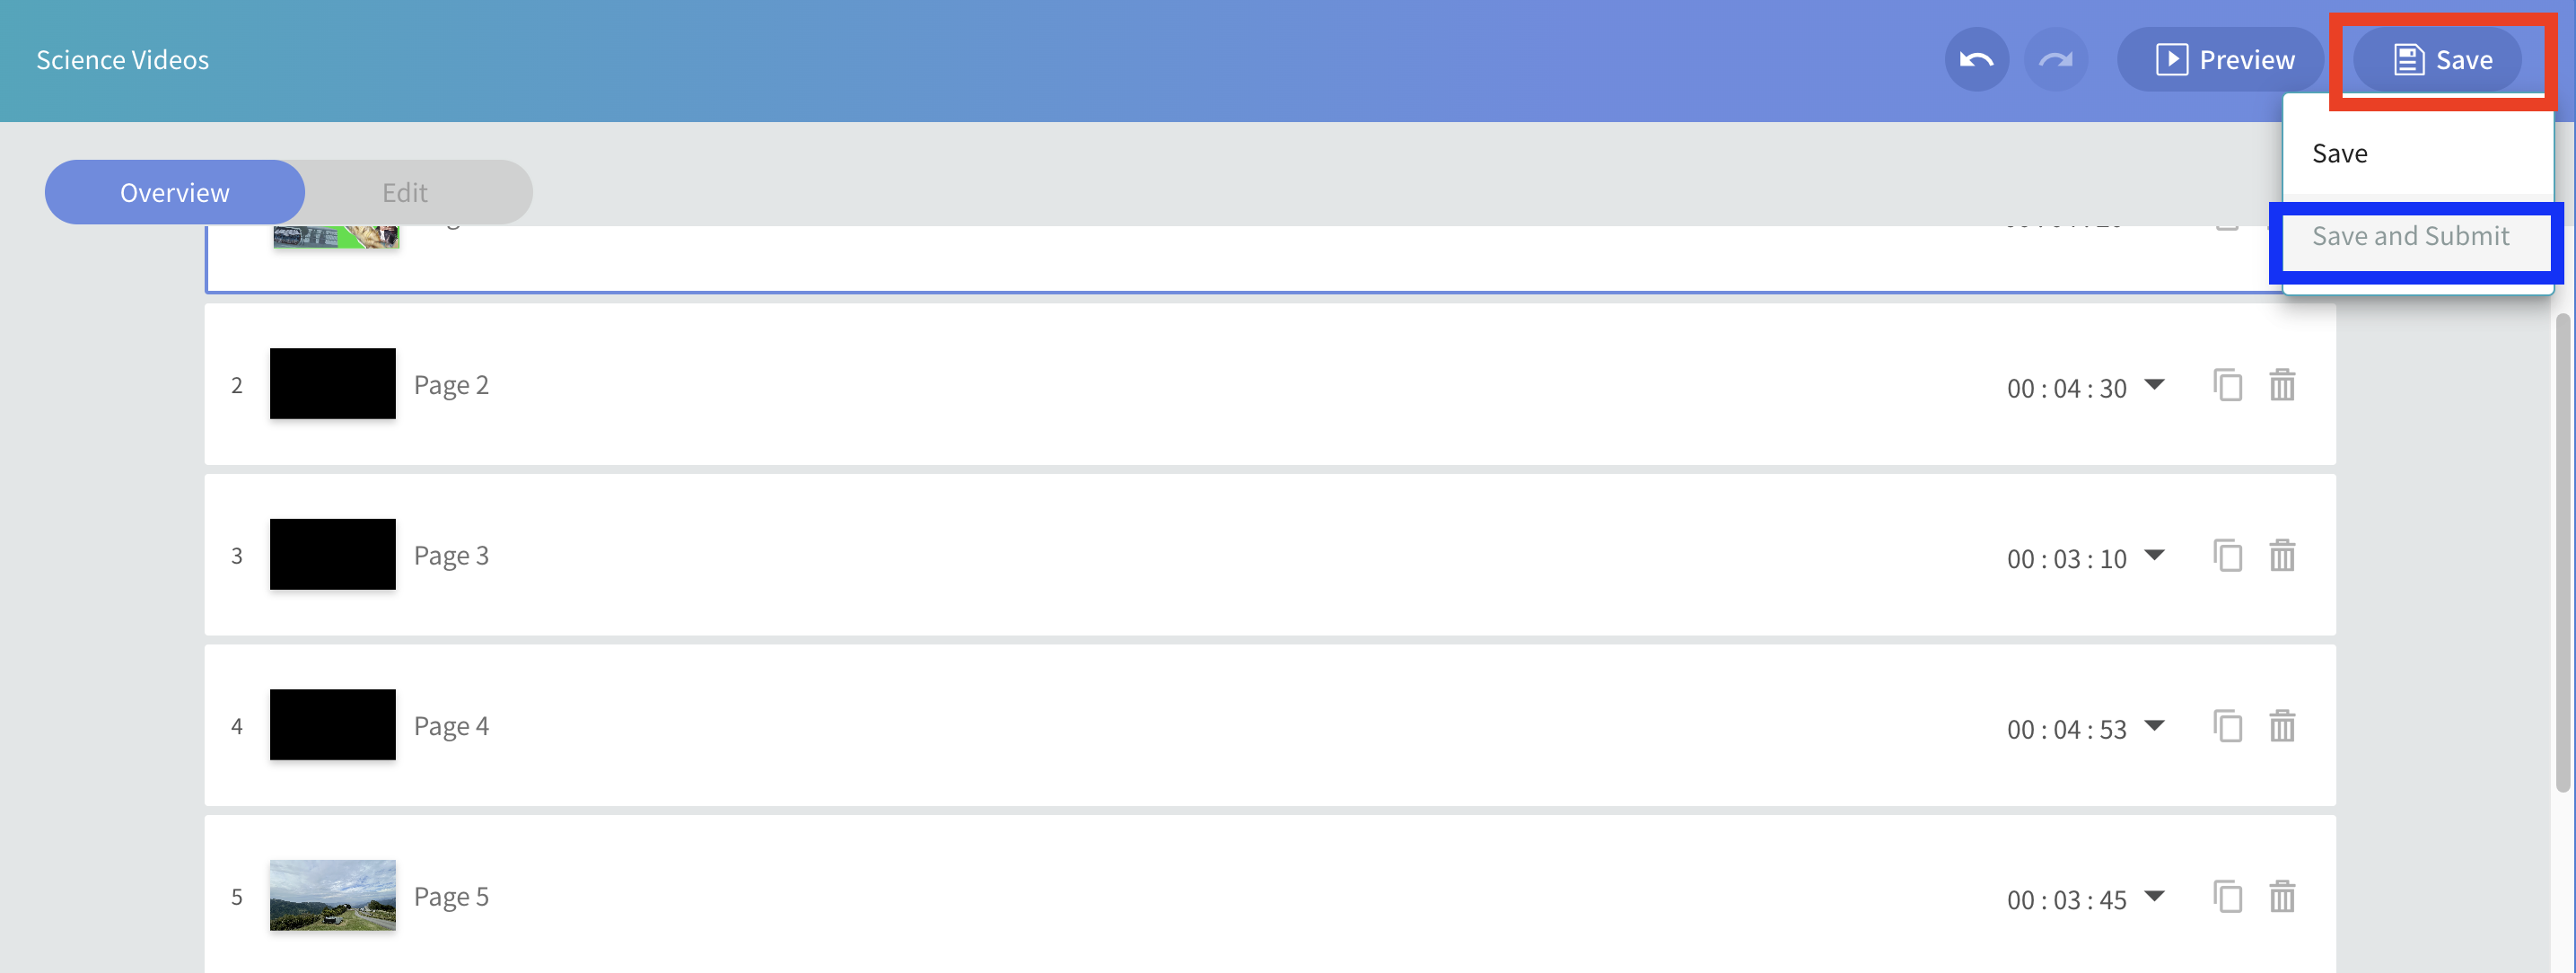
When you are done uploading videos/images, hit the Save button in the top right, followed by the Save and Submit button. In the popup that appears hit Submit. You are all done with designing the project!
Please follow up with scheduling to make sure your project actually plays on the displays! Once you have submitted your projects please create a helpdesk ticket at https://aobaict.atlassian.net/servicedesk/customer/portal/1 requesting approval and scheduling along with any particular times or settings you would like adjusted.
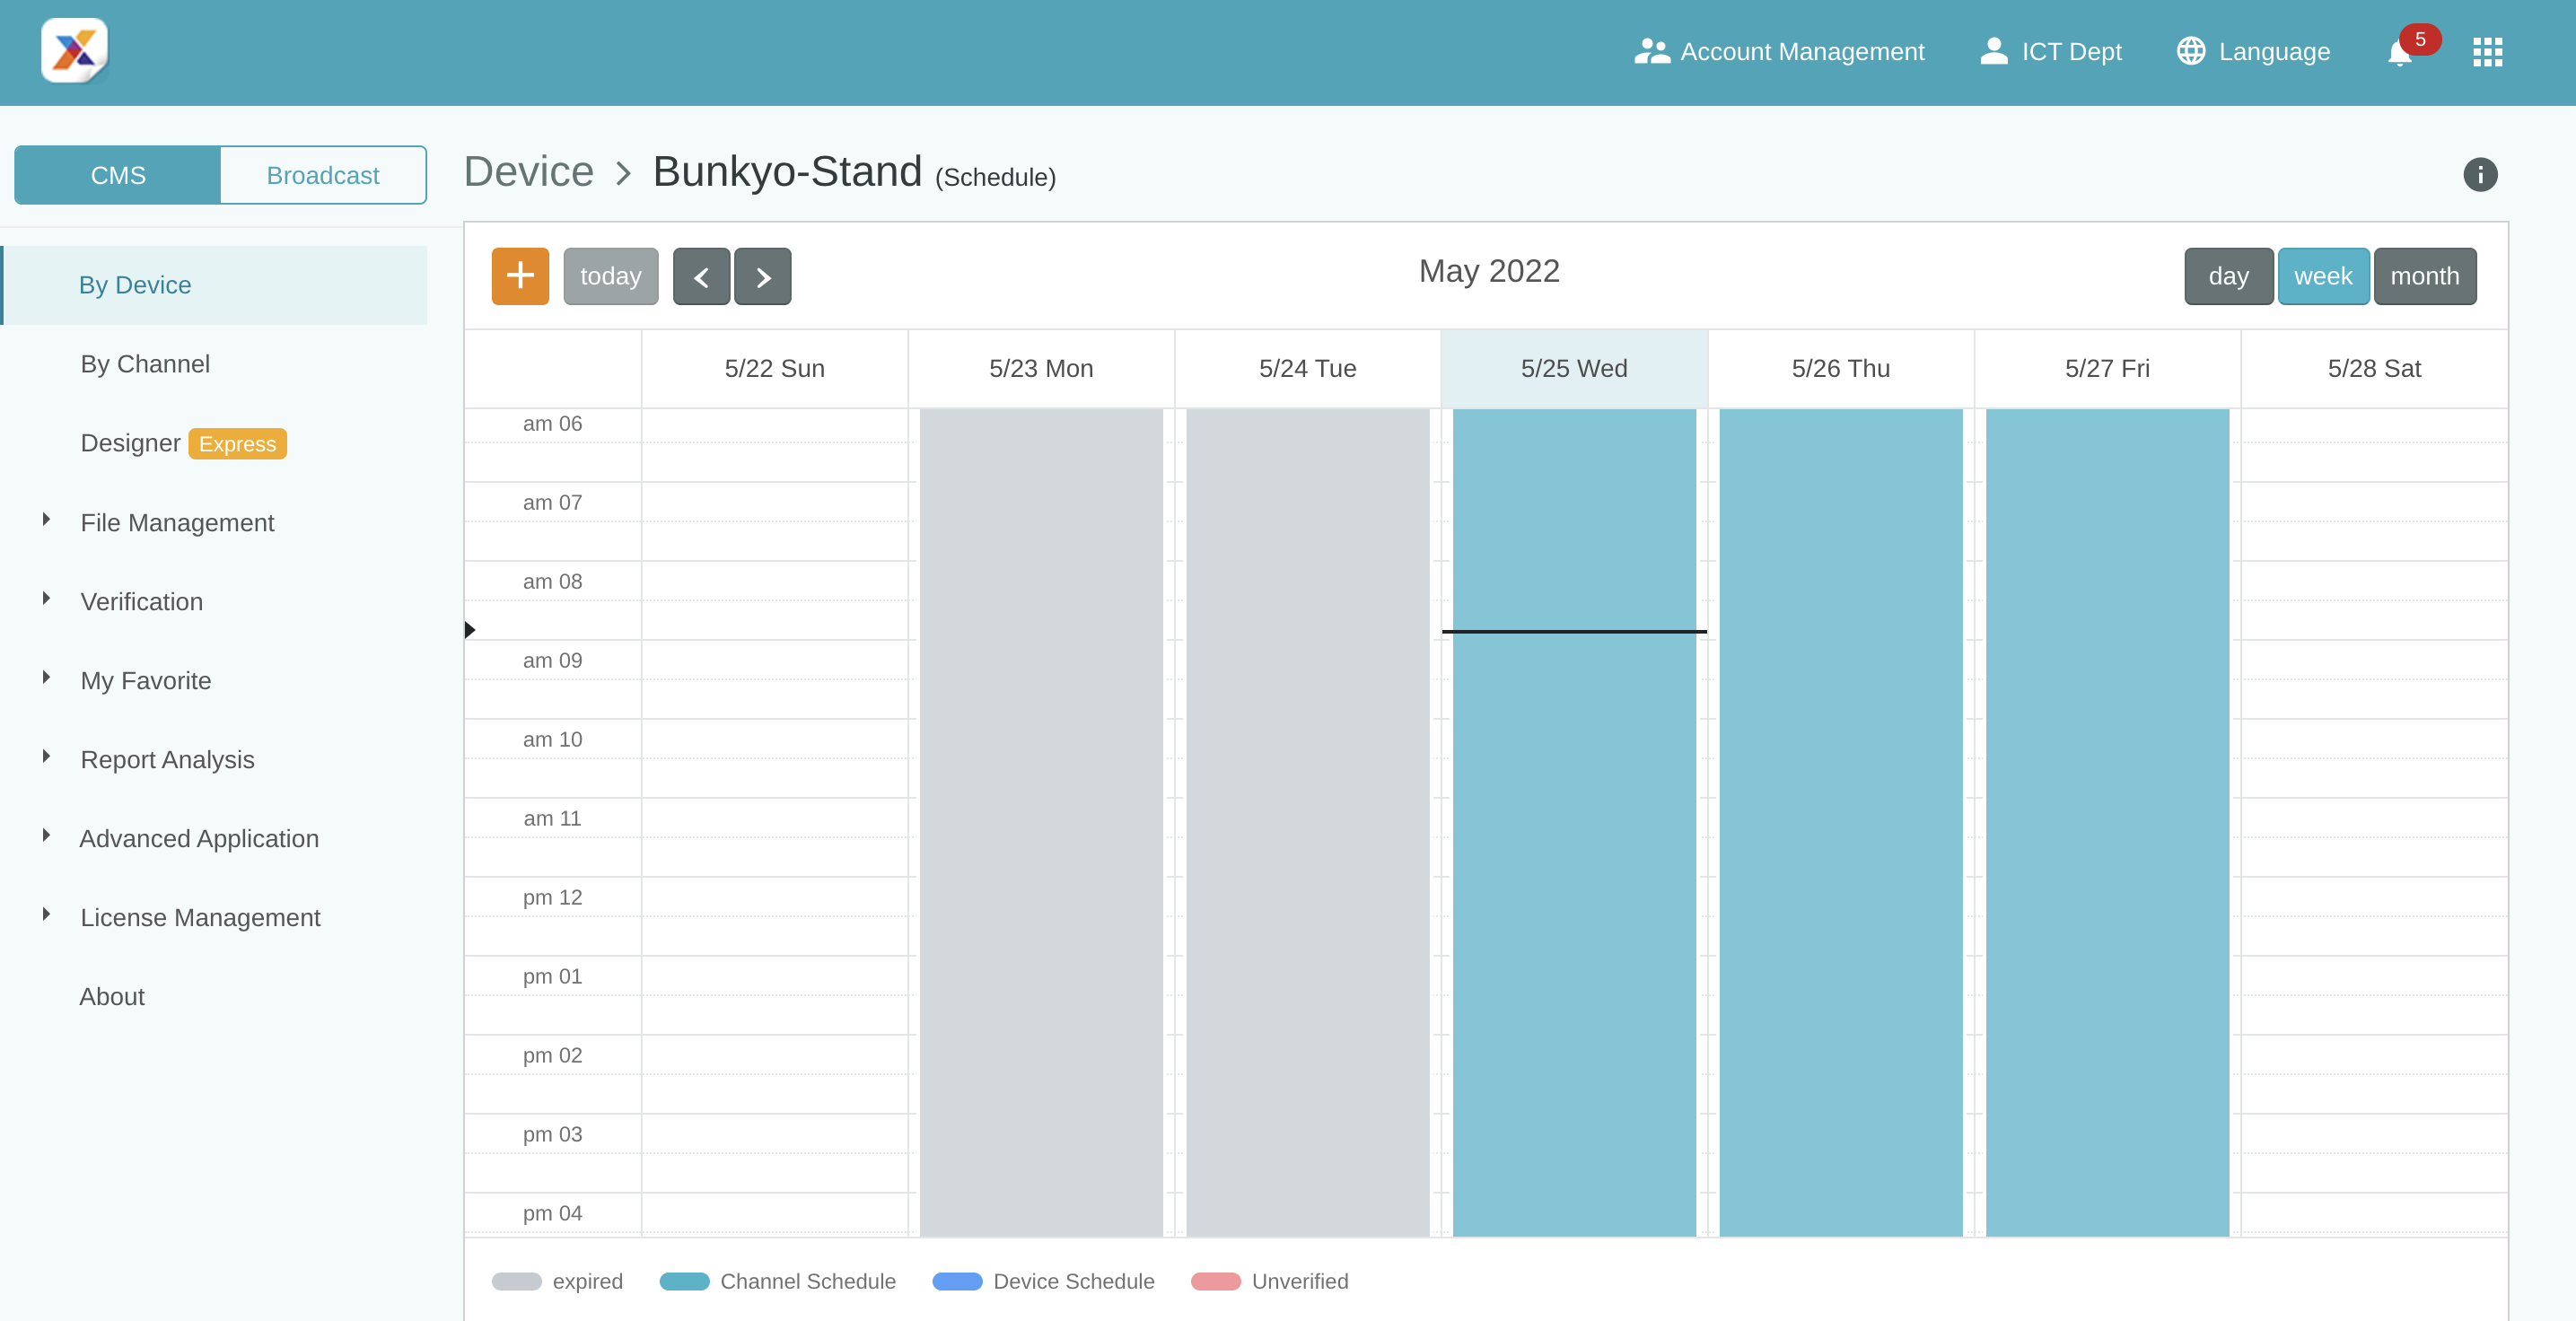
Schedule
At the moment, approvals for project submissions is still being handled by AOBA ICT. If you are interested in learning about the scheduling/project approval process please let joseph.grose@aobajapan.jp or casey.bales@aobajapan.jp know and we would be happy to train you!
📋 Related articles